
Reply
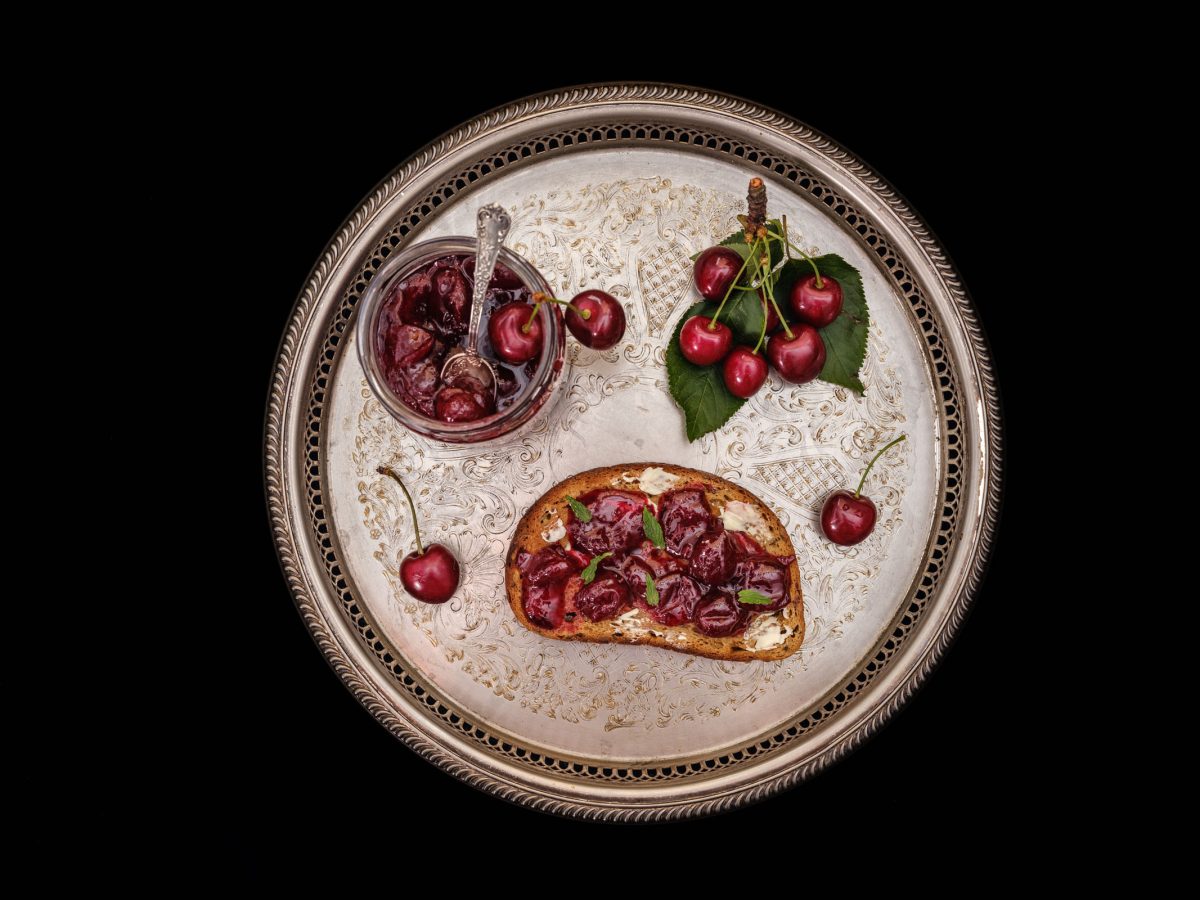
Cherry Jam Recipe with 3 Ingredients


Author:
Thomas Sixt is a chef, food photographer, cookbook author and blogger.
Here he shares recipes, answers cooking questions and helps with cooking.
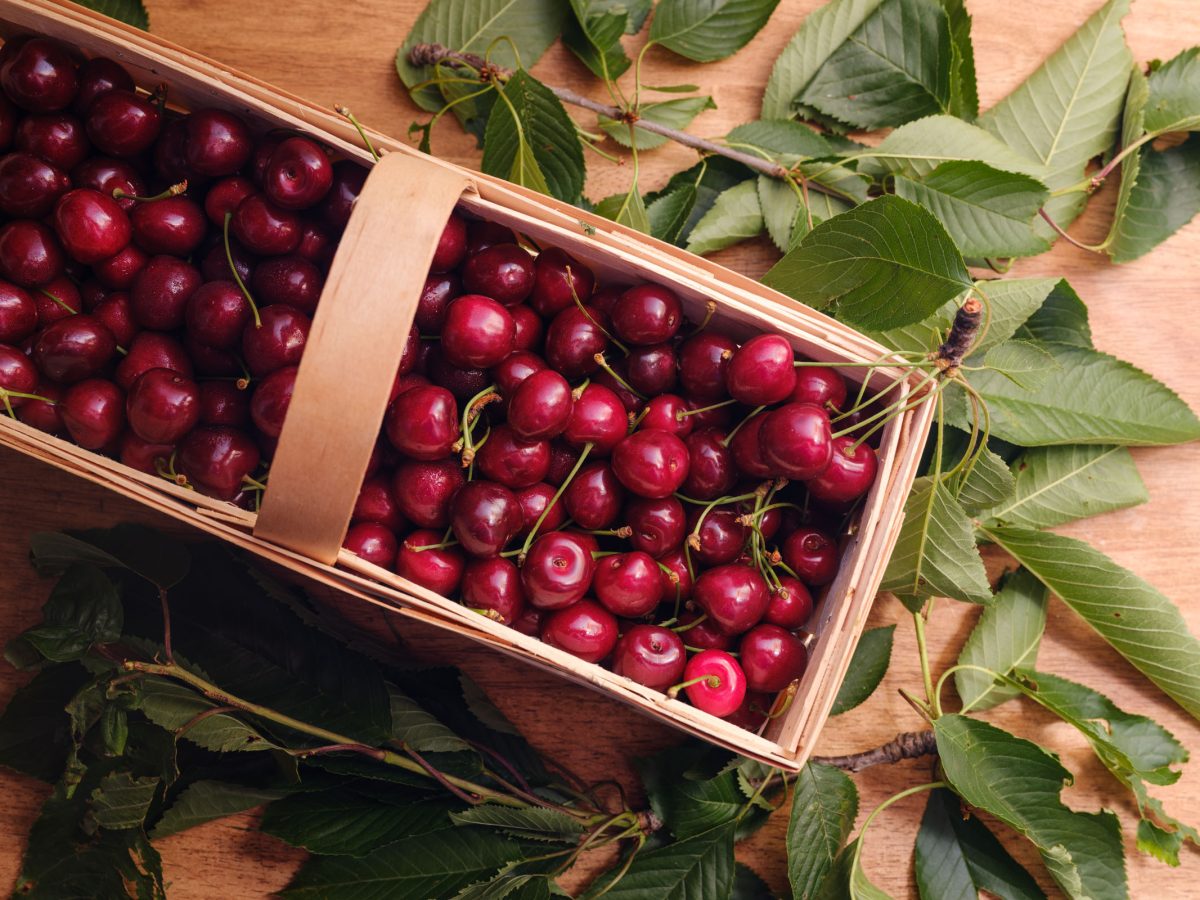
I present my cherry jam recipe to you in this article. I love cherries and can’t resist the fruit. The ladder then comes on the bike and minutes later I’m standing under the cherry tree to harvest the fruit. The higher the cherry hangs, the stronger the color and the riper the fruit. The cherries are particularly beautiful this year, so I set about making the jam.
If you don’t want to pick them yourself, you can find wonderful cherry baskets in the supermarket and at the greengrocer’s. My first tip: process the fruit quickly or at least keep it cool. Once the red friends are off the tree, the fruit quickly loses its shelf life.
Below is the really simple guide. You only need cherries, preserving sugar and cognac today. My new copper jam pot by Jan from Belgium finds its place on the stove as the perfect tool for preserving. Have fun and good luck! Let me hear from you, you can write to me at the bottom of the page using the comment function.
Table of Contents
1. Recipe Cherry Jam
Washed the glasses in hot water, disinfected them with vinegar essence, lined them up. Then it can go. Find the illustrated step-by-step instructions below:
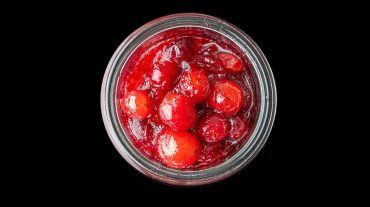
Cherry jam
Instructions for preserving by chef Thomas Sixt.
Servings 10
Calories 143
Total Time 120 Min.
Preparation Time 60 Min.
Cook Time 0 Min.
Cook cherry jam recipe with only 3 ingredients for the finest cherries. Step by step with many tips for fruit spread.
Ingredients
| 2 | kg | cherries |
| 1 | kg | jelly sugar |
| 100 | ml | cognac |
Instruction
Prepare cherries
Wash and dry the cherries.
Prepare in the kitchen for processing.
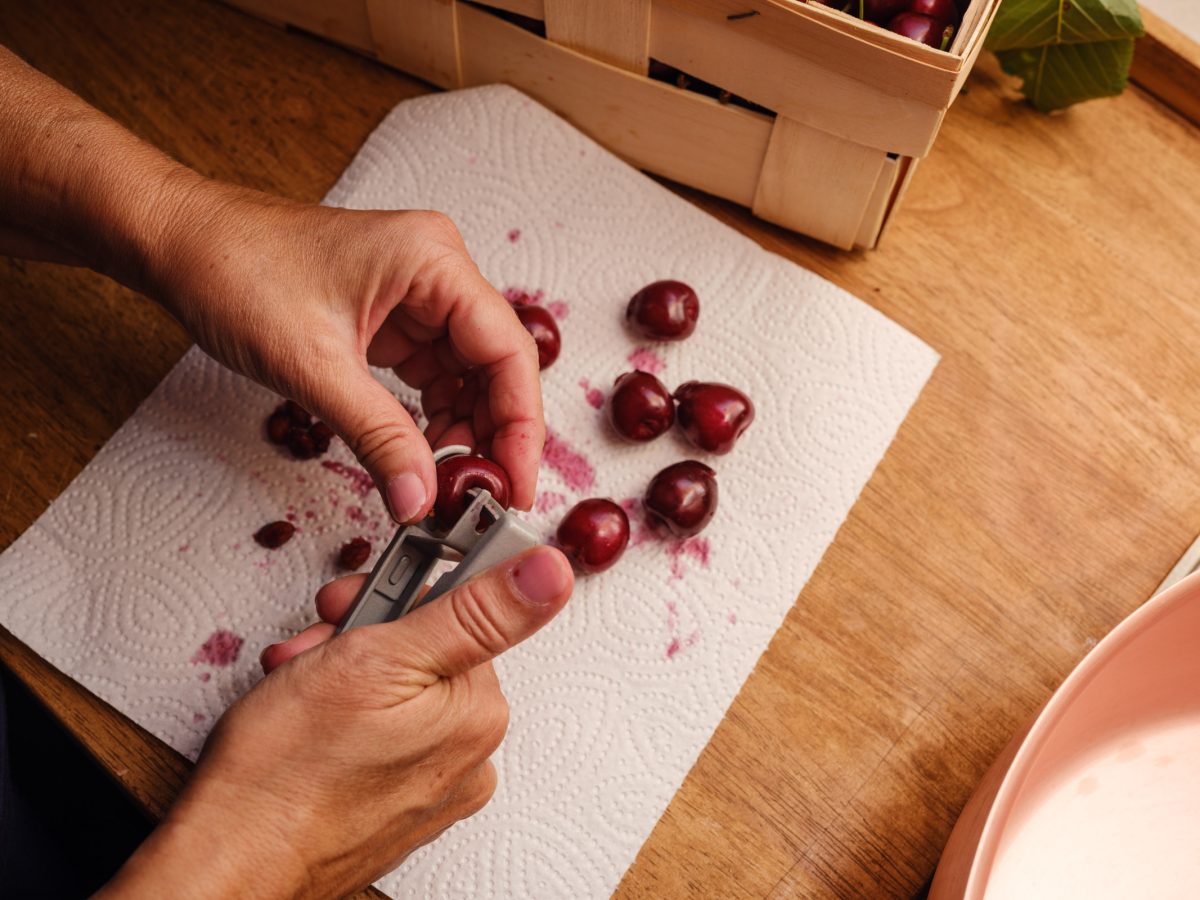
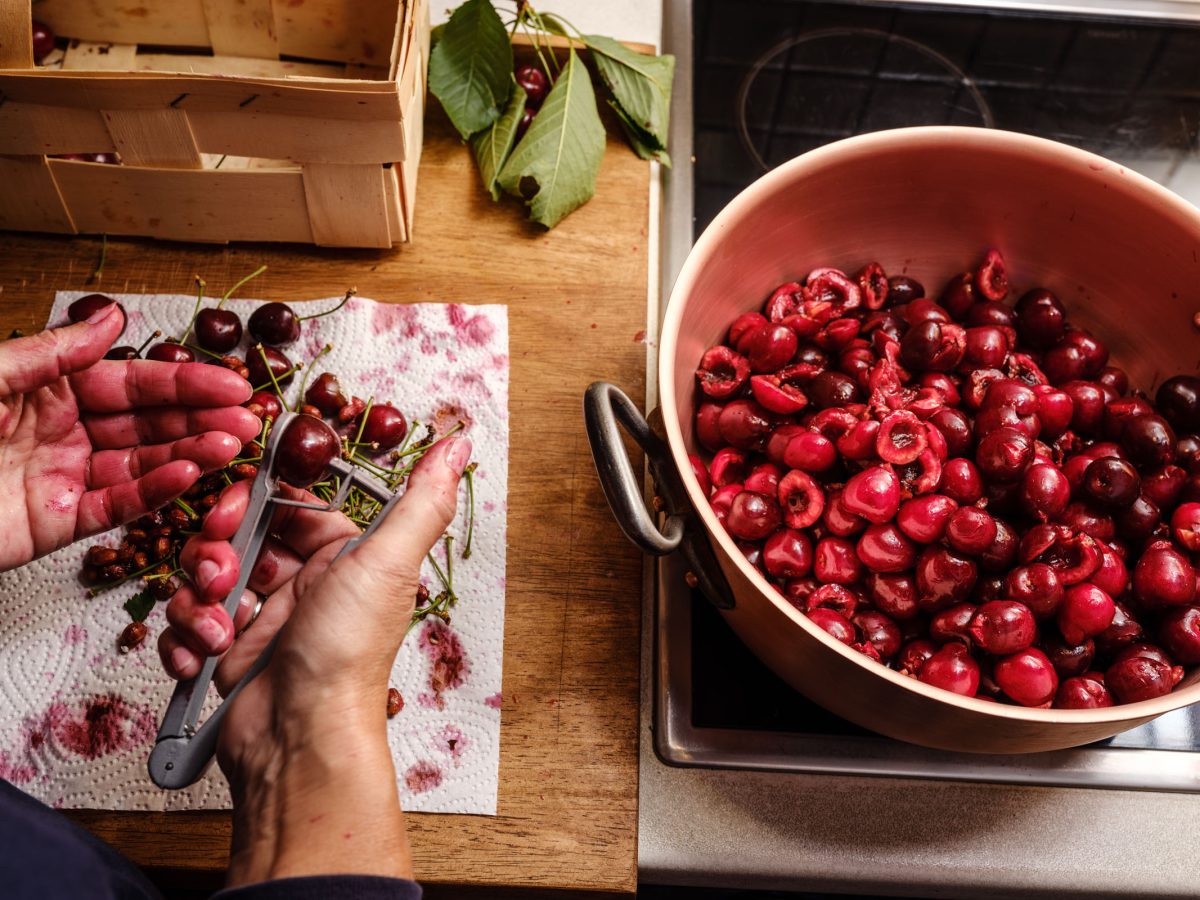
Pit the cherries
Stone the cherries individually with a stoner.
Prepared cherries
De-stoning is easy:
– Place the cherry in the pitter
– Remove the stone by squeezing.
Immediately place the prepared cherries in the copper pot.
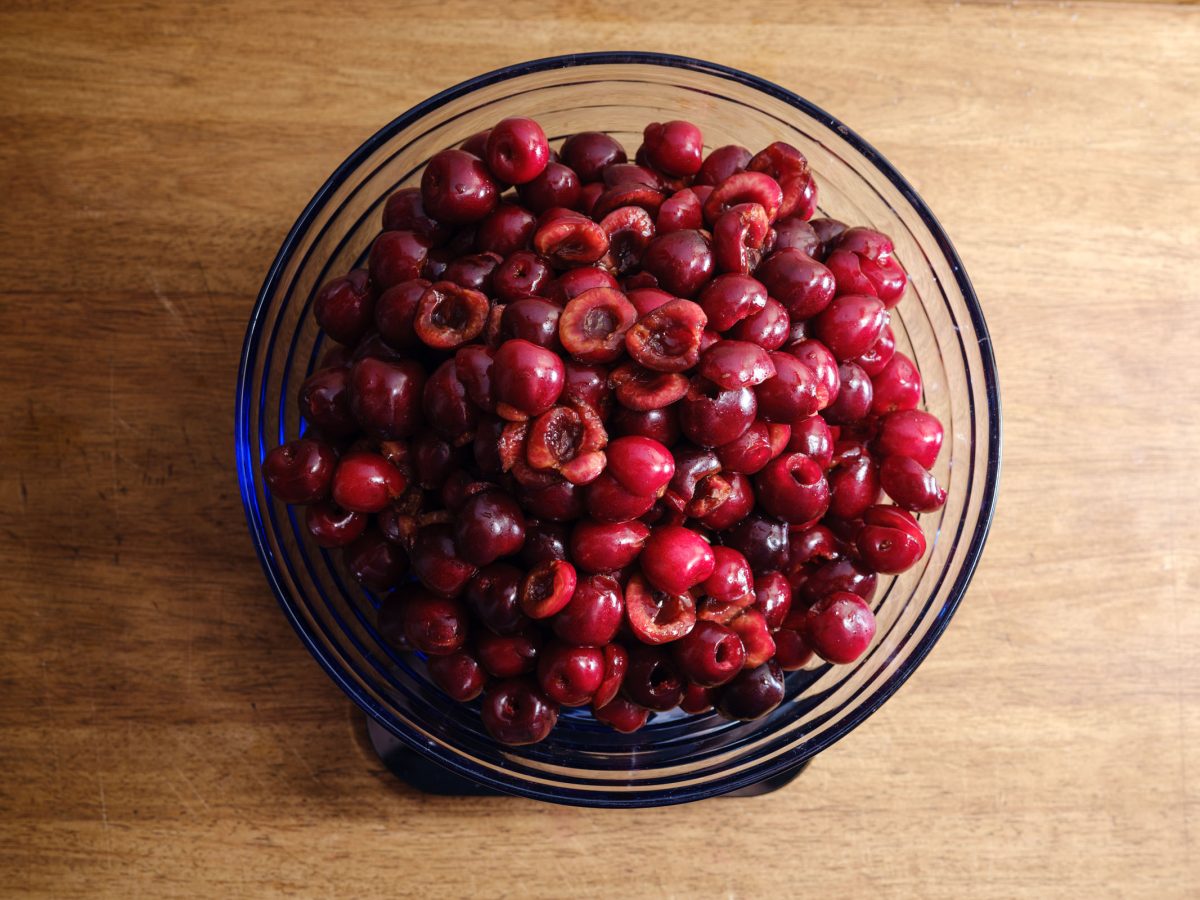
Weigh the cherries
Weigh the cherries to determine the right amount of jam sugar.

Control cherries
I double check the cherries before cooking.
Sometimes you overlook cores or even find a worm.

Add jam sugar
Weigh the preserving sugar to match the amount of pitted cherries and add to the cherries.
I used jam sugar 2 to 1.
That means you use 1 kg of preserving sugar for 2 kg of fruit.
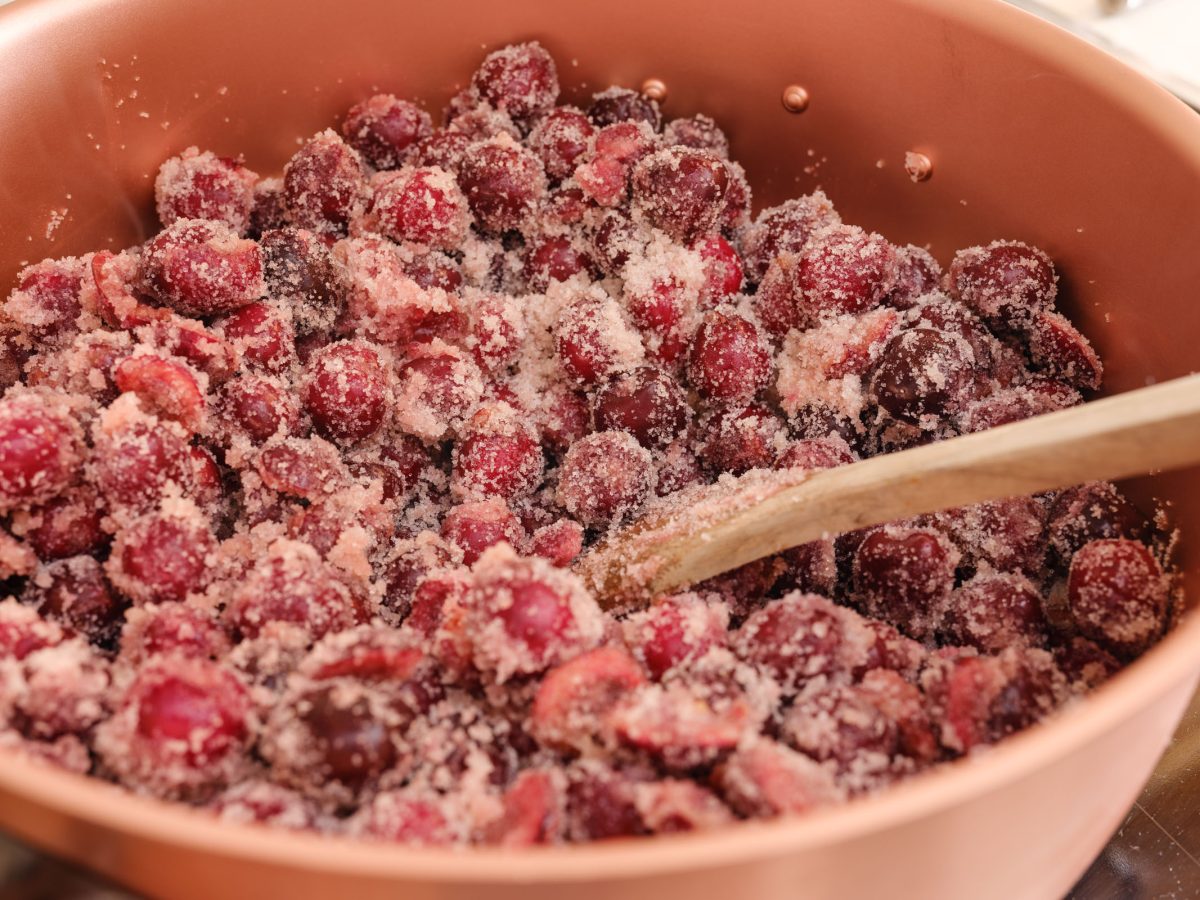
Mix cherries
Mix the cherries in the jam pot with the sugar.
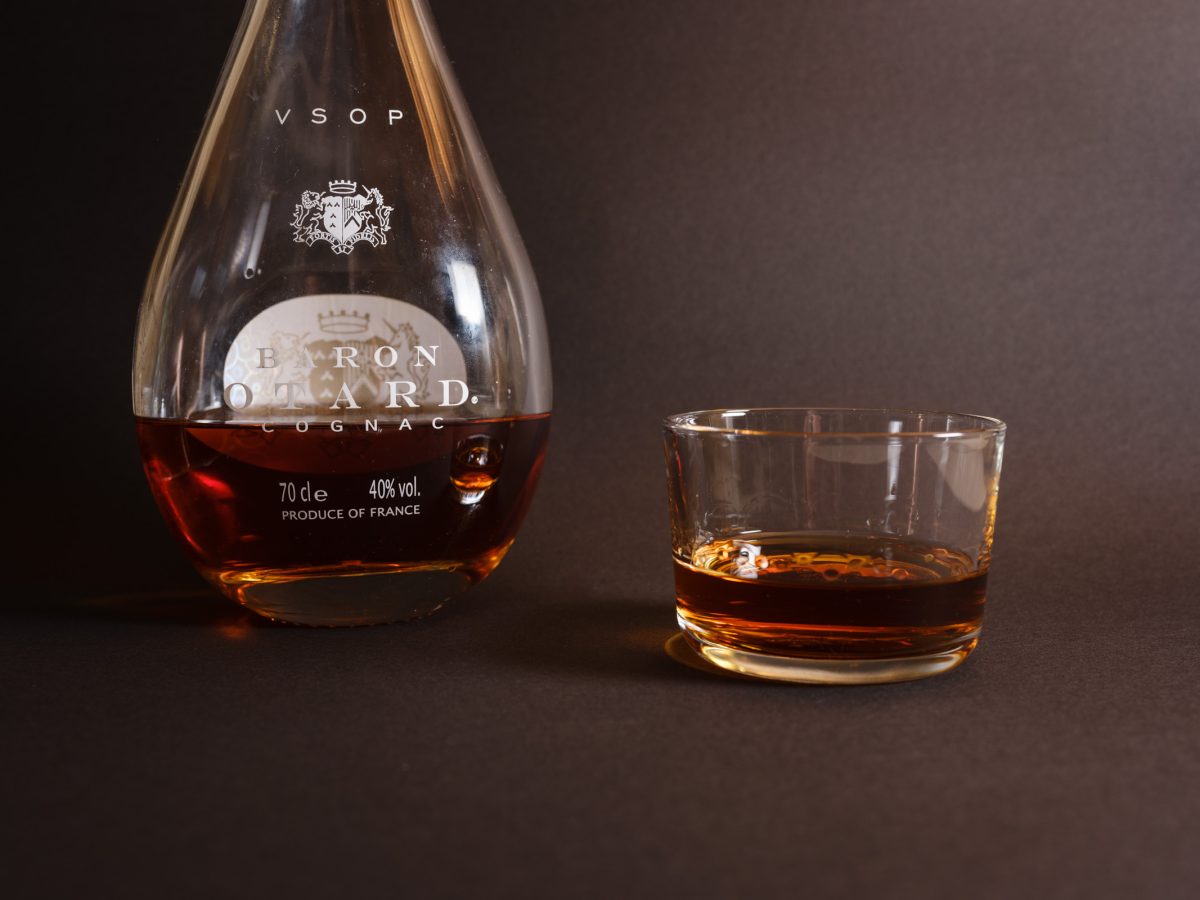
Add cognac
Measure out the cognac and pour it over the cherries.
I like to use Baron Otard, the aroma convinced me.
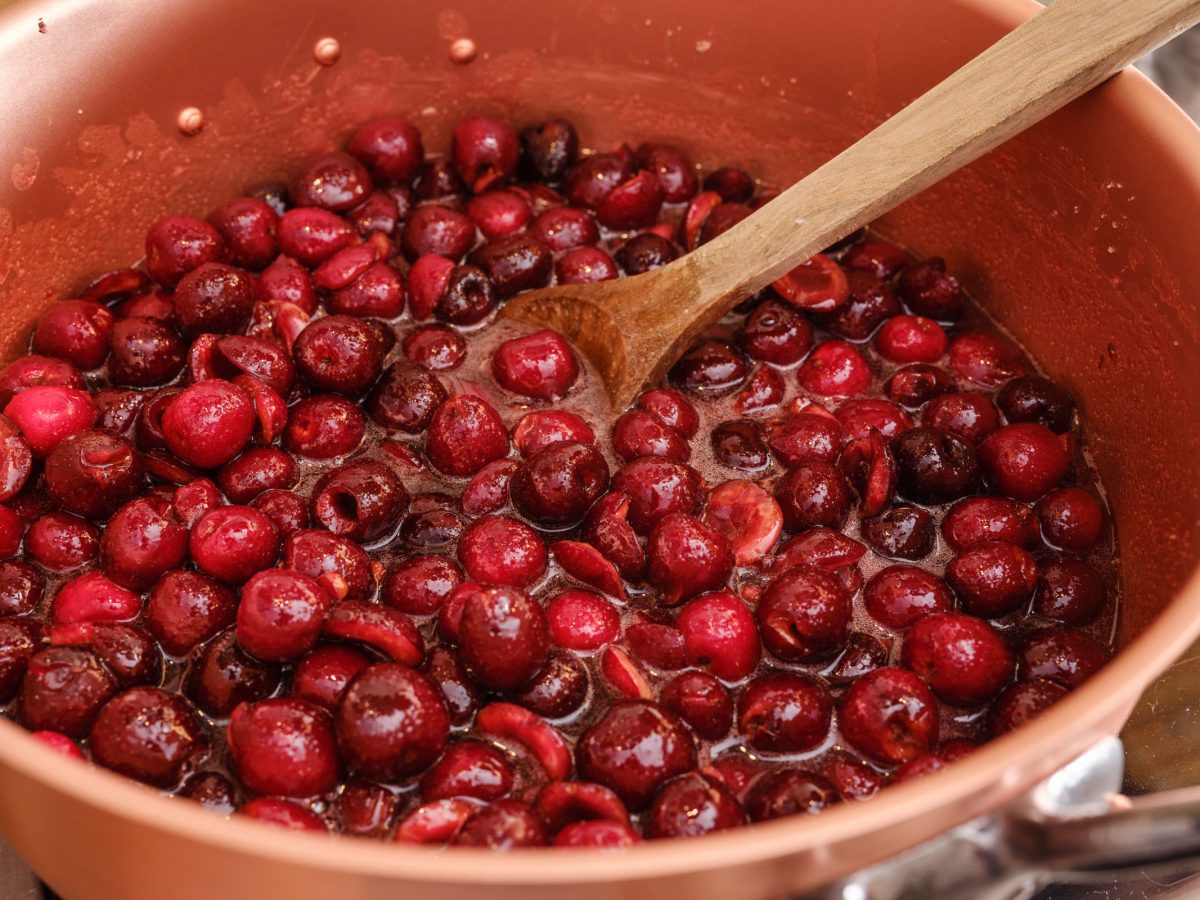
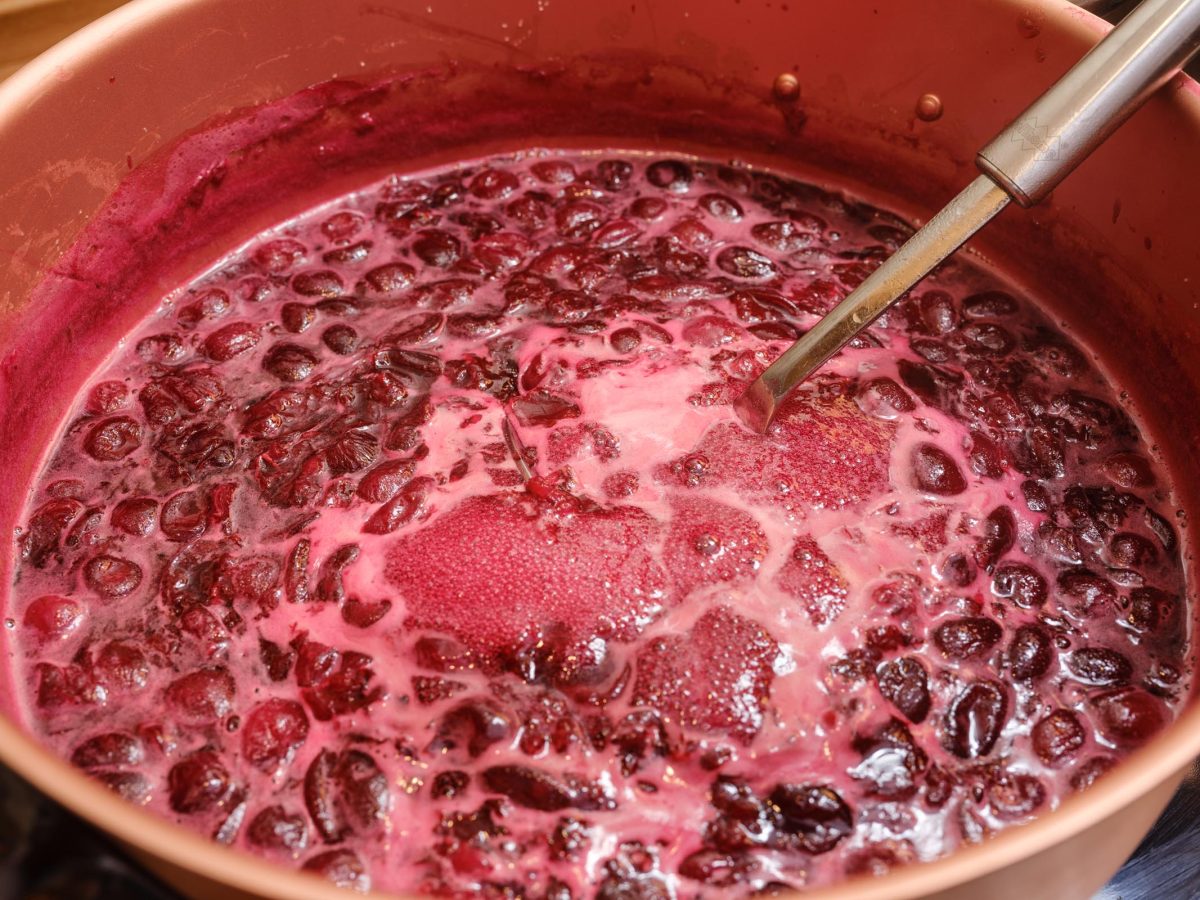
Boil the cherries
Bring the cherries to the boil in a saucepan, stirring well.
Add 0.2 l of water.
This works particularly well in a copper jam pot because of the ingenious heat conduction in the bottom of the pot.
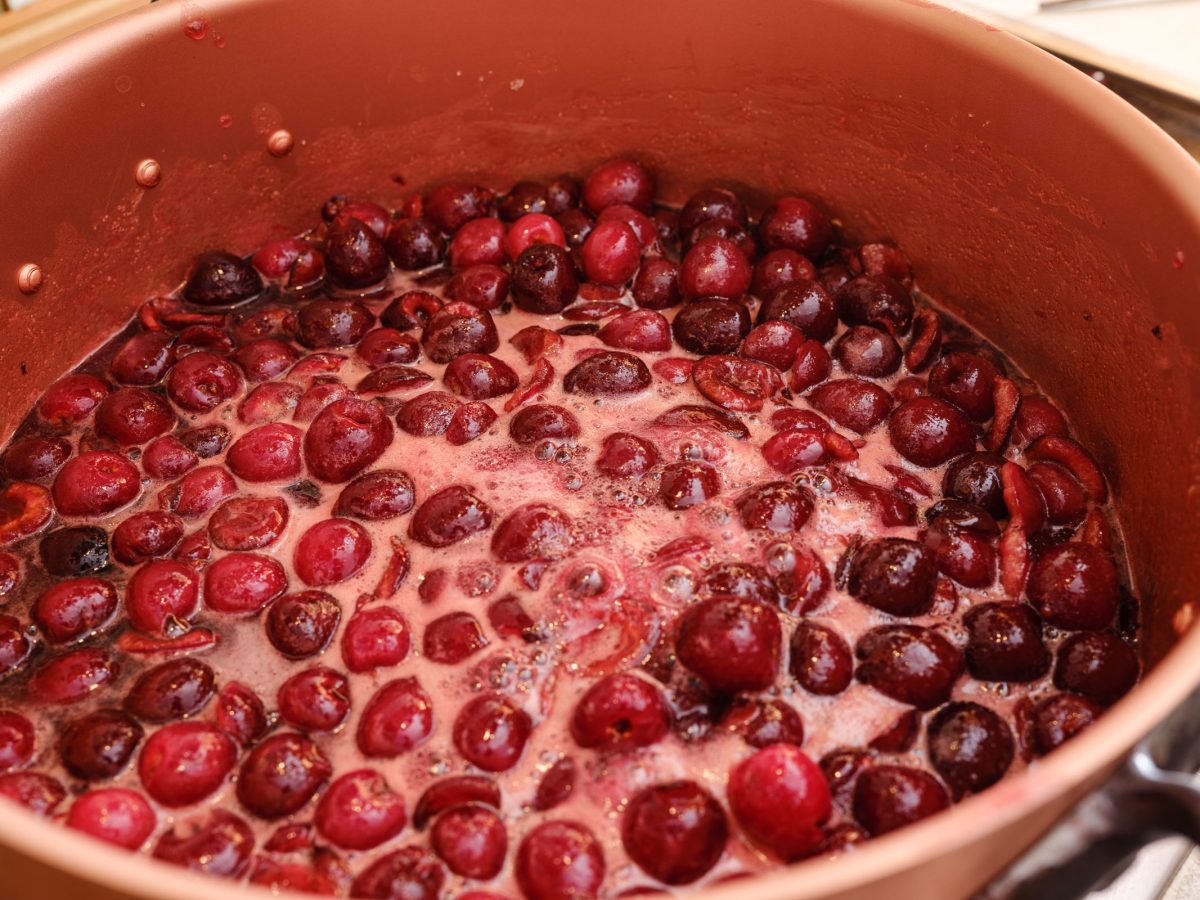
Cooking cherry jam
Let the jam cook for 20-40 minutes.
The fruit should be well cooked and soft.
Squeeze cherries
I gently mash the cherries with a potato masher.
It’s not about getting all the cherries, I’m just crushing a few and making sure they look nice.
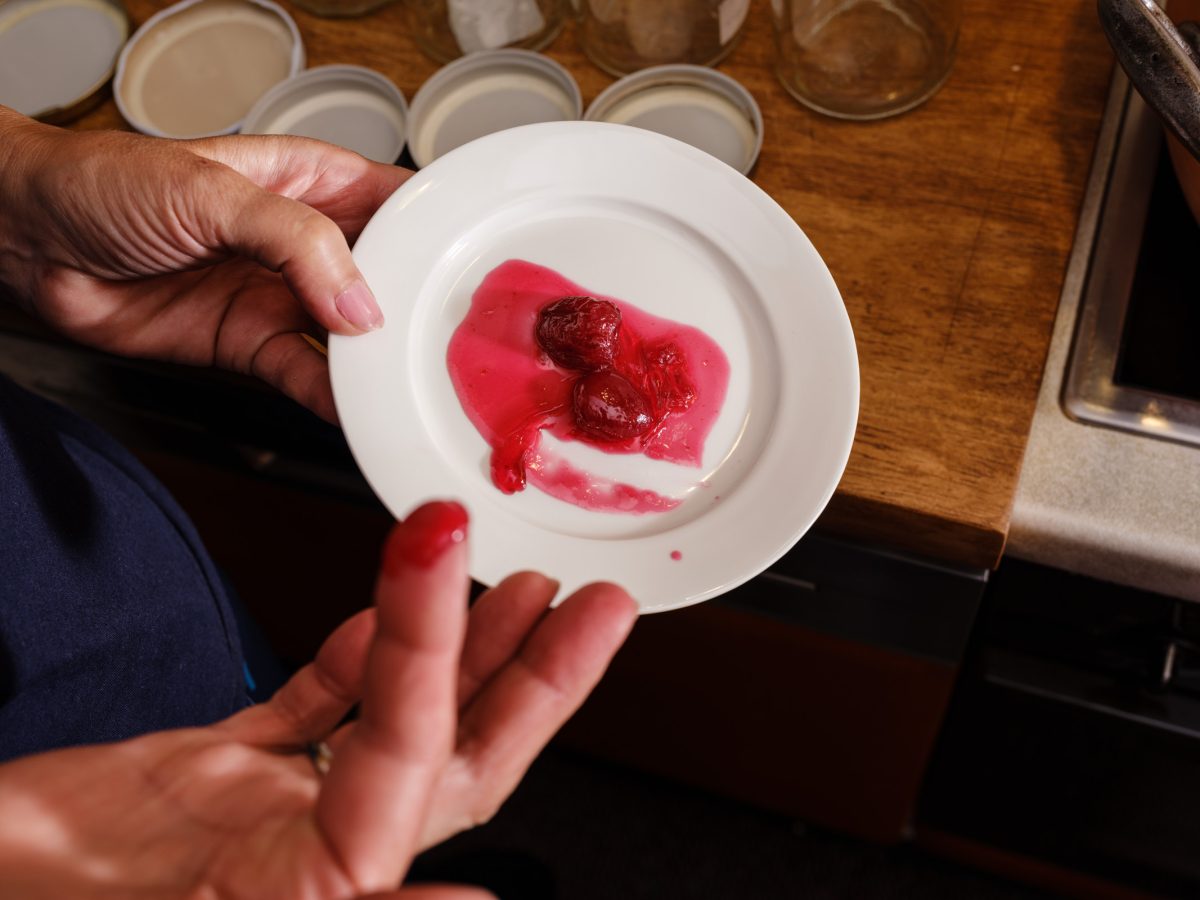
Do a gel test
I put a good two tablespoons of jam on a cold plate.
Let the plate stand for 10 minutes, after which you can take a look and test whether the jam has gelled nicely.
Tip: If the gelling does not go so well, please add 100 g extra gelling sugar.
Boil the jam for another 5 minutes and do the gelling test again.
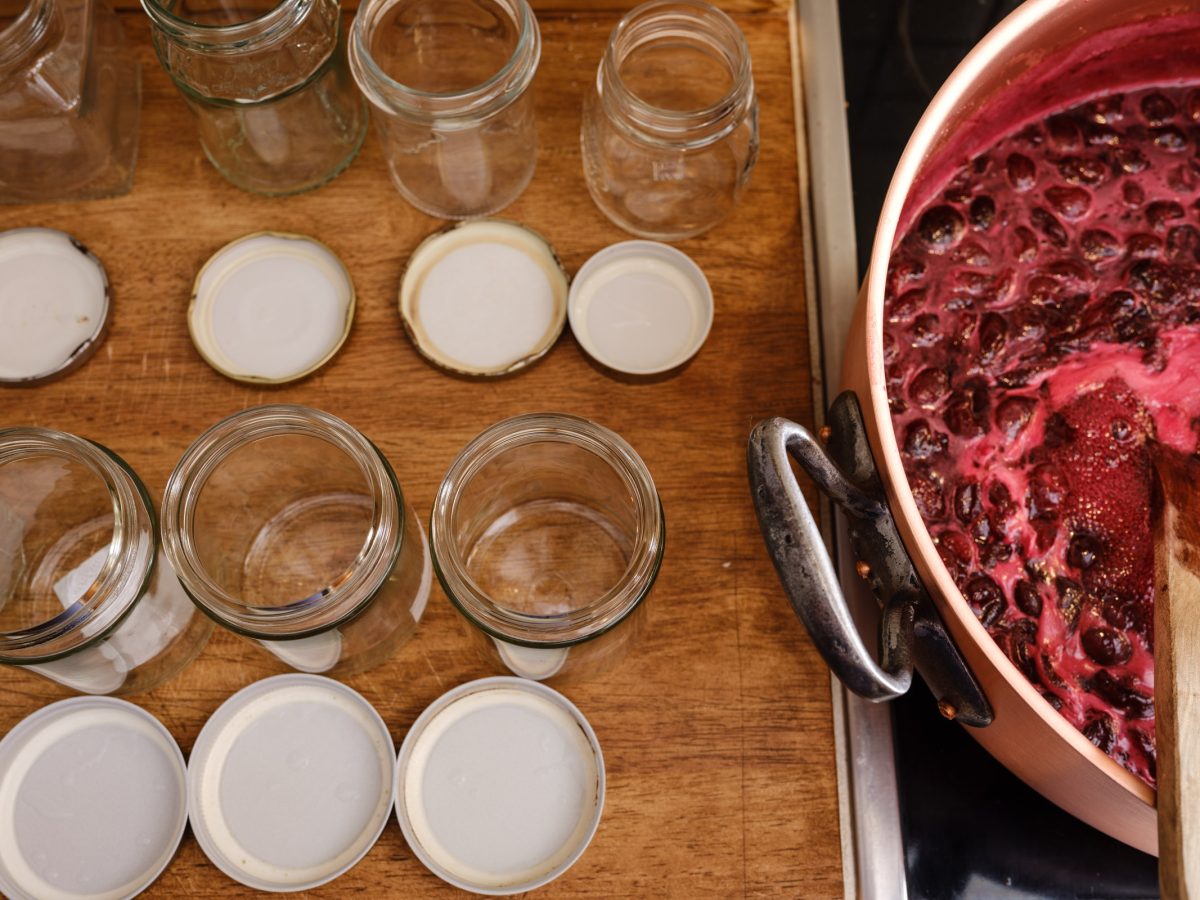
Prepare bottling
Have the glasses ready, washed in hot water and disinfected with vinegar essence.
Please pay special attention to the lids, wash them with hot water and disinfect them.
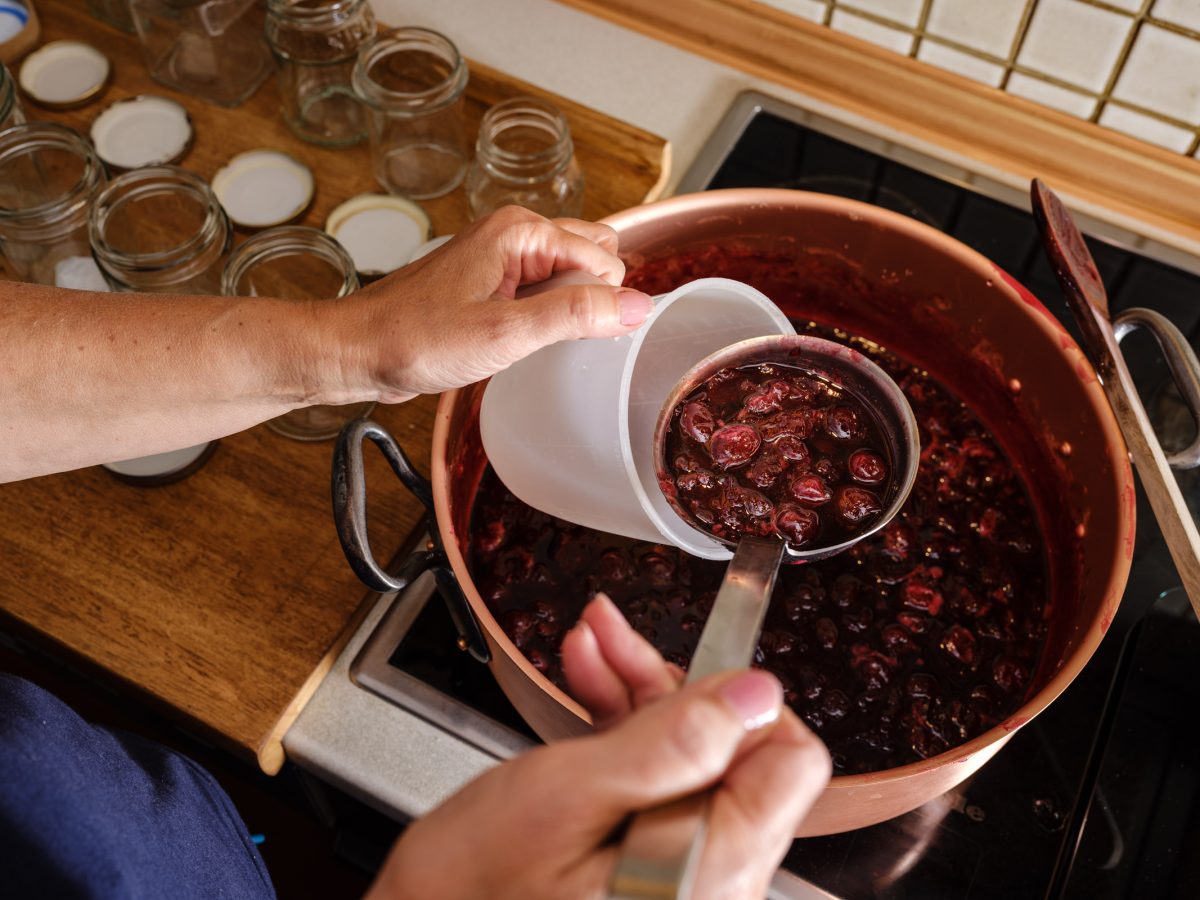
Use sippy cup
I fill the boiling cherry jam into a sippy cup with a large ladle.
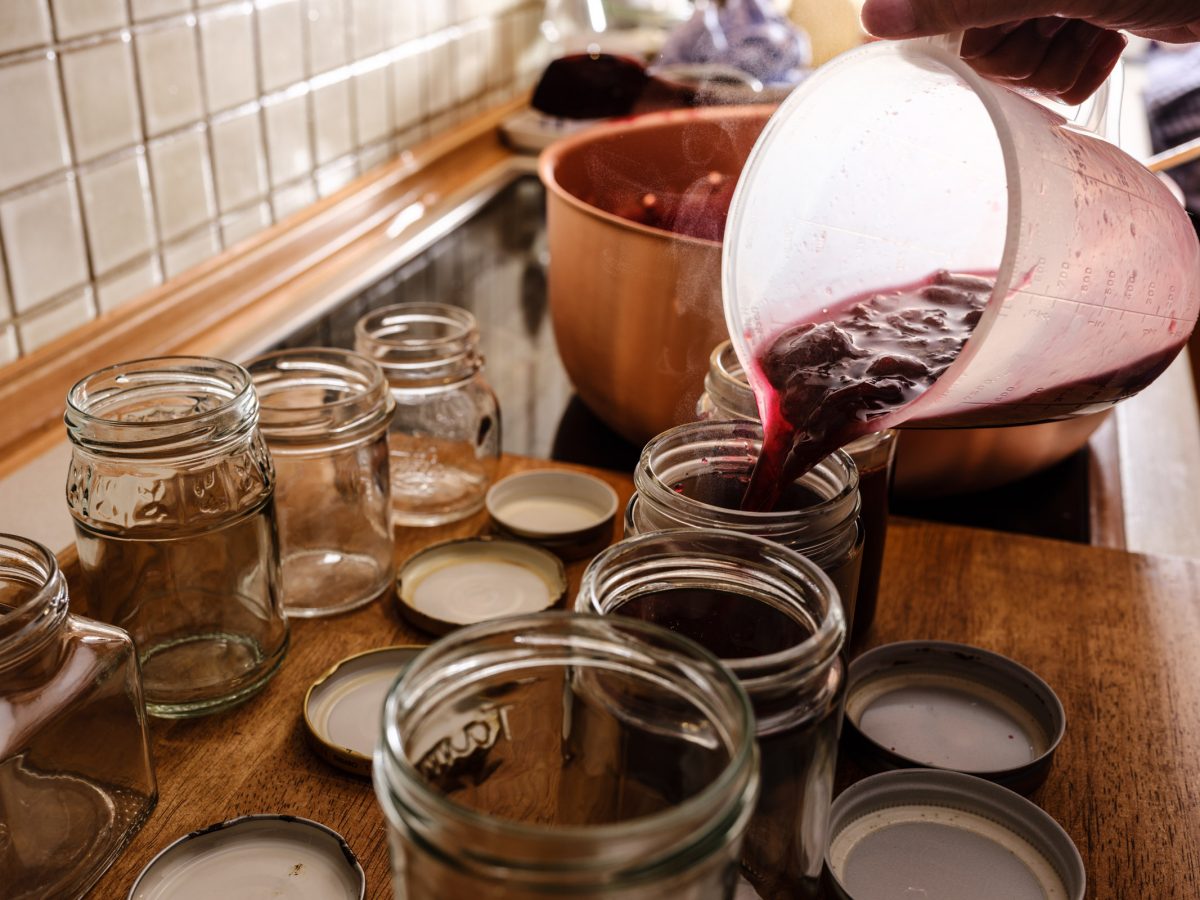
Fill glasses
With the spout cup you can fill the cherry jam in the jars safely and in a targeted manner.
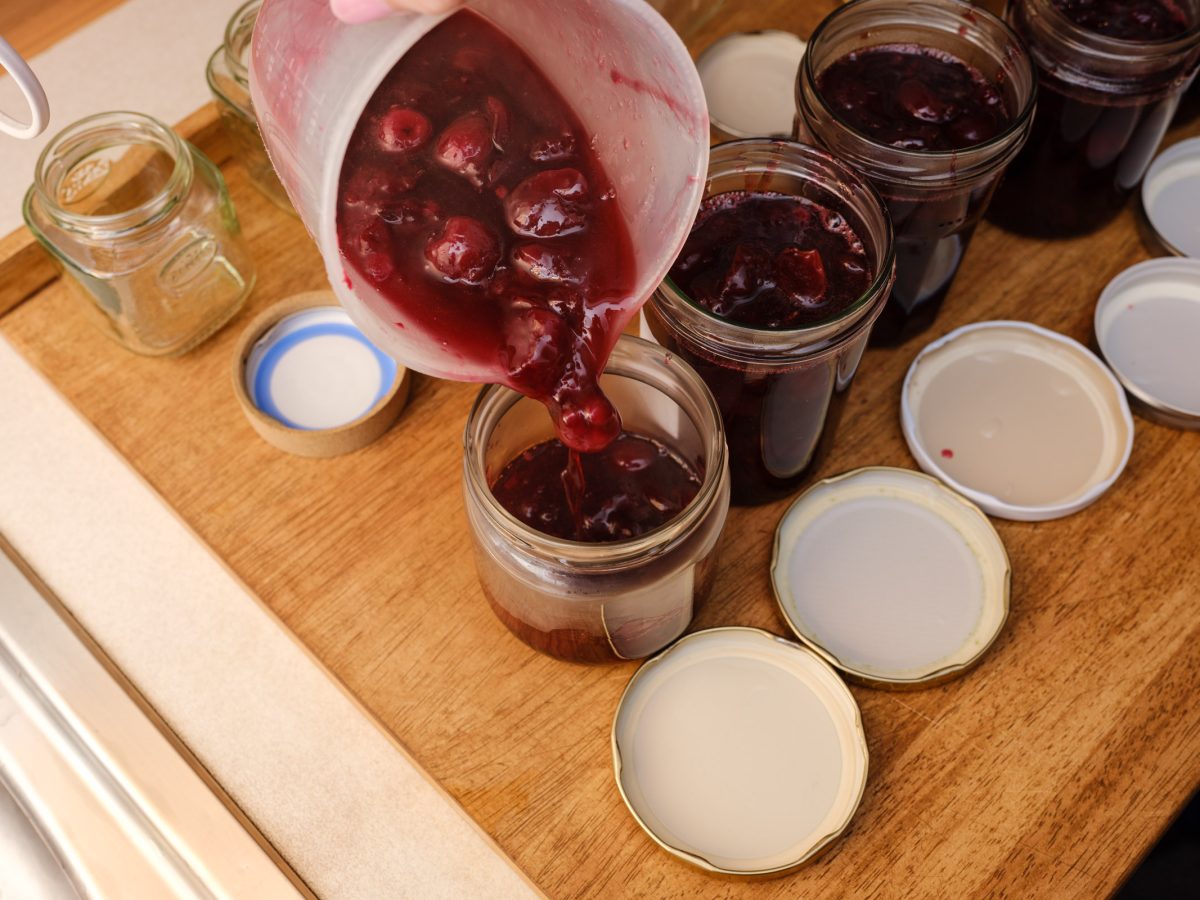
Fill tip
Important: The edges of the glass should remain as clean as possible.
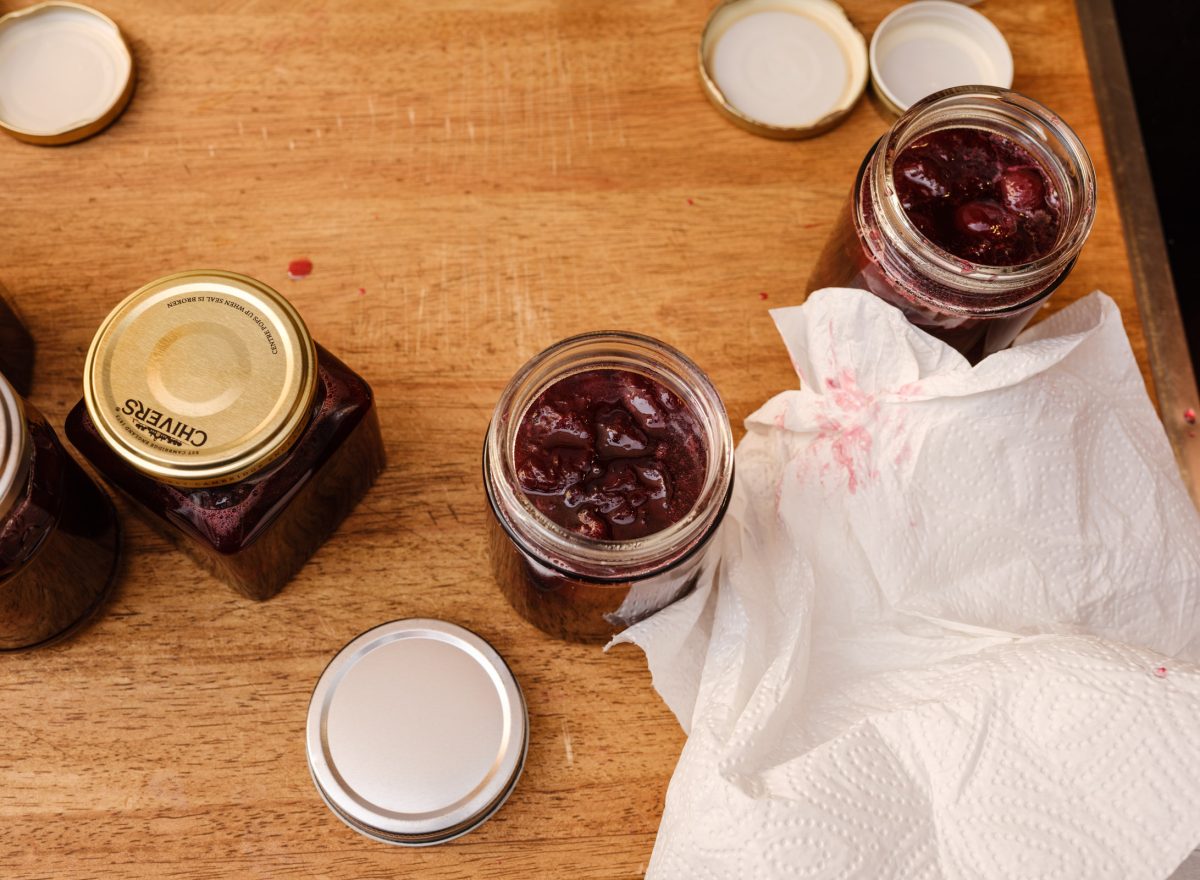
Clean glasses
A little jam always goes wrong when filling.
This is not a problem. Clean the glasses with kitchen paper and some vinegar.
Caution! The glasses are very hot.
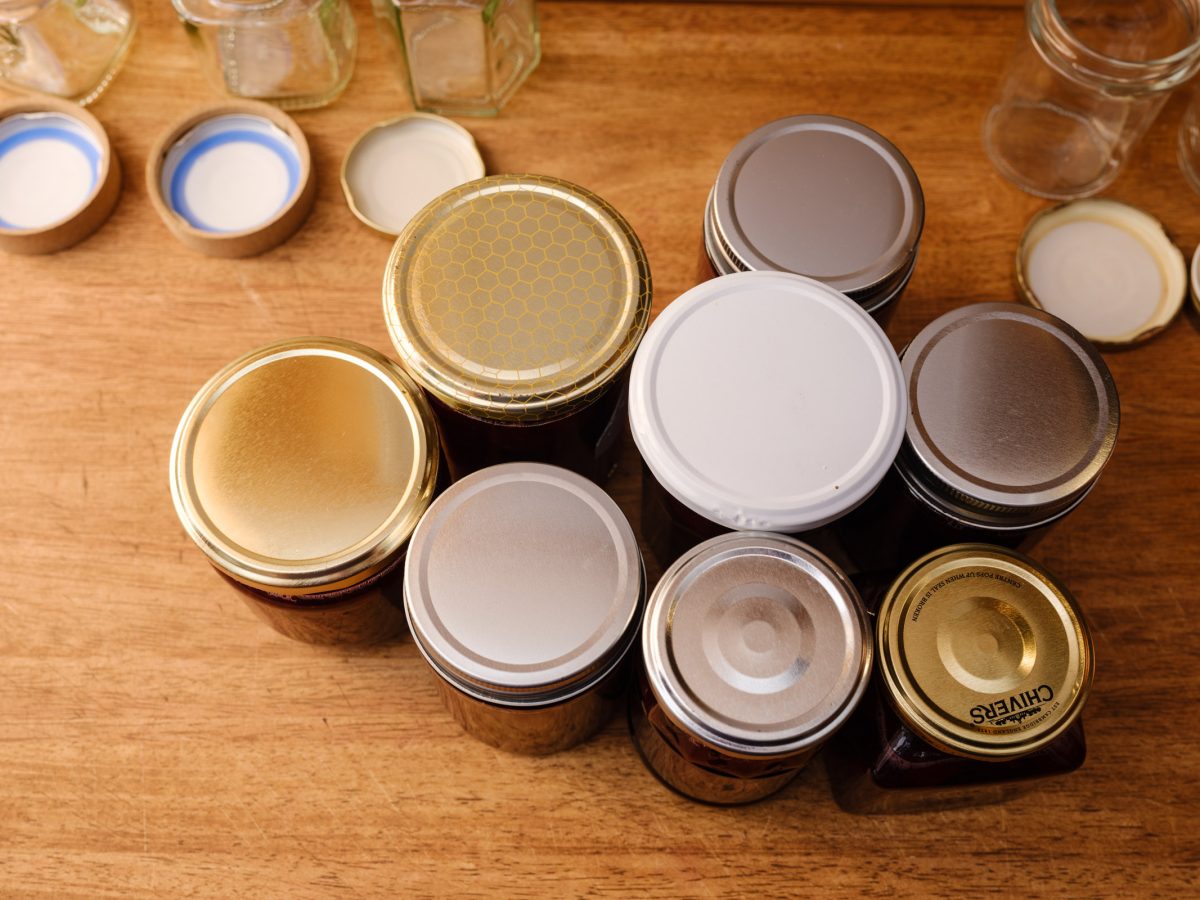
Close jars
Close the hot jam jars quickly and tightly with the lid.
I hold the glass with a tea towel and quickly turn the lid on the glass.
Store and enjoy
After it has cooled down, you can store the jam in the cellar.
A dark, cold place is ideal for this.
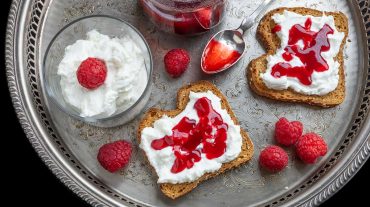
I like the jam best on a sandwich, Ms. Sixt likes quark or cream cheese.
Video
Courses
2. Calories and Nutritional Values
3. My 18 Tips for Preserving Cherry Jam
Find some helpful additions to your kitchen experience below.
- Bereite die Marmeladengläser etwa eine Stunde vor dem Kochen der Marmelade vor.
- Die Gläser mit heißem Wasser abwaschen und mit Essigessenz ausspülen.
- Ich gebe dafür immer etwas Essigessenz in das erste Glas, verschließe es mit dem Deckel und schüttle das Glas.
- Dann schütte ich die Essigessenz in das nächste Glas und fahre fort, bis ich das letzte Glas desinfiziert habe.
- Die Gläser neben dem Herd auf einer geeigneten Arbeitsfläche bereitstellen.
- Ideal ist ein Holzbrett, auf Stein oder Glas gestellt können die Gläser beim Einfüllen platzen.
- Stein oder Glas Oberflächen deckst Du einfach vorher mit einem Küchentuch ab und stellst die Gläser auf das Tuch.
- Wähle einen ausreichend großen Topf zum Kochen der Marmelade.
- Ein Kupfer Marmelade Topf ist Premium: Die Marmelade glasiert besser, die Farbe bleibt schön erhalten und wird konserviert, Kupfer unterstützt den Geschmack positiv.
- Klare Empfehlung: Wenn Du öfter Marmelade einkochst, dann macht der Marmelade-Kupferkessel in Deiner Küche echt Spaß!
- Achte exakt auf das Verhältnis Gelierzucker/Obst und wiege die Zutaten genau ab.
- Lass die Marmelade ruhig etwas länger und bei reduzierter Temperatur kochen.
- Für die Gelierprobe etwas heiße Marmelade auf einen kalten Teller geben. Nach wenigen Minuten siehst Du den Geliereffekt.
- Die Marmelade bleibt flüssig auf dem Teller? Keine Panik, ergänze erneut bis zu 100 g Gelierzucker und lass die Marmelade nochmals stark kochen.
- Die zweite Gelierprobe zeigt dann sicher das gewünschte Ergebnis.
- Verwende zum Abfüllen der Marmelade einen Schnabelbecher, damit die Gläser am Rand sauber bleiben.
- Die Marmelade kochend heiß einfüllen.
- Die sauberen Gläser gut und schnell verschließen.
I always let the jam cool down standing in the kitchen. Turning the jars over is not necessary, nor does it increase durability. Simply let the glasses cool down, then stow them away accordingly, hide them 🙂 and store them away.
The color of the fruit is well preserved when stored in the dark.
4. More Jam Ideas

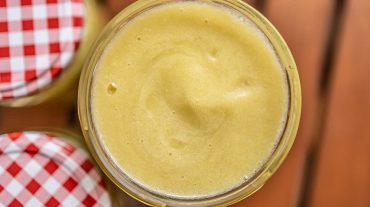
Plum Sauce – German Pflaumenmus

Cherry Jam Recipe with 3 Ingredients
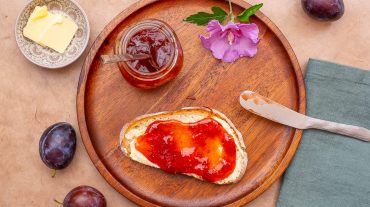
Plum Jam Recipe
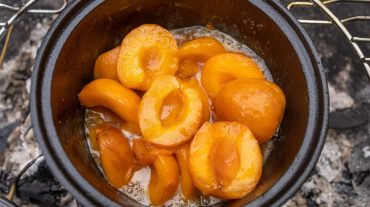
Apricot Roaster Recipe for better Apricot Compote
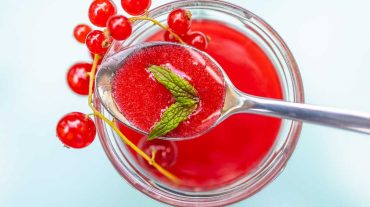
Redcurrant Jam Cold Stirred – Easy Recipe
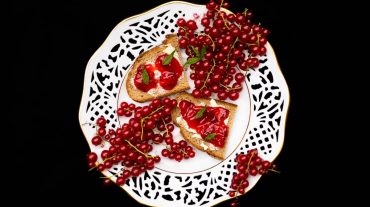
Red Currant Marmalade Recipe, fine Jam delicious make yourself!
Rhubarb Compote Recipe
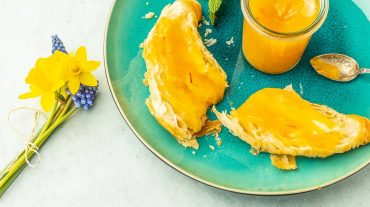
Quince Jam Recipe for special Spread
Quince Jelly Recipe for a fine Spread
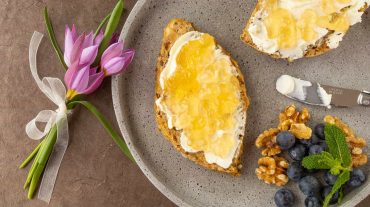
Raspberry Jam Recipe
Cranberry Compote – Preserve Cranberries
Apple Compote Recipe
Comments, Cooking Questions and Answers
Below you can write to me directly.
Please don’t forget the star rating on the recipe, 5 stars means you liked it!
Hello Chloe,
thank you for your very nice feedback and the praise for the photos.
Such a message makes me especially happy!
Love greetings Thomas
Hello Thomas,
I love your recipes and pictures, plus it always tastes great to me.
Thanks for the great inspirations here in your blog 🙂
Greetings from Chloe