
Cake Pops Recipe


Author:
Thomas Sixt is a chef, food photographer, cookbook author and blogger.
Here he shares recipes, answers cooking questions and helps with cooking.
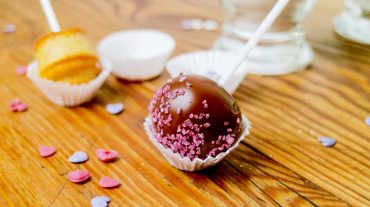
Today I show you my original Cake Pops Recipe, made from fresh cake dough. Cake on a stick is an evergreen of the bakery and makes children and adults happy!
The simpler version of these cake lollipops, prepared from cake leftovers, I have already presented elsewhere. More on this in a moment 🙂
For now, I wish you much pleasure while enjoying your visit. If you have any open questions, you can send them to me using the comment function at the bottom of the page. I wish you fun and success for your baking and decoration afternoon!
Table of Contents
1. Recipe Cake Pops
Today you can safely nibble dough 🙂 Wish you good luck in your bakery!
Cake Pops
Backed, photographed and written down by chef Thomas Sixt.
Simple tutorial on how to make cake pops with homemade batter.
Ingredients
| Cake dough | ||
| 80 | g | butter (or coconut fat) |
| 80 | g | brown sugar |
| 1 | packet | vanilla sugar |
| 2 | pc | eggs |
| 2-4 | tbs | milk |
| 160 | g | flour |
| 1 | tsp | Baking Powder |
| Glaze and decoration | ||
| 100 | g | Dark chocolate coating |
| 5 | g | Coconut fat |
| 1-3 | tbs | sugar decoration |
Instruction
Prepare the cake dough
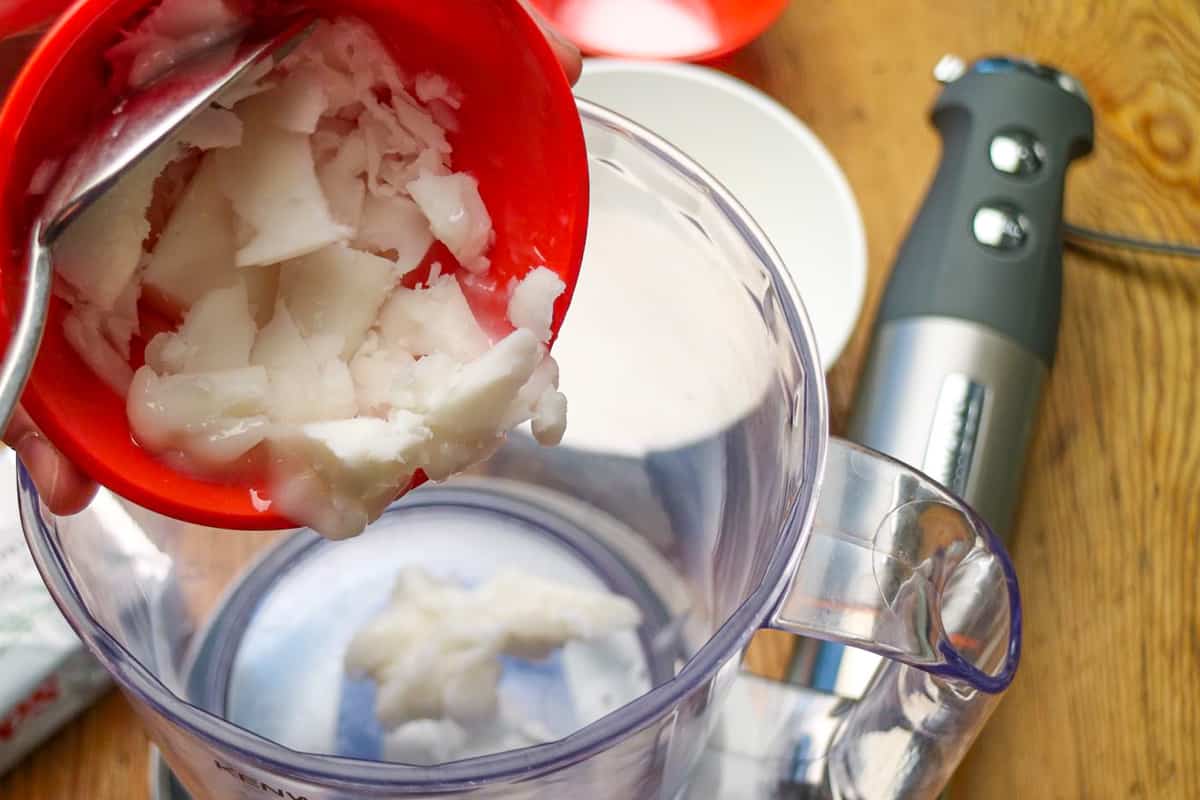
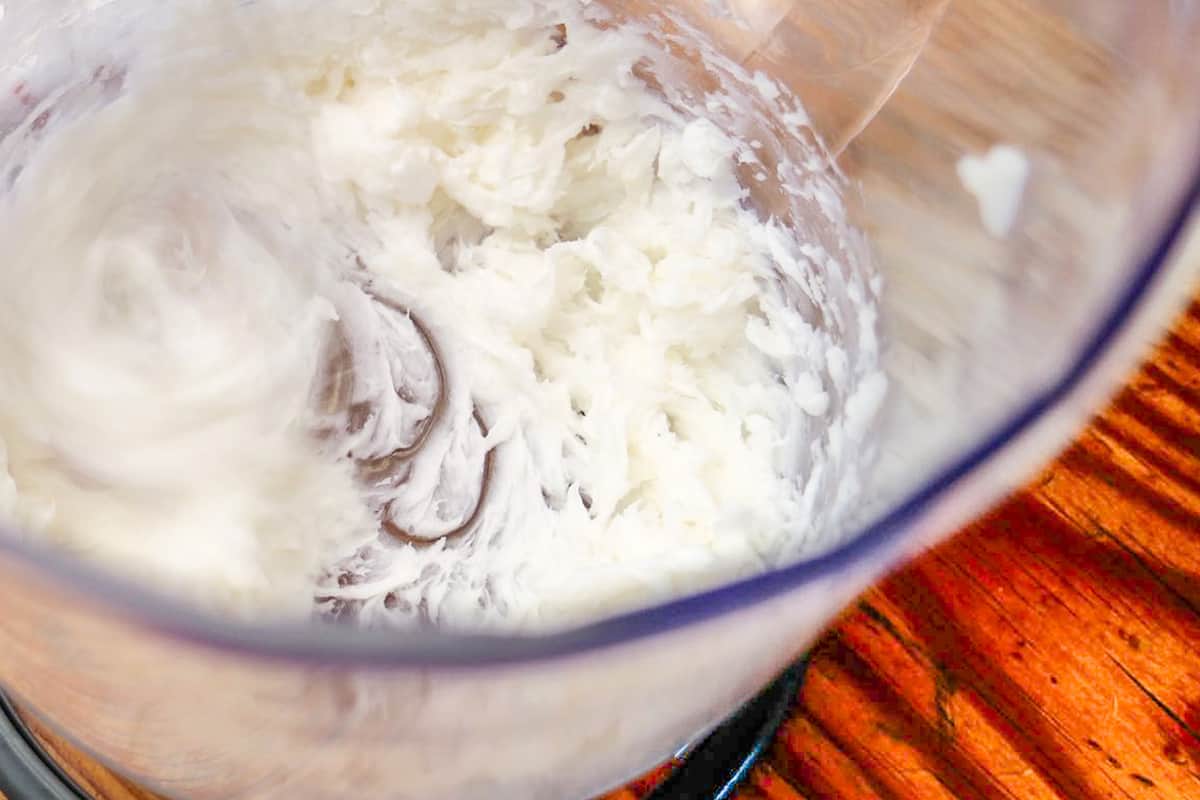
Prepare Fat
Cream the room-warm butter or coconut oil for 2 minutes.
Stir fat
Quickly stir in sugar and vanilla sugar.

Supplement eggs
Beat the eggs and add them one by one to the dough.

Mix eggs
Stir the eggs into the cake batter.
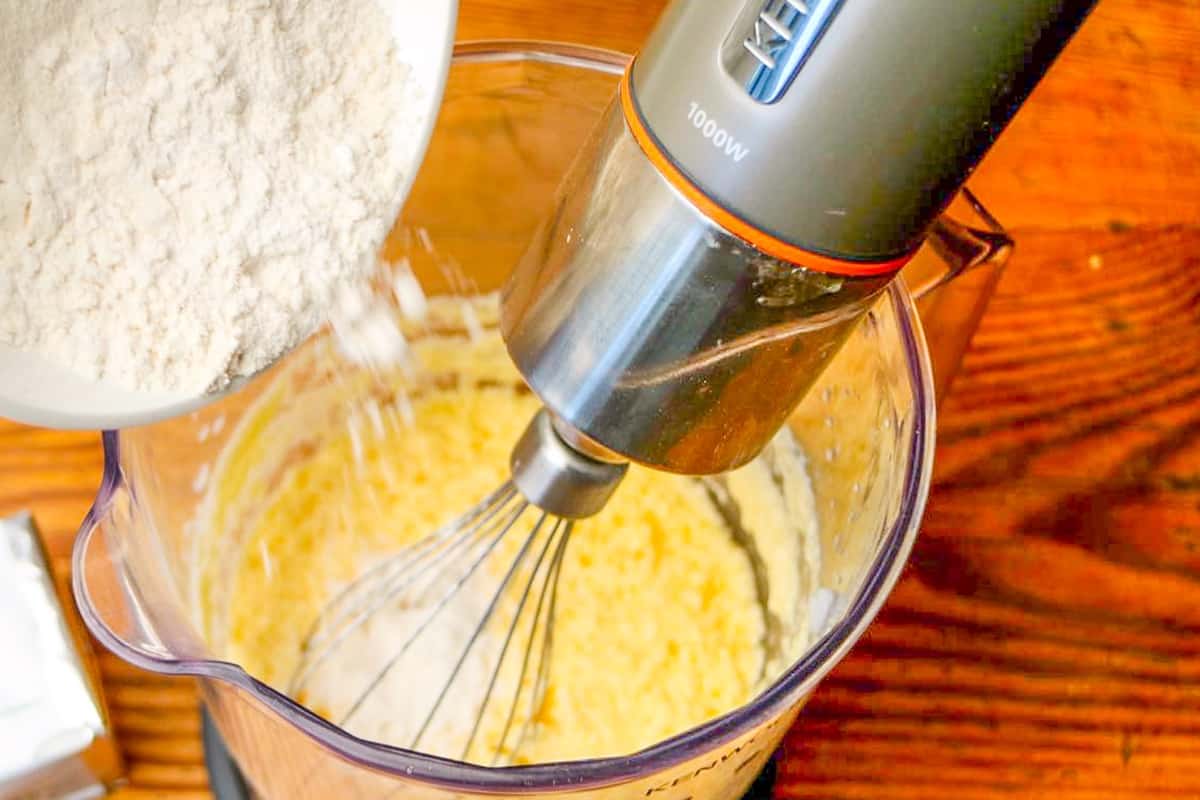
Supplement flour
Slowly add the sifted flour and baking powder to the dough and work in.
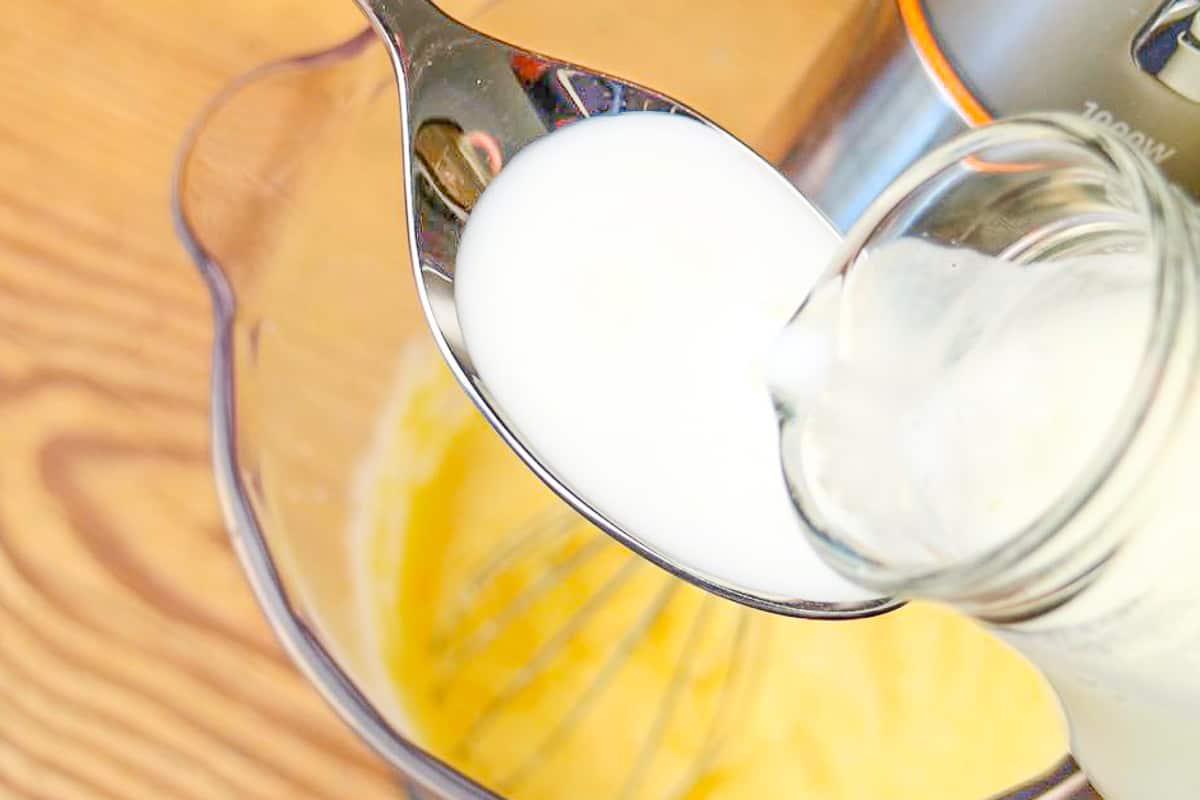
Supplement milk
Finish the cake dough with milk in the consistency.
Pour in the cake and bake
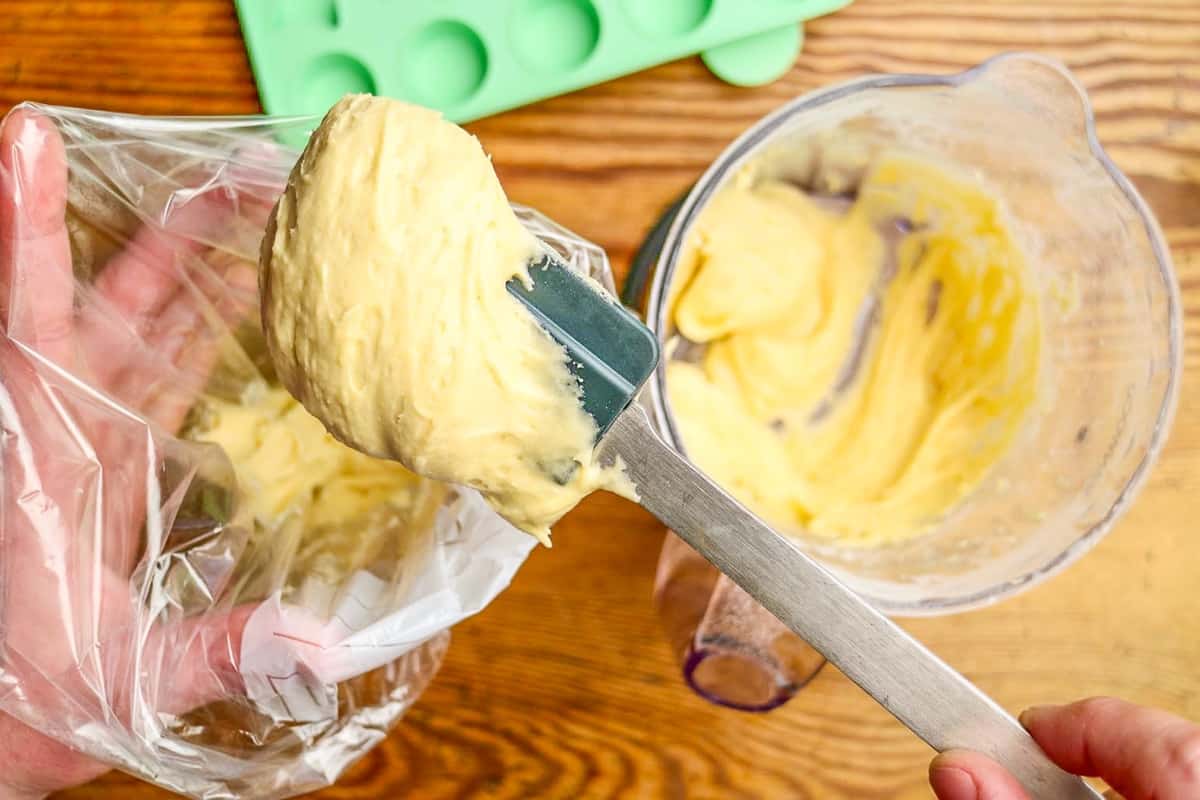
Process dough
Pour the cake mixture into a piping bag.
Alternatively you can use a 6 litre freezer bag.
Preheat the oven at 170°C hot air.
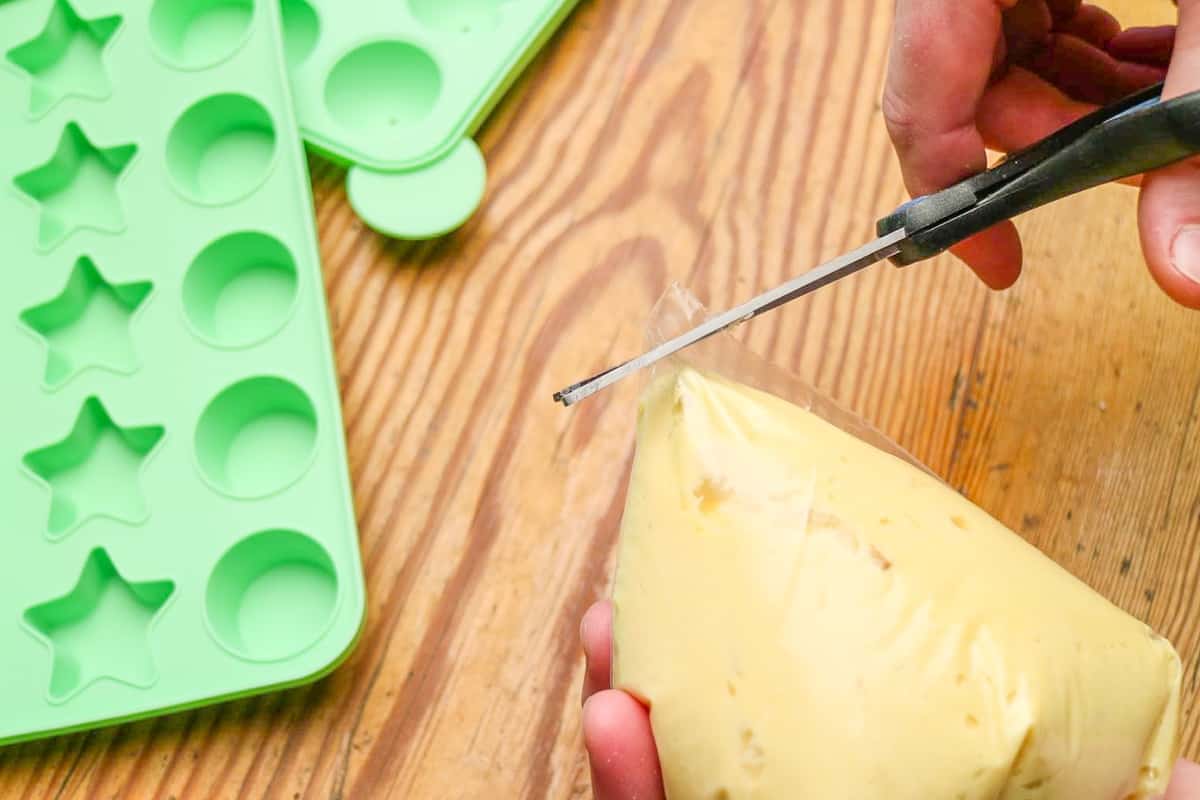
Prepare Bag
Cut open the freezer bag at one corner.
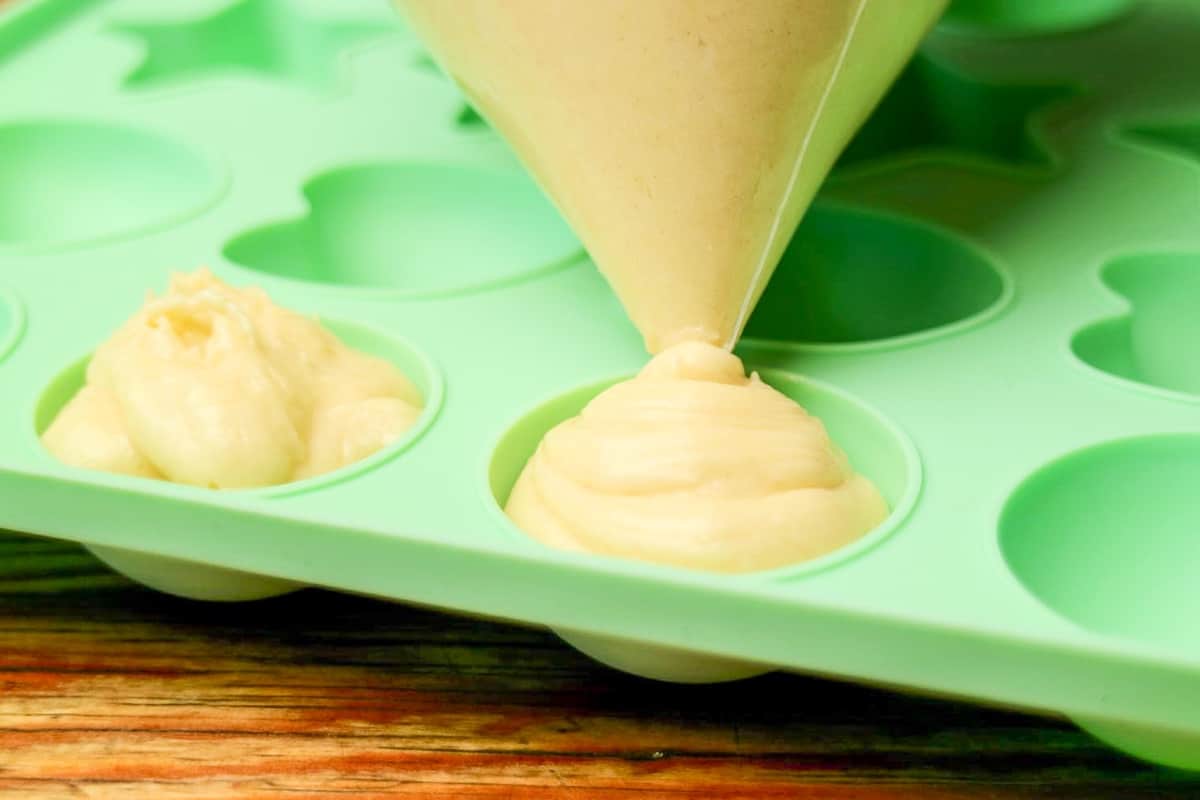
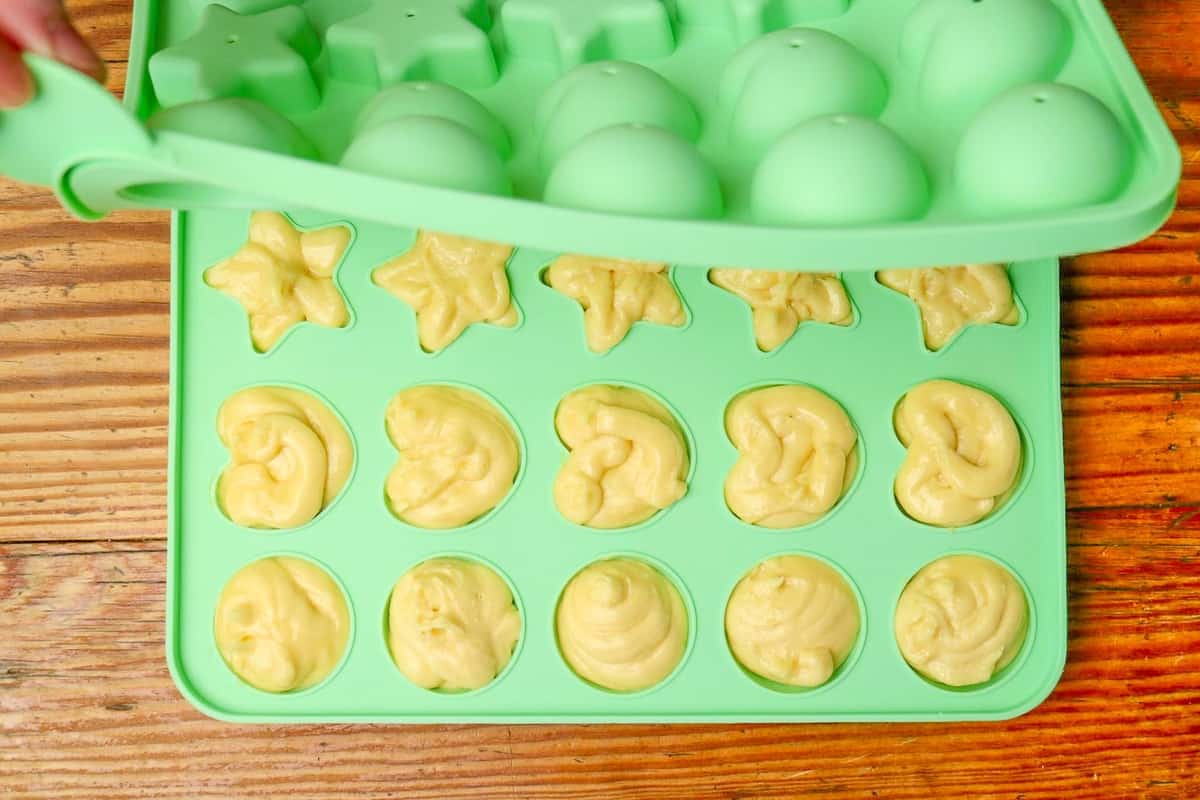
Filling dough
Please make sure to fill the bottom pan WITHOUT holes!
Fill the Cake Pop cake tins.
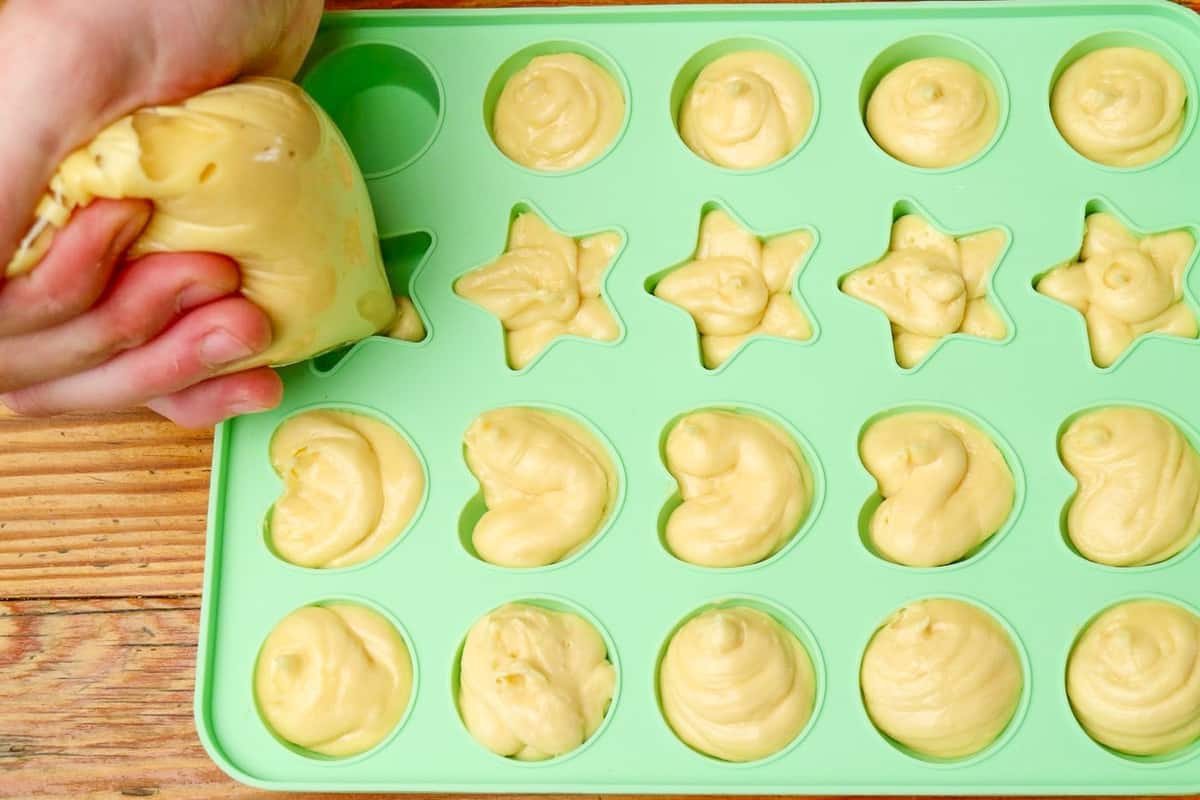
Correct filling
Do not fill the mould too high, the dough will rise during baking!
Bake
Close the cake pop tin and bake in the oven for about 25 minutes.
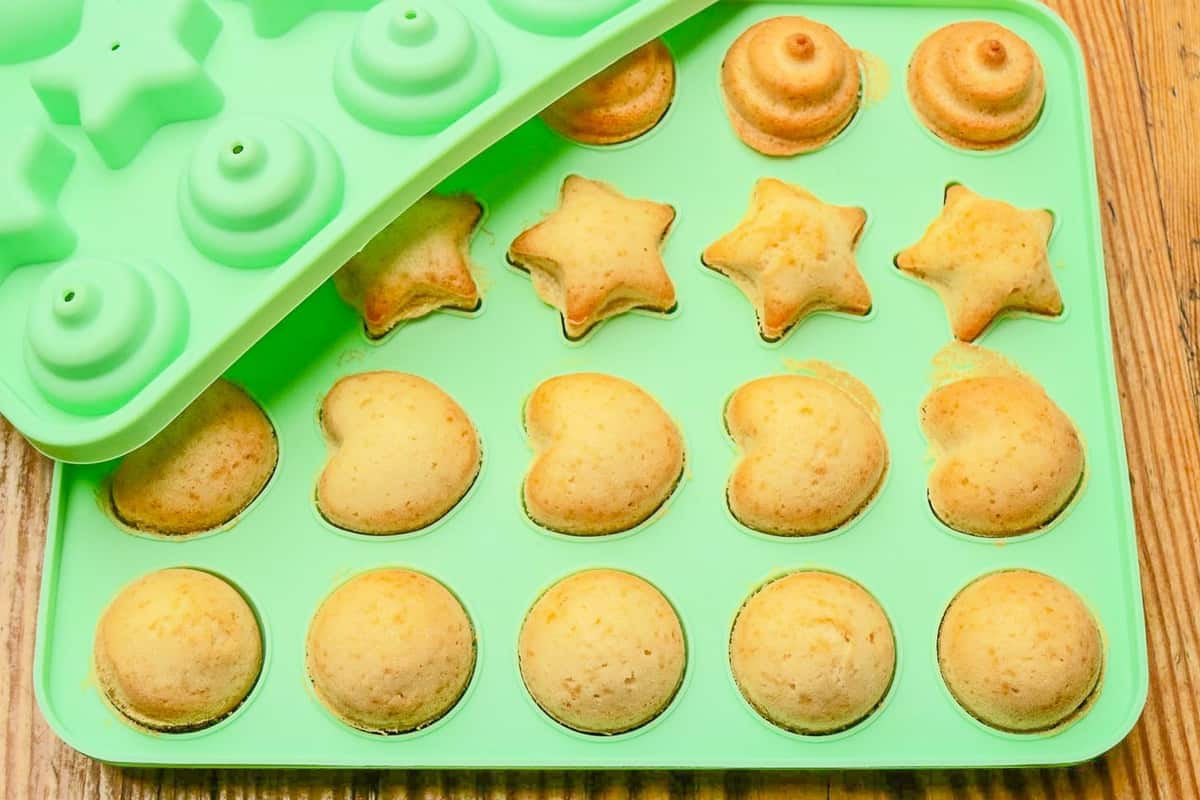
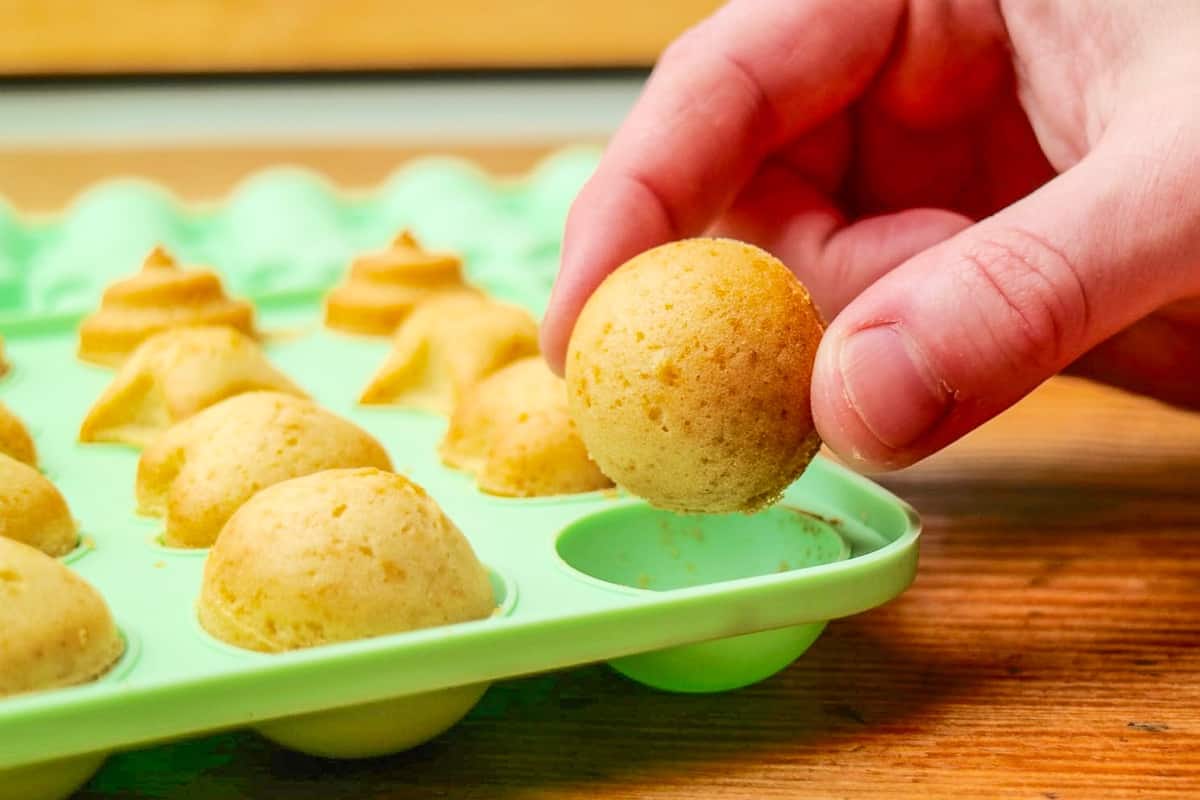
Cakes ready
Prick the small cakes with a wooden skewer.
If no dough or crumbs stick to the wood, the little cakes are ready baked.
Open the cake tin and let it cool down.
Glaze and decoration
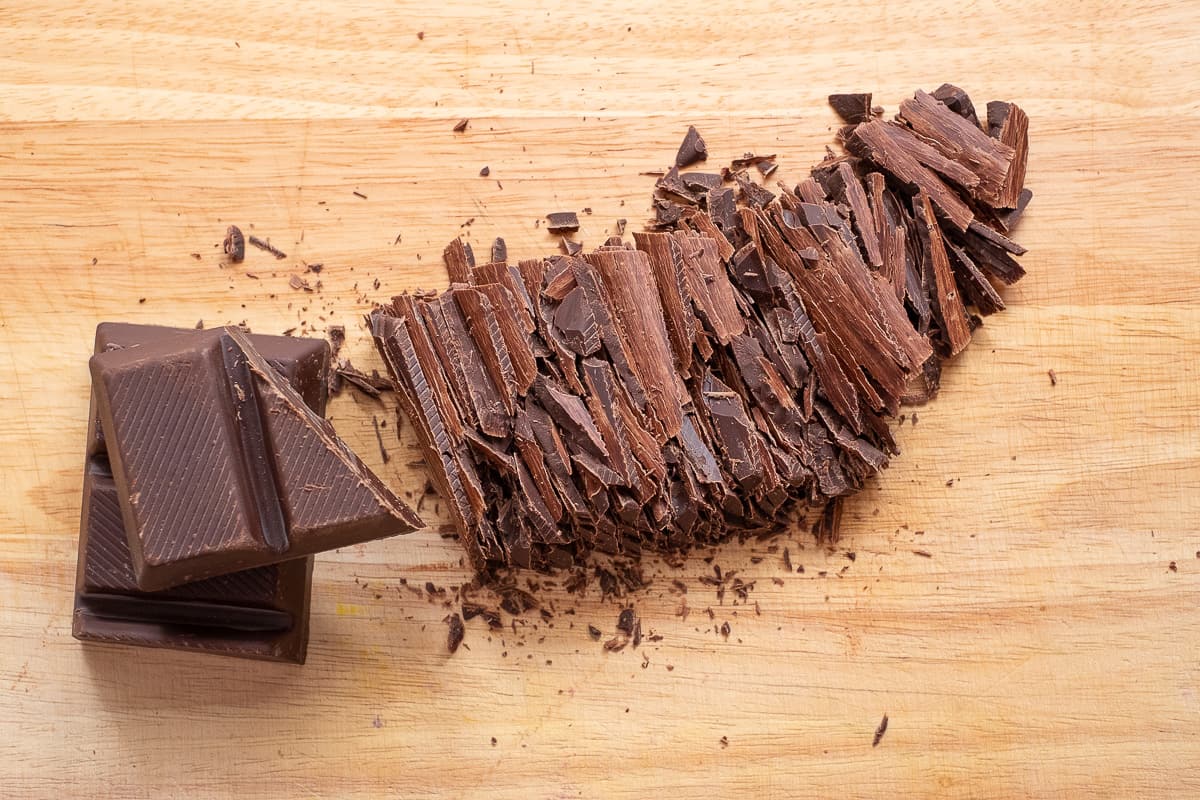
Cut chocolate
Cut the chocolate into small pieces.
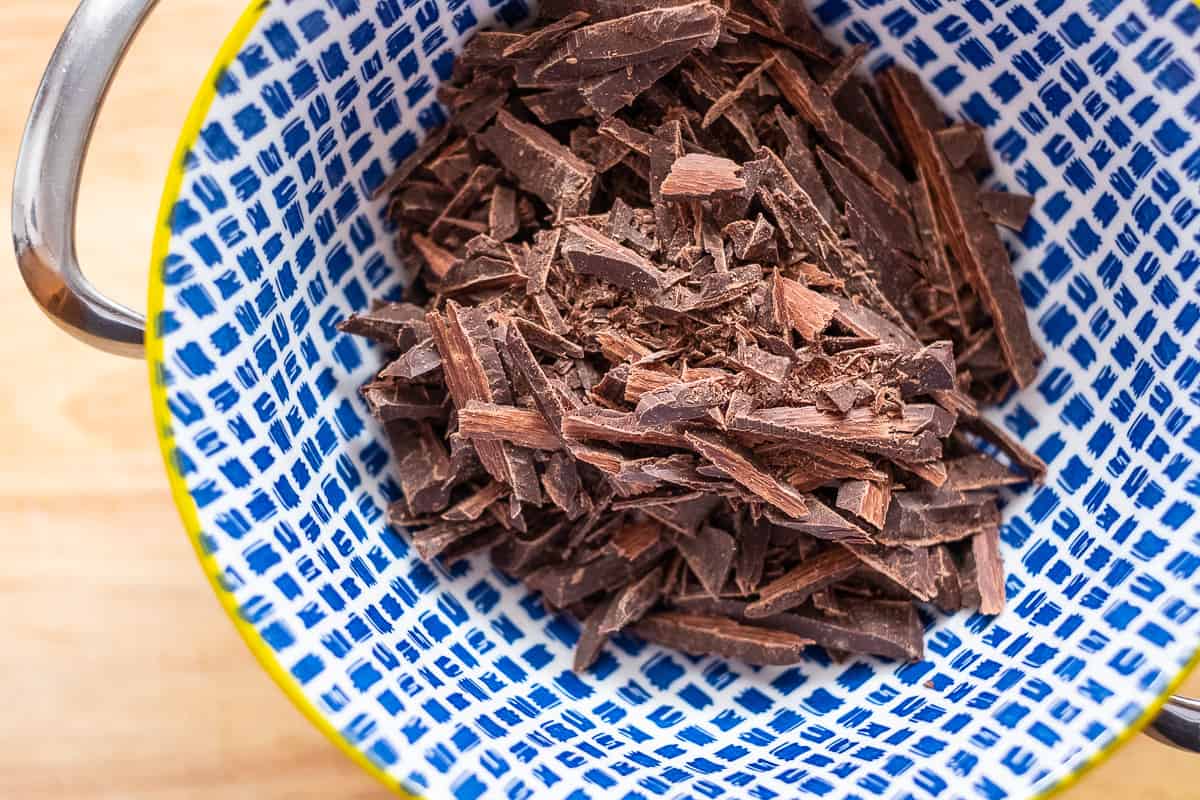
Melt chocolate
Melt 2/3 of the chocolate in a porcelain bowl over hot water in a pot.
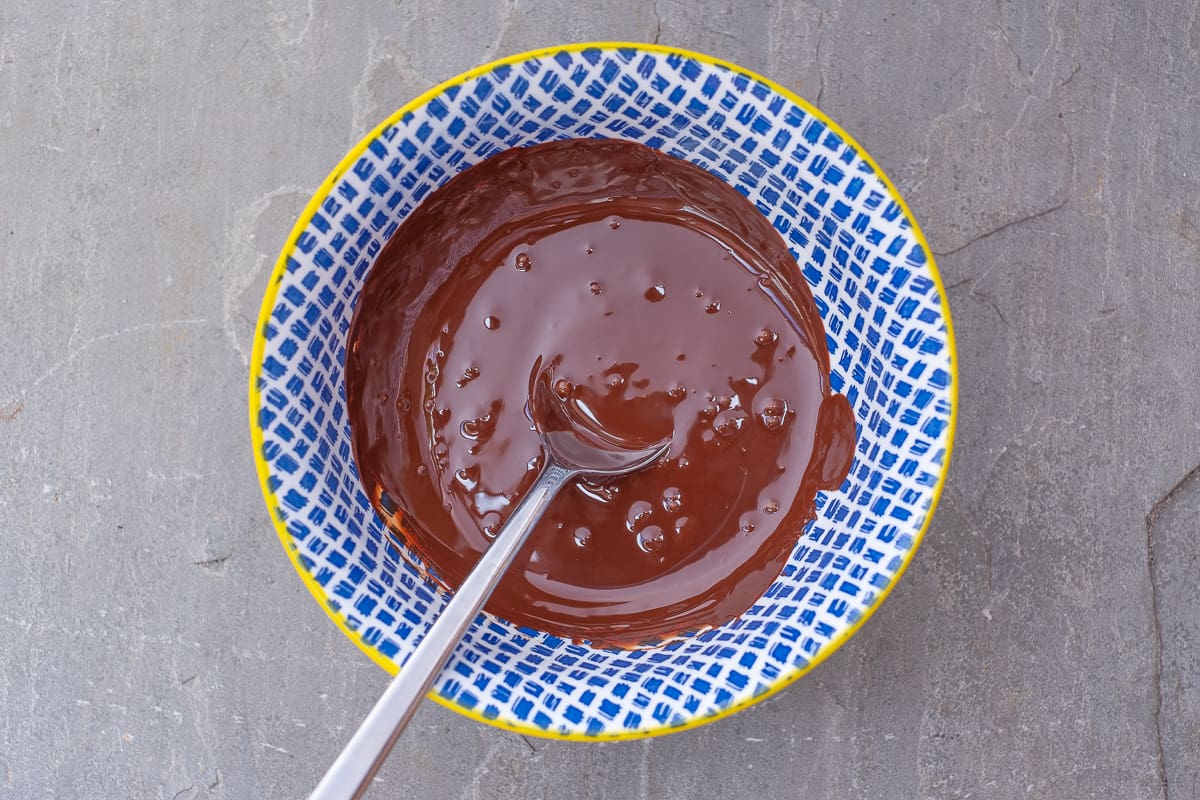
Finalize chocolate
Remove the bowl from the pot, stir in the remaining chocolate and melt.
The temperature should drop to 26 °C. Do the lip test as described in the article.
Re-heat the chocolate very briefly to 31-33°C, then remove from the water bath.
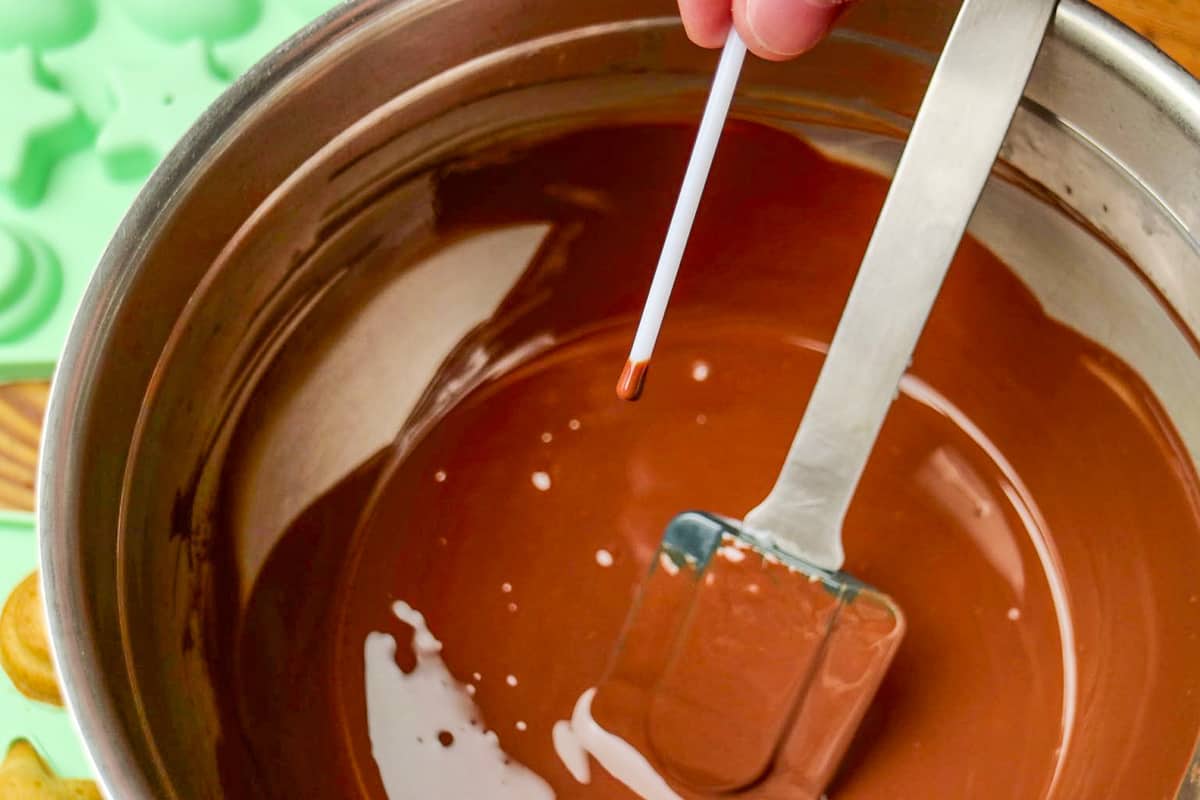
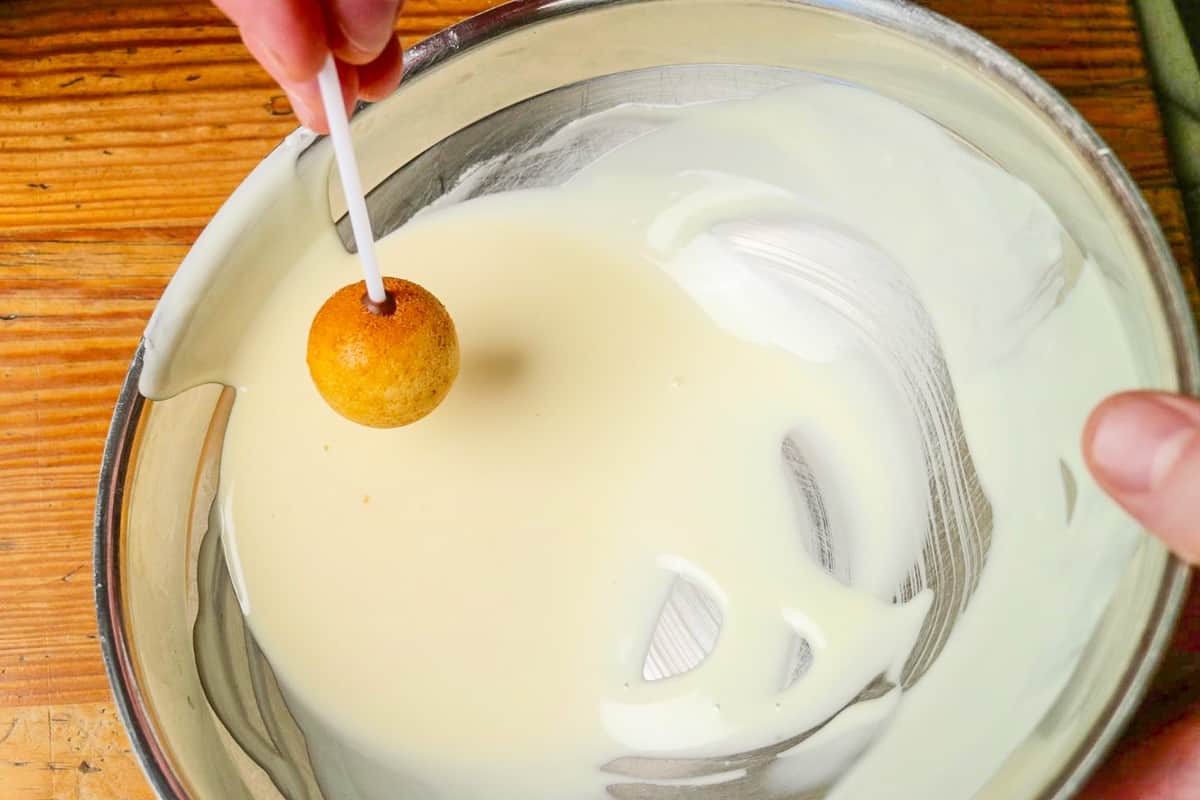
Dip stems
Dip the stems individually into the chocolate icing.
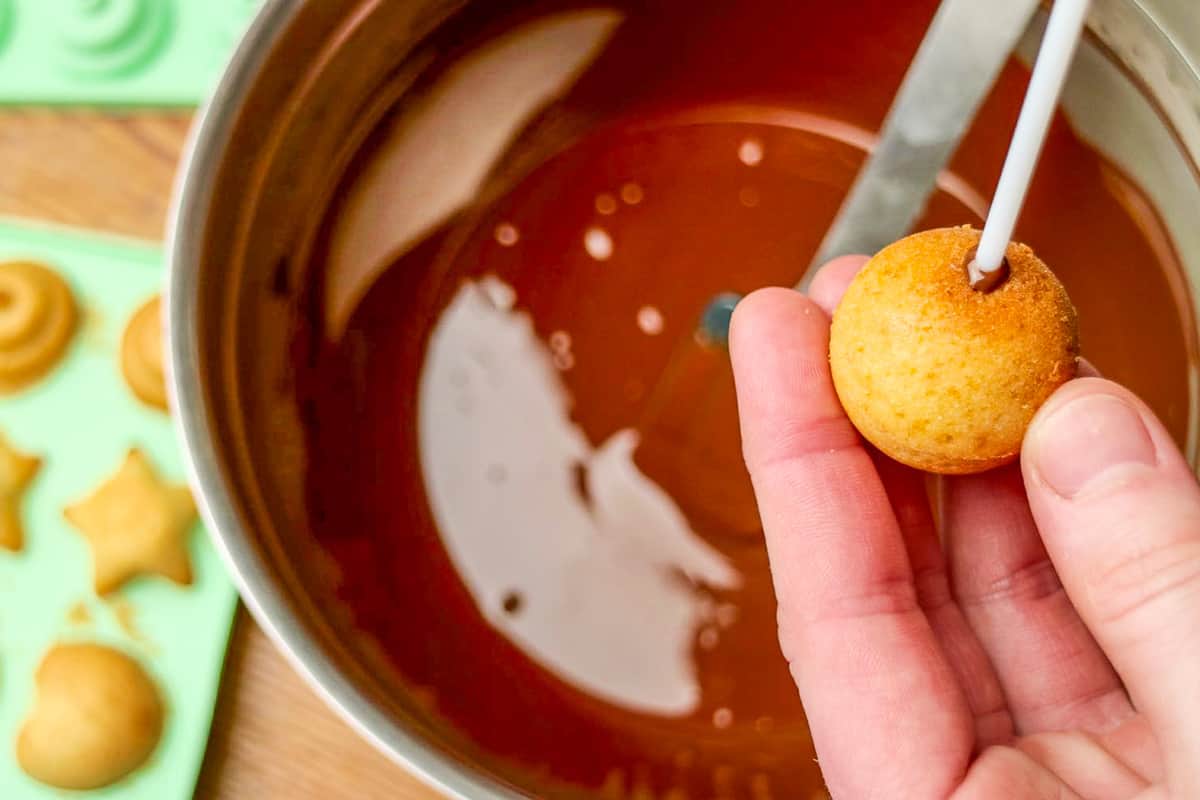
Stick cakes
Stick dipped stems directly into the cakes.

Store cakes
You can store the Cake Pops in the moulds before glazing them with chocolate.
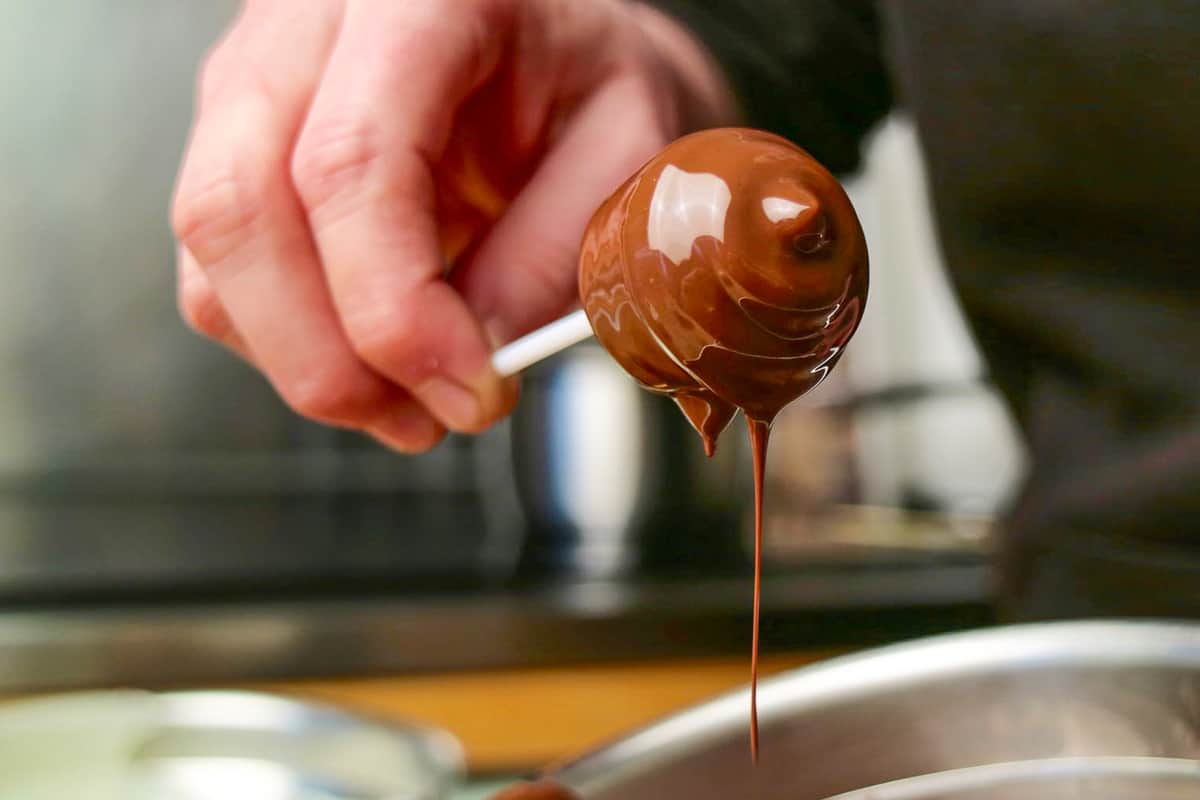
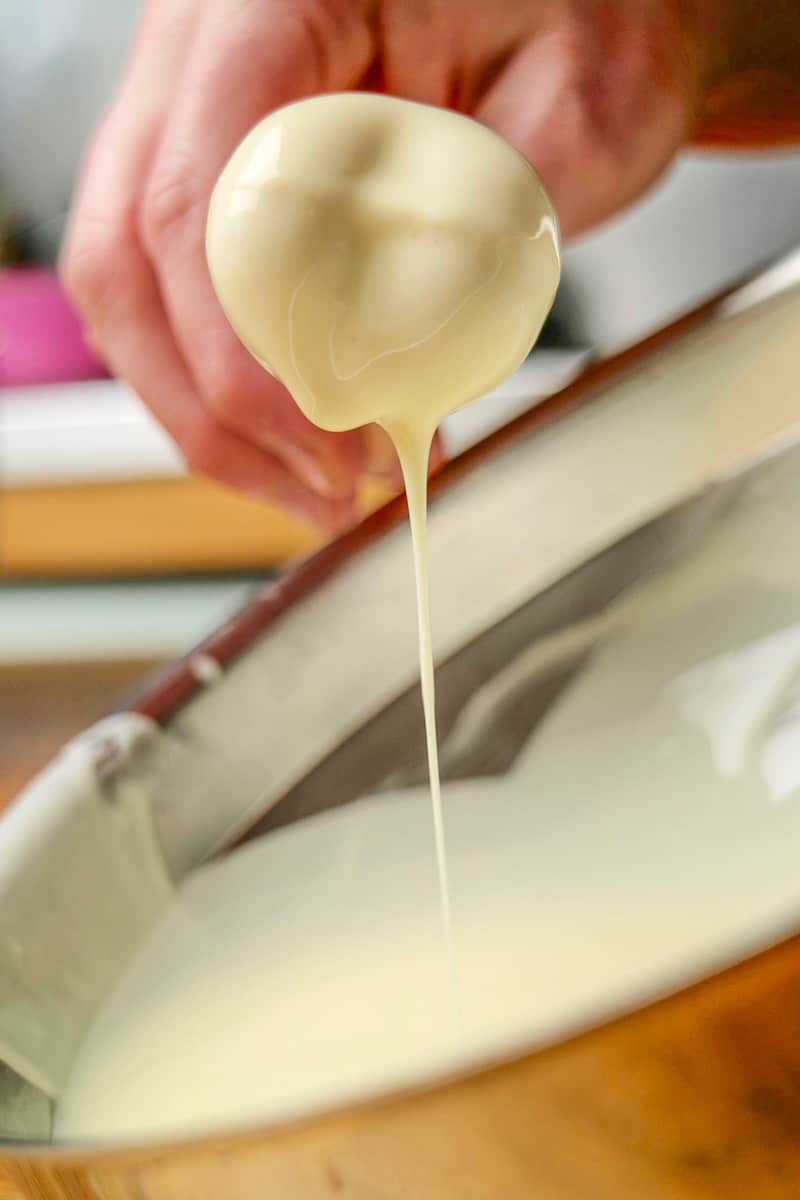
Glaze cake
Skilfully pull the prepared Cake Pops through the chocolate, drain them and then let them dry, preferably stuck in polystyrene.
Glaze alternative
You can alternatively use white couverture!
Serve
Sprinkle the Cake Pops with sugar balls or sugar decoration as desired and serve later.
Video
Courses
Cousine
Keyword
2. Calories and Nutritional Values
3. Shopping List for Cake Pops
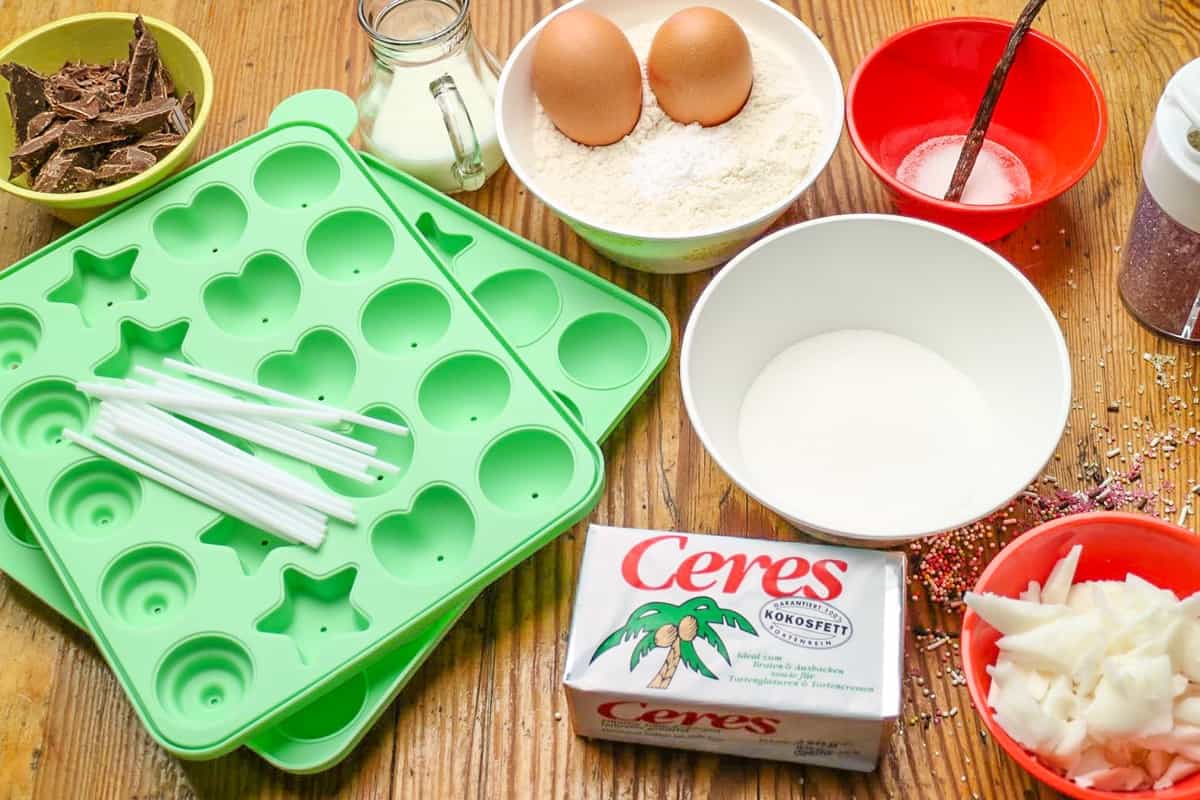
Because it’s sooo practical, the first thing you’ll find is an overview of the ingredients and tools including decoration for our baking experience.
Cake mixture and decoration:
- Brown Sugar
- Vanilla sugar or vanilla pod
- Organic eggs
- Organic milk
- Wheat flour
- Baking powder
- Sugar balls and sugar decoration
- Dark and light chocolate
Tools:
- Piping bag or freezer bag 6 litres
- Scissors
- Short Cake Pop sticks
- Mixing bowl
- Hand mixer
- Cake Pop forms
- Water bath and pot
- Egg boxes or glasses with sugar
You can either buy the cake-sticks and the cake-pop tin in a special shop or order everything online. When shopping, please remember the colourful sugar sprinkles and sugar balls. You can use both for the next baking campaign e.g. for cupcakes.
I don’t really like the silicone baking pans that much. There were no other forms for the little balls!
Shopping tip from chef Thomas Sixt
4. Tips for Baking Cake Pops
- Freshly sifted flour makes the dough turn out especially well!
- Mix the ingredients gradually, then the dough bakes better in the mold!
- Do not fill the molds too full, because the dough still expands.
- Hot air 170°C is my maximum temperature.
- Through the hole in the ramekins you can do the chopstick test.
- Let the cakes cool down after baking.
- Check my instructions for chocolate icing in the next paragraph.
5. Prepare Glaze for Cake Pops
For the cake glaze with couverture I will write you a few lines! We have a little time now, because our little cakes, fresh out of the oven, are allowed to cool down. Please hide the cakes, sometimes the moulds empty mysteriously 🙂
To prepare the Cake Pops glaze, first cut the couverture into fine pieces. Use a sharp chef’s knife and take your time. Chocolate is very hard, so be careful when cutting.
I promise! The finely cut chocolate can now be melted better and more evenly.
My tip is: Use a porcelain bowl to melt the cut chocolate. The chocolate will then not get hot so quickly and the chocolate will melt more gently.
A little trick for tempering the chocolate helps to ensure that the chocolate icing later becomes firm:
- Place about 2/3 of the sliced chocolate in the bowl and heat it in a pot over hot water.
- When the chocolate has melted, remove the bowl from the heat and stir in the remaining sliced chocolate.
- The chocolate now cools down noticeably and should not feel hot when you do the lip test – carefully put some chocolate on your lip. Here we are in the temperature range of about 26°C.
- If you want to be on the safe side, put the chocolate on the water bath again. About 2 minutes are sufficient, a short temperature rise to 31-33°C is desirable.
- Now remove the chocolate from the cooker and process it quickly.
- A little coconut fat or butter makes the chocolate particularly shiny. 3-5% – calculated from the amount of chocolate would be sufficient. For 100 g of chocolate, 5 g of coconut fat is sufficient.
Adding 3-5 % coconut fat to the chocolate makes your icing extra shiny!
Shiny chocolate tip from chef Thomas Sixt
6. How Do the Cake Balls hold on the Stick later?
Now we want to deal with fixing the cake balls to the stem. The consistency of the cake dough is already perfectly adapted to the stick 🙂 so don’t worry. Nevertheless, there is an additional protection…
Dip the cake stems in the chocolate icing before putting them into the cakes. The chocolate acts like a glue in the ball, which bonds the cake and the stem well.
Cake balls fixing tip for stable Cake Pops
7. More Ideas for Baking Cakes
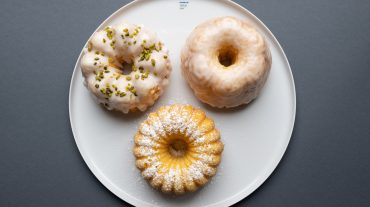
Lemon Cake

Easy Apple Pie Recipe
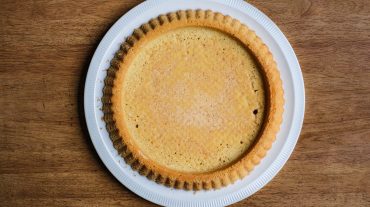
Fruit Cake Base Recipe for Your Easy German Sunday Cake
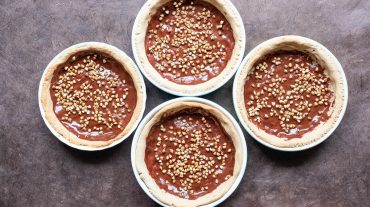
Chocolate Tart Recipe with Buckwheat
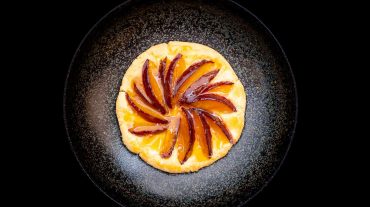
Plum Tarte Recipe for 3 Variations

Plum Crumble Recipe

Zwetschgendatschi Recipe for German Plum Cake
Plum Cake Recipe with Yeast Dough
Cake Pops Recipe

Preparing Cake Pops with Cake Leftovers
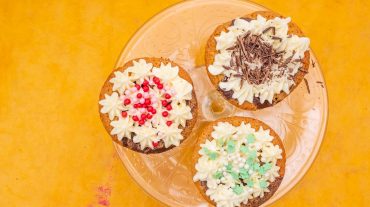
Marble Cake Muffins, on Request with Topping
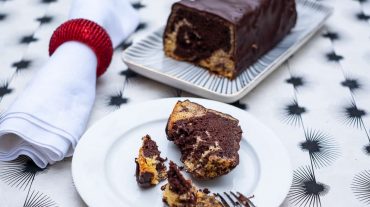
Marble Cake with Glaze Recipe
Comments, Cooking Questions and Answers
Below you can write to me directly.
Please don’t forget the star rating on the recipe, 5 stars means you liked it!