
Reply
Pizza Dough Recipe For Fast and Slow Preparation

Author:
Thomas Sixt is a chef, food photographer, cookbook author and blogger.
Here he shares recipes, answers cooking questions and helps with cooking.
You can find my pizza dough recipe in this post.
Do you want the pizza to be perfect at home?
In addition to the dough preparation, you can take helpful information about the optimal baking process and tips from my pizzaiolo friend Luigi with you.
Secret 🙂 Pizza knowledge straight from Italy is waiting for you!
But piano – slowly, that’s what the preparation of the dough is all about.
Plan a little more time and conjure up a wonderful mafia cake. –
➽ Tips for fast dough preparation I have also added it.
Then let’s start. My step-by-step instructions below will guide you to the perfect result.
I wish you a lot of fun with the preparation and good luck!
Table of Contents
1. Pizza Dough Recipe
The homemade yeast dough is usually allowed to rise several times.
For me, this dough is the ideal pizza dough for at home.
At the same time, the dough is optimized for preparation in the home oven at temperatures between 220 and 280°C.
Here are the step-by-step instructions. Have fun!
Pizza dough
Baked, photographed and written down by chef Thomas Sixt.
Servings 4
Calories 258
Total Time 1500 Min.
Preparation Time 60 Min.
Cook Time 1440 Min.
Simple instructions for preparing pizza dough in variants.
Ingredients
| 250 | g | flour (00) |
| 250 | g | Durum wheat semolina (reground) |
| 75 | ml | Water |
| 2 | g | fresh yeast |
| 1 | Pinches | brown cane sugar (Optional) |
| 1 | tbsp. | Olive oil |
| 12 | g | primal salt |
Instruction
Prepare flour
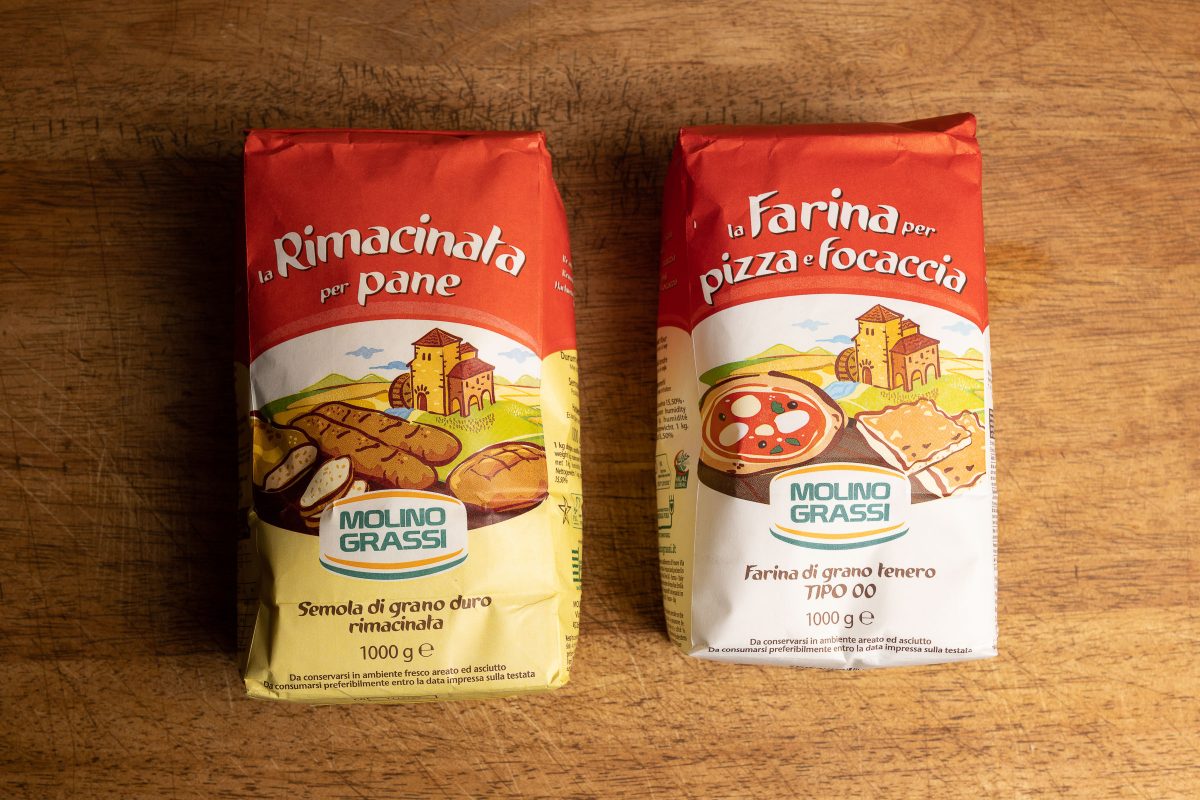
Prepare the two flours for the dough preparation.
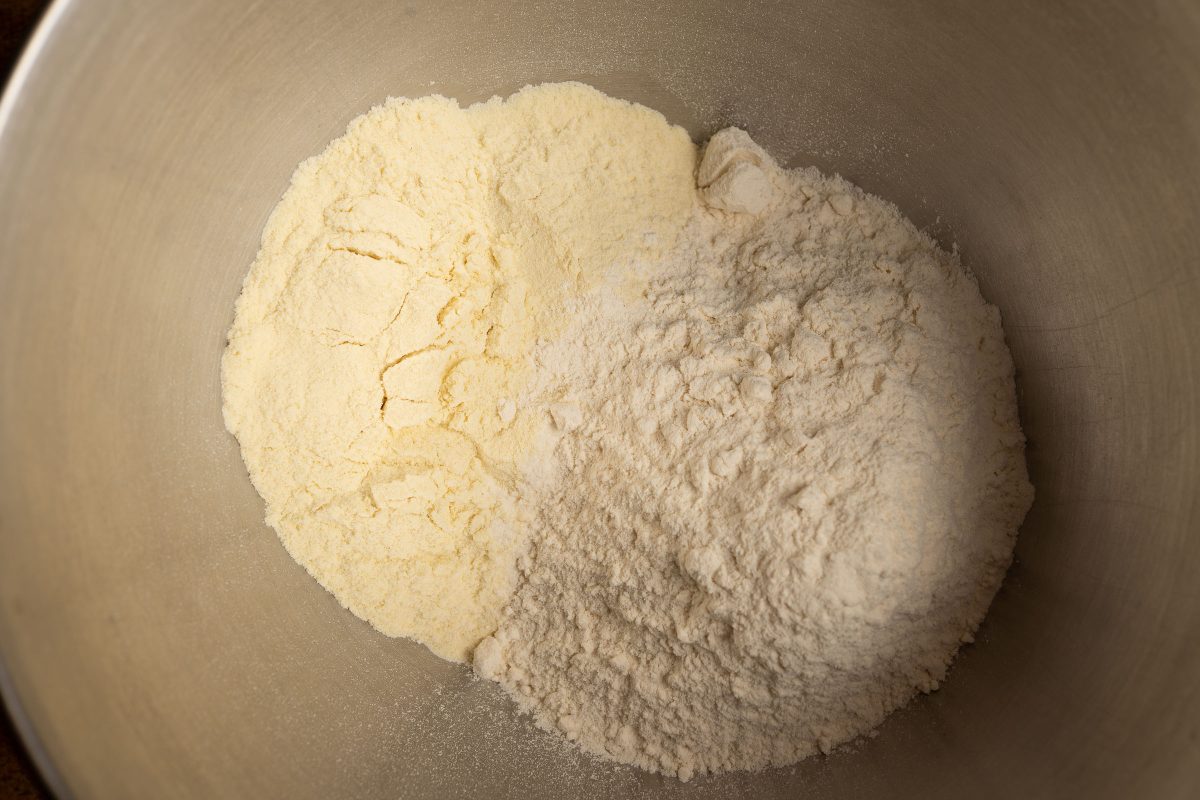
Weigh flour
Place 250 g of flour for each type in a mixing bowl.
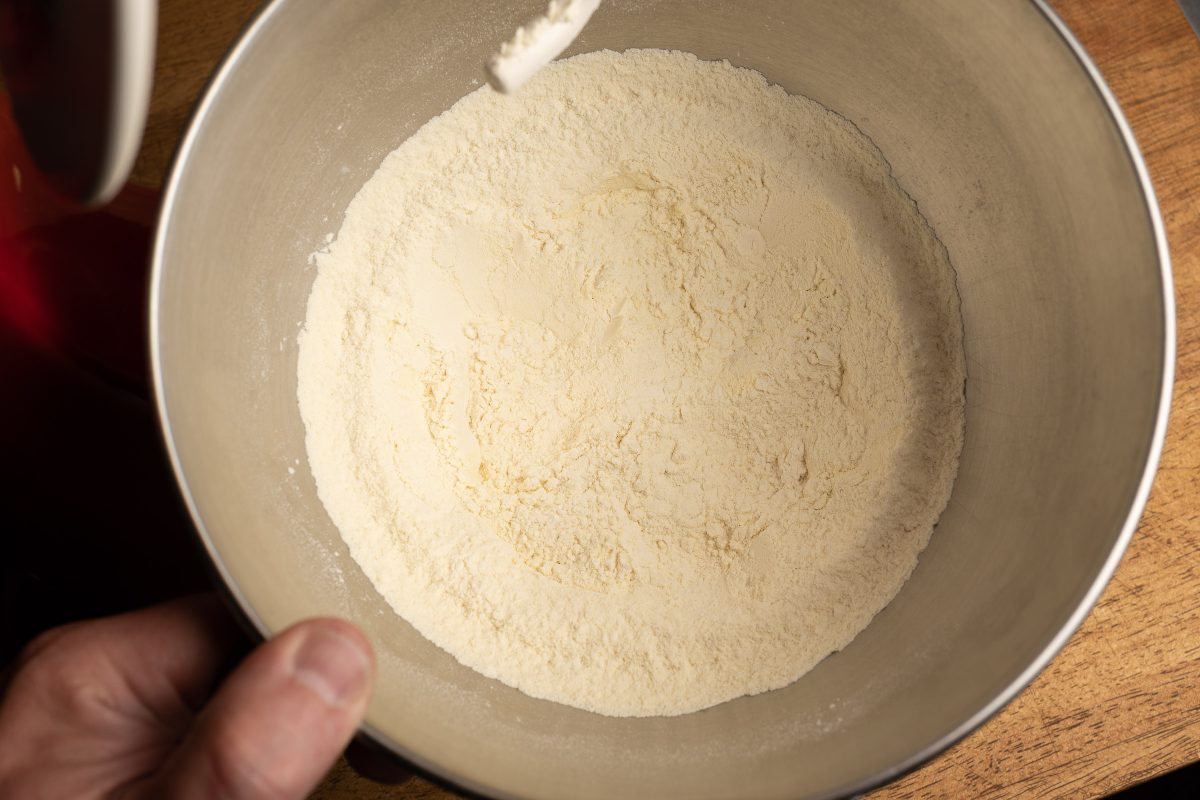
Mix flour
Mix the two types of flour with the dough hook.
Knead dough
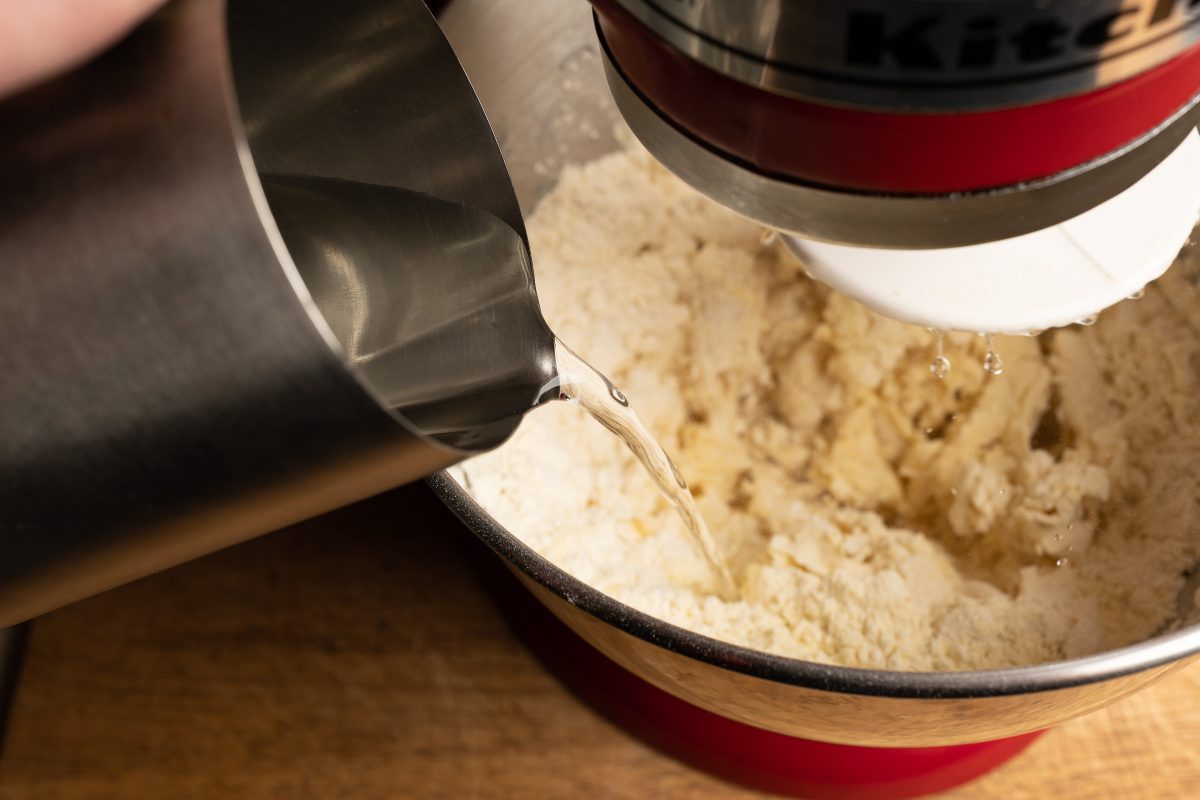
Add exactly 250 ml of cold water to the flour and knead for 15 minutes.
Dough Autolysis
Let the flour dough rest in the bowl for 30 minutes.
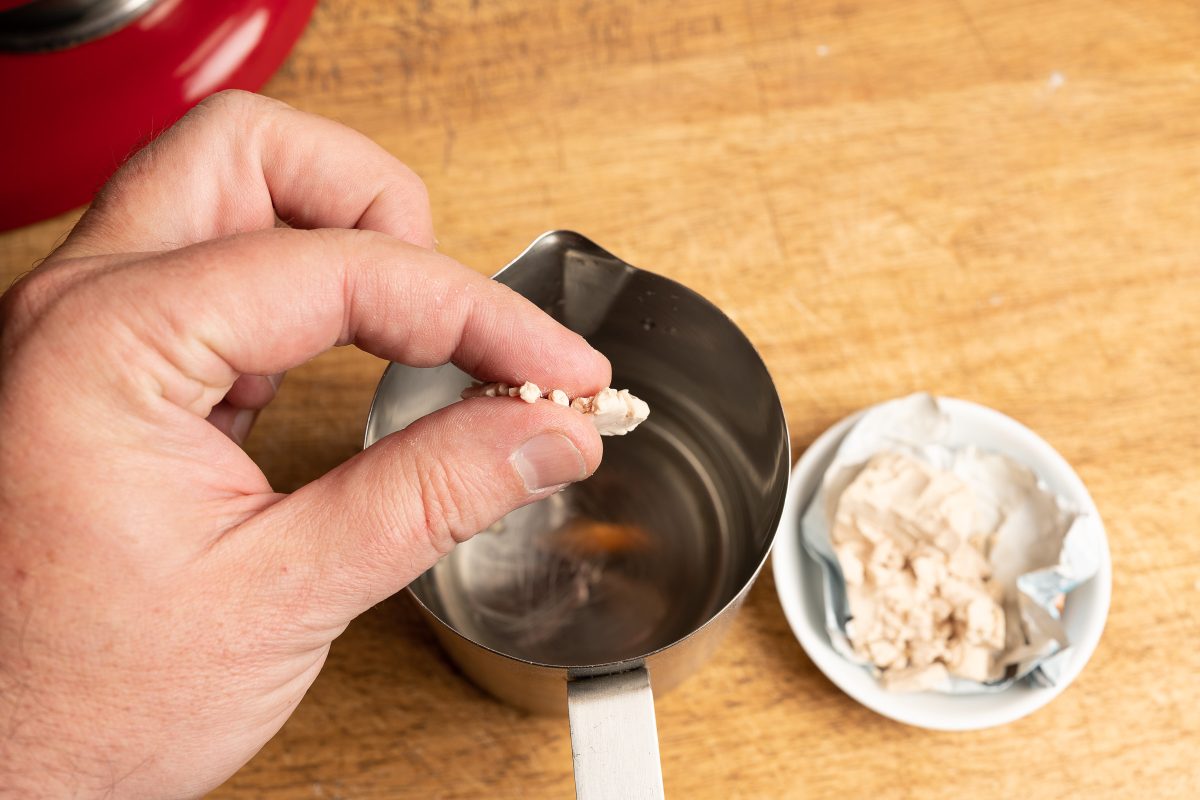
Dissolve yeast
Dissolve the fresh yeast in 75 ml of water. You can optionally add the sugar here and stir it in.
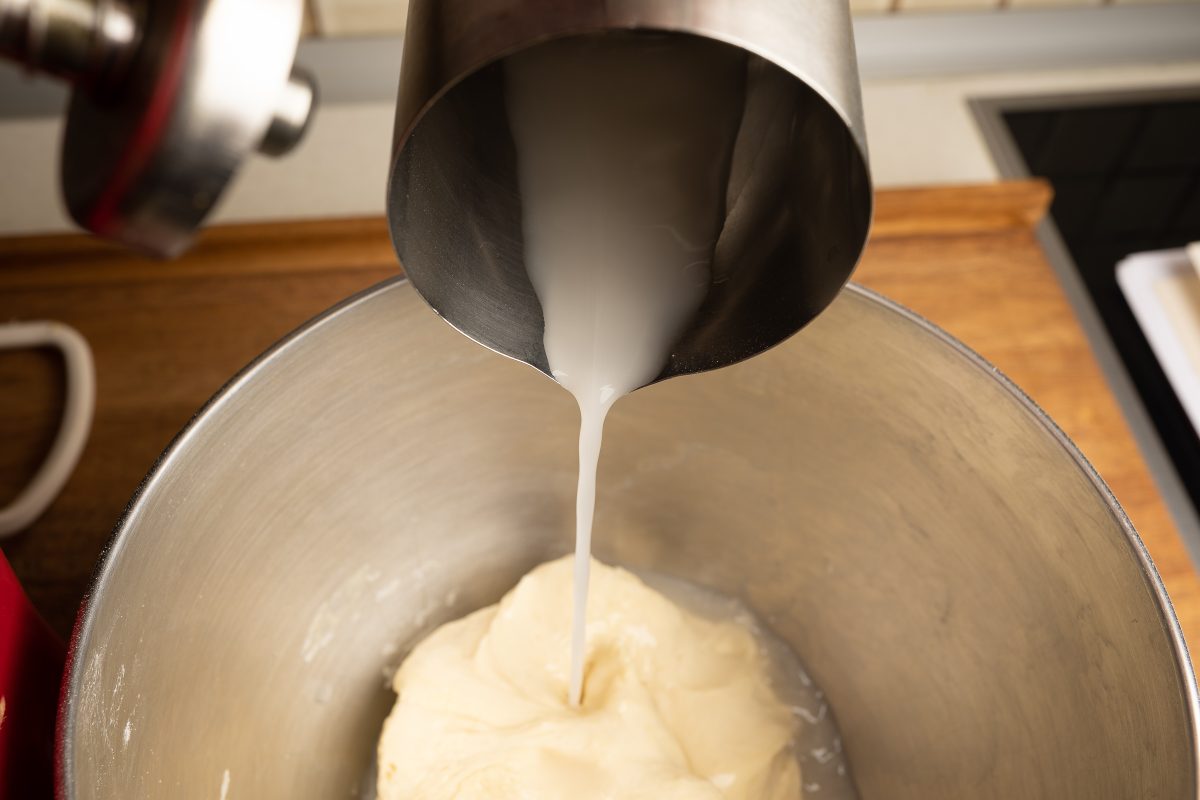
Add yeast
Pour the yeast water into the flour dough.
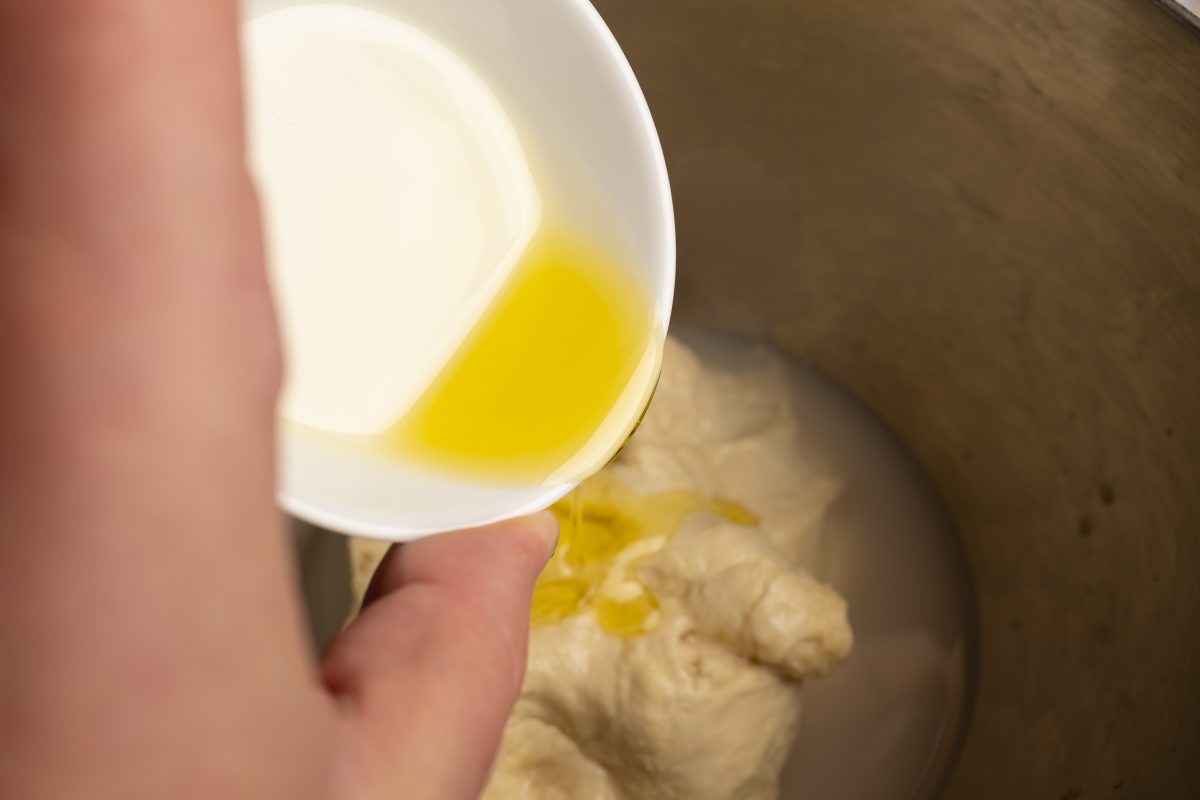
Add oil
Add the olive oil to the flour dough.
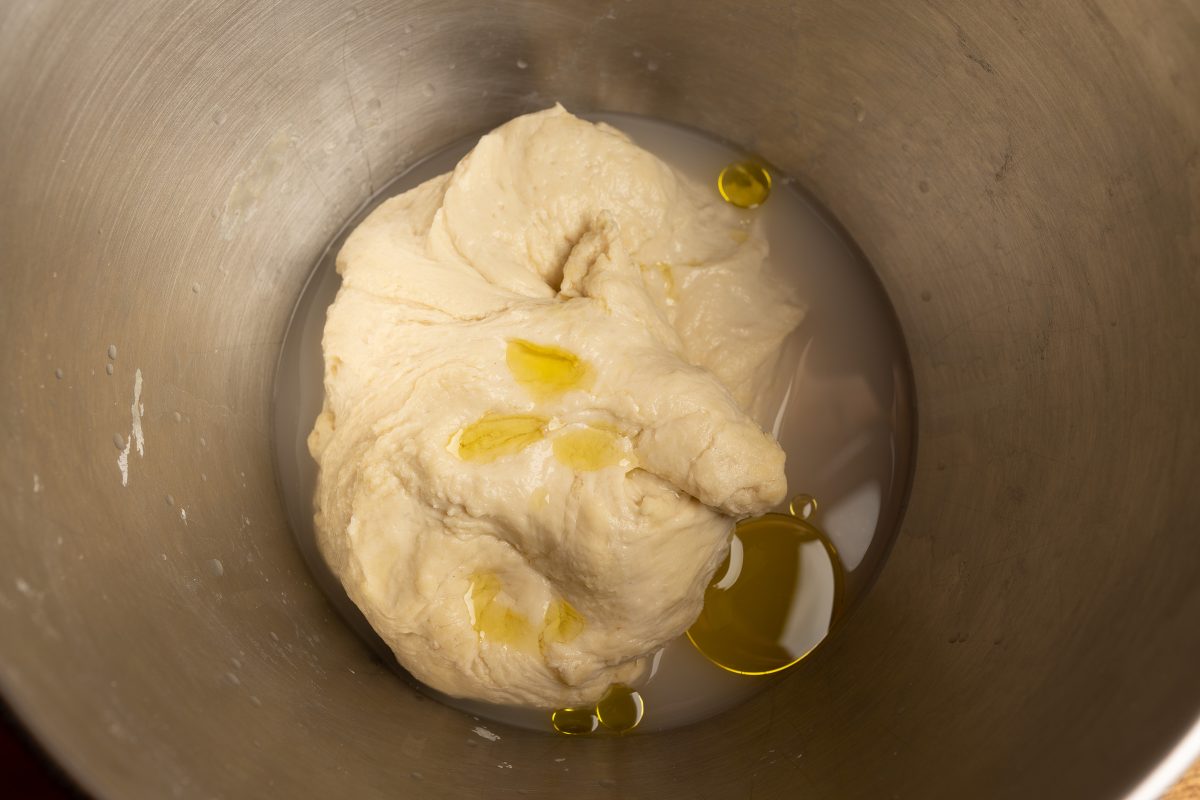
Dough base
The ingredients in the bowl of dough without salt.
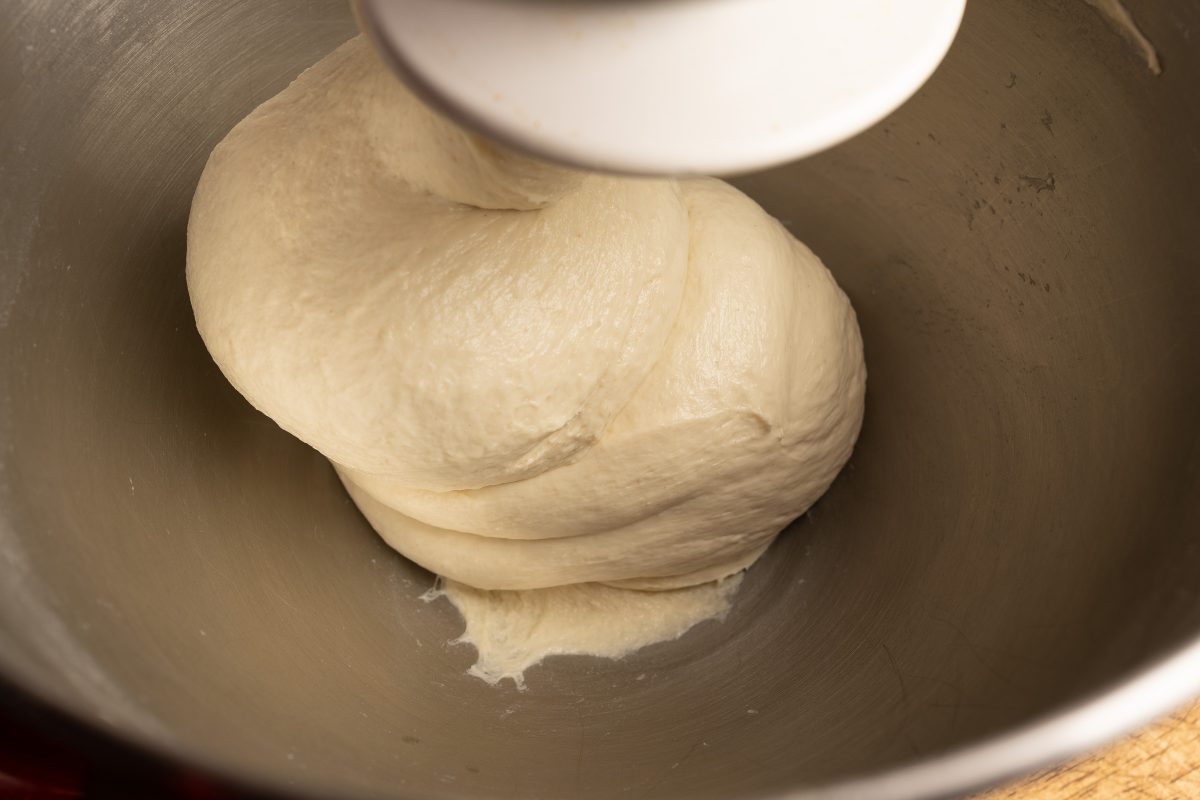
Knead dough
Knead the dough for 15 minutes.
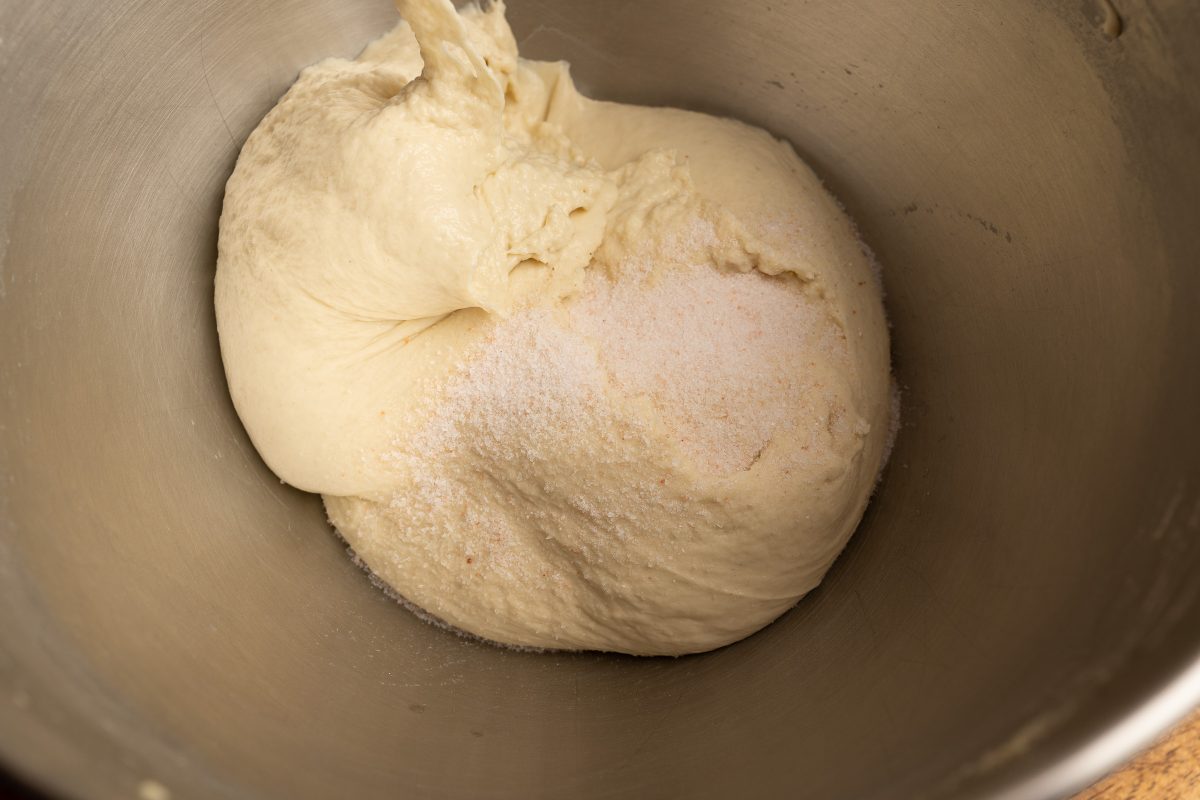
Add salt
Add the salt to the dough and knead for 5 minutes.
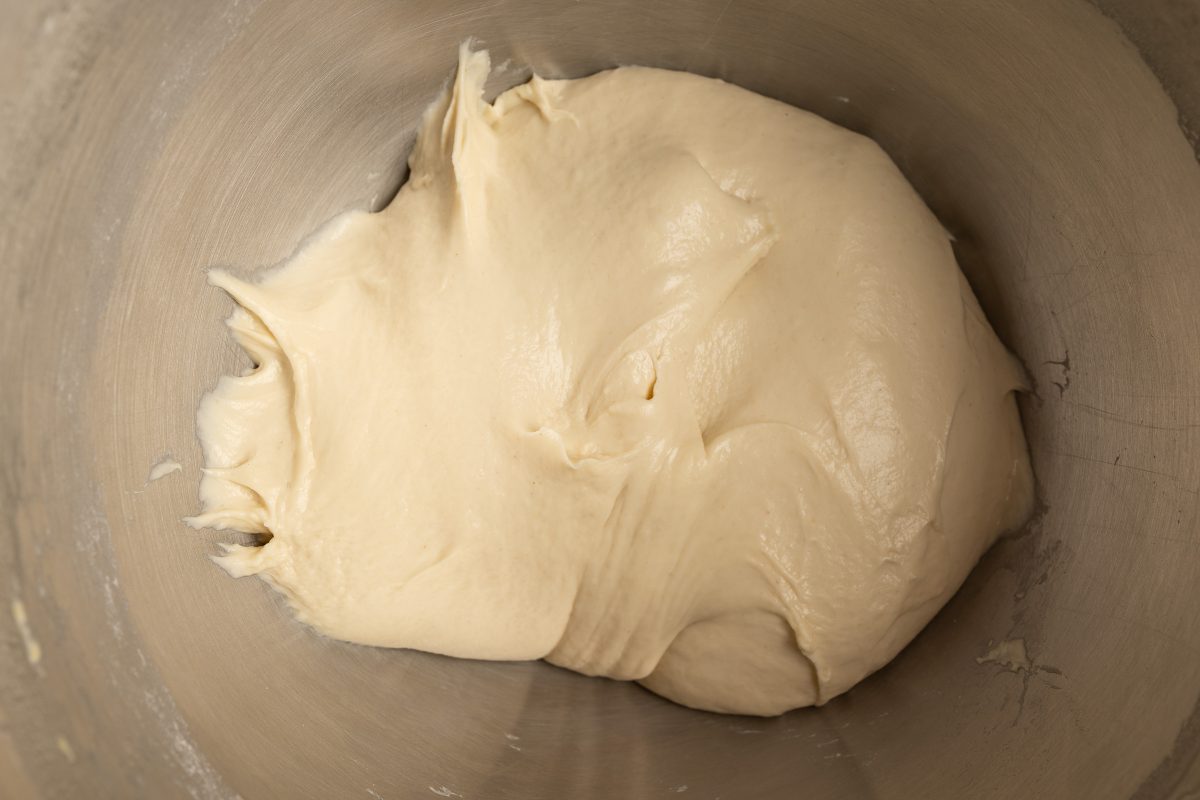
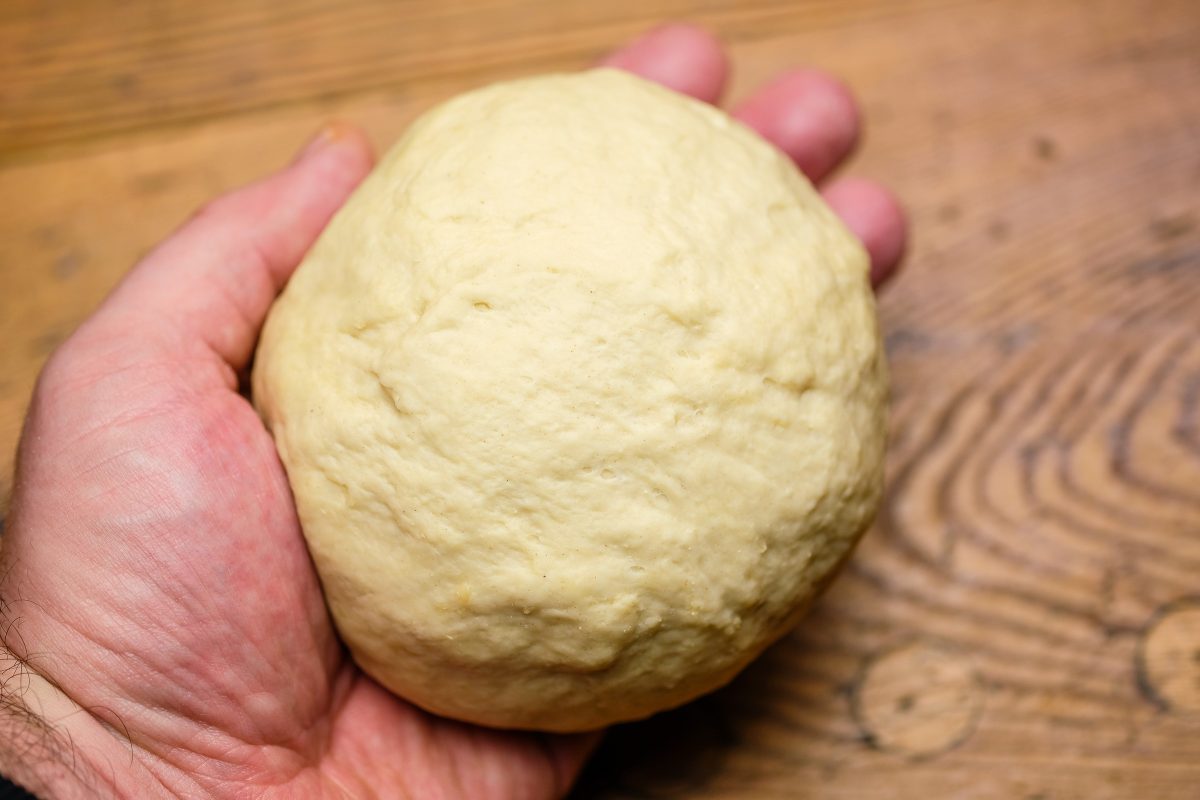
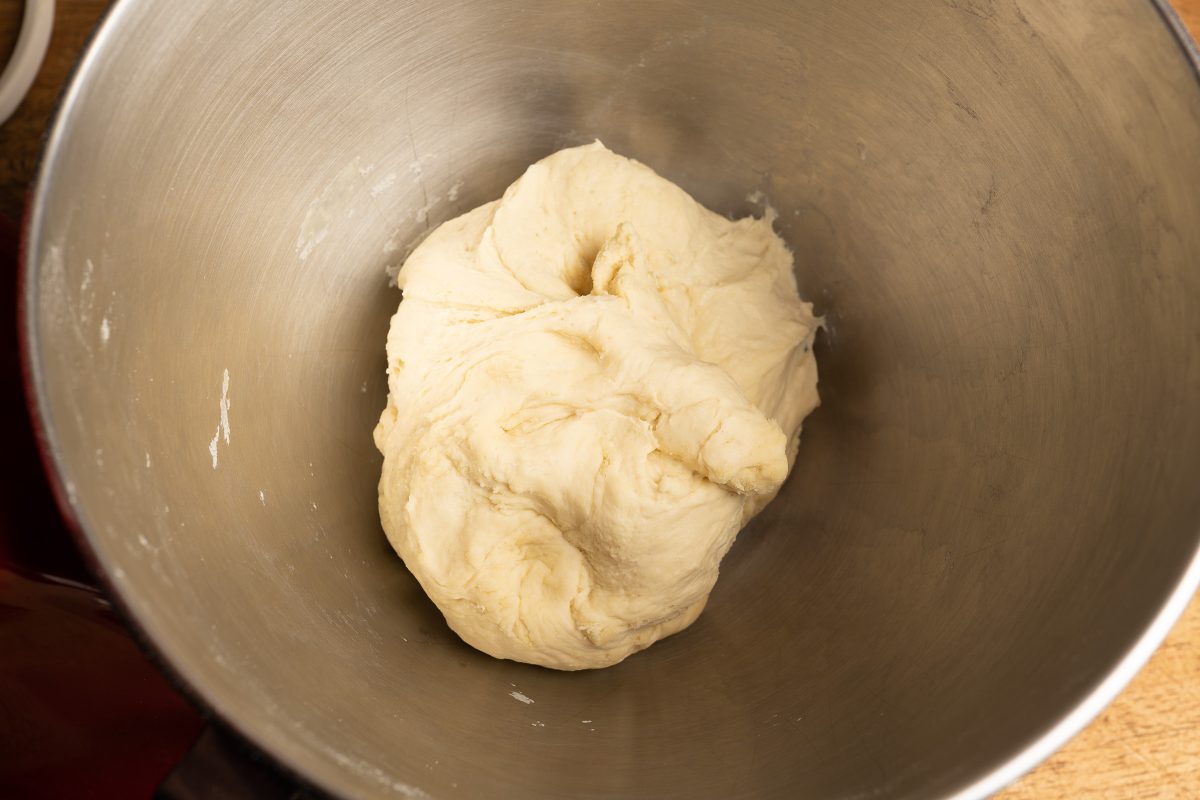
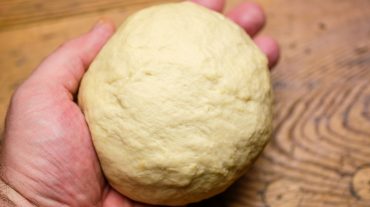
Dough ready
The dough has a soft consistency and stays in the bowl.
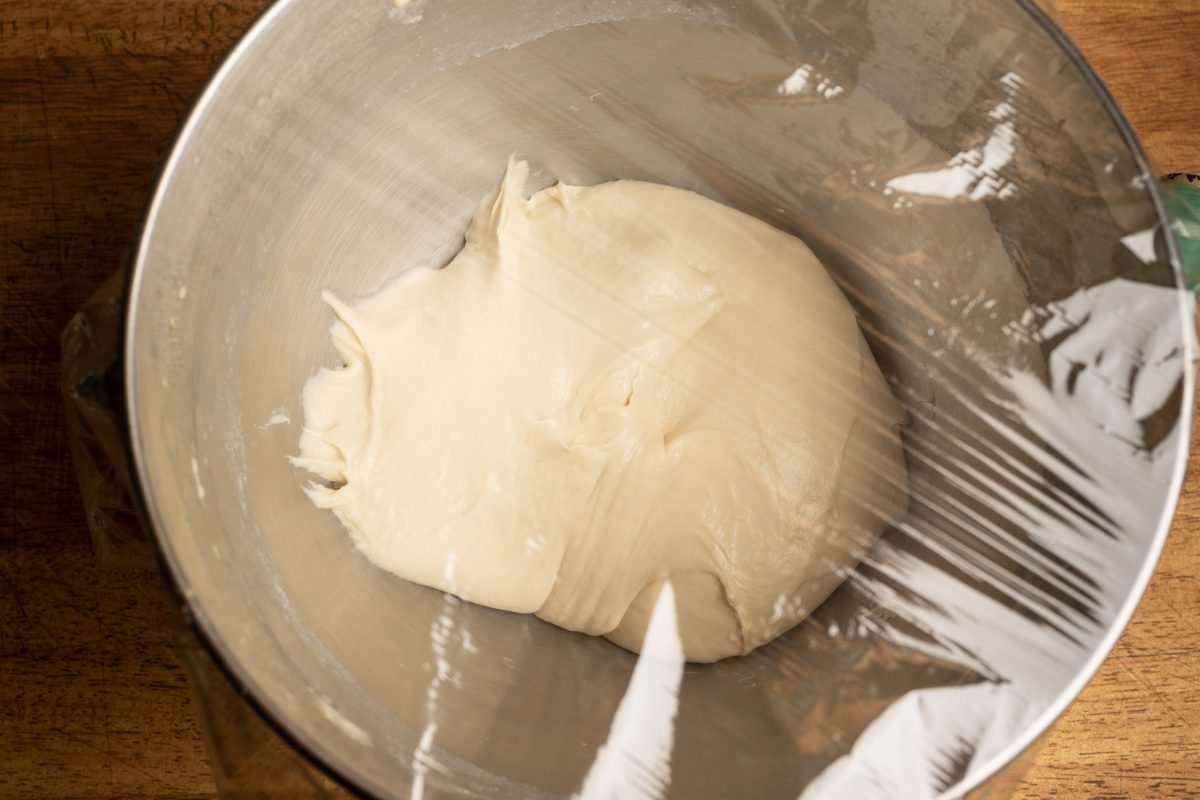
Cover dough
Cover the dough with foil and place in the fridge for 12-14 hours.
The dough can now be cold.
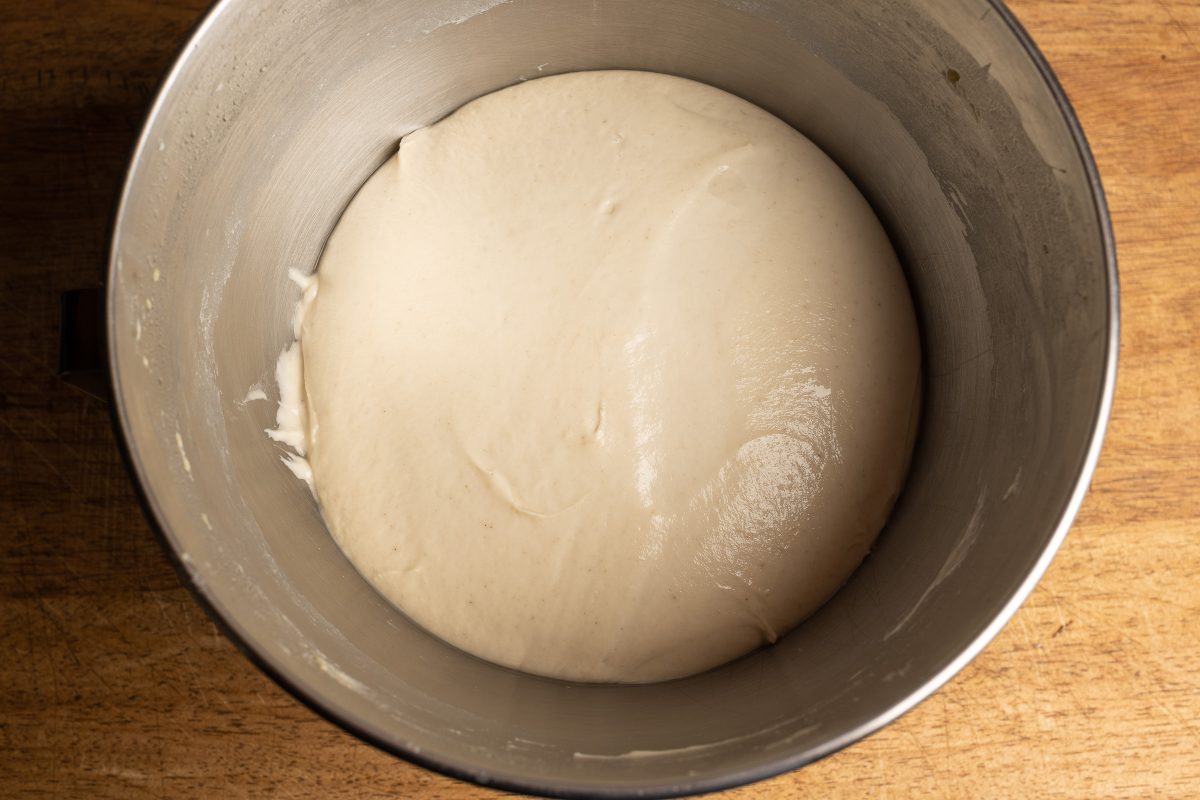
Dough risen
After 12-24 hours in the refrigerator the dough will have increased in volume.
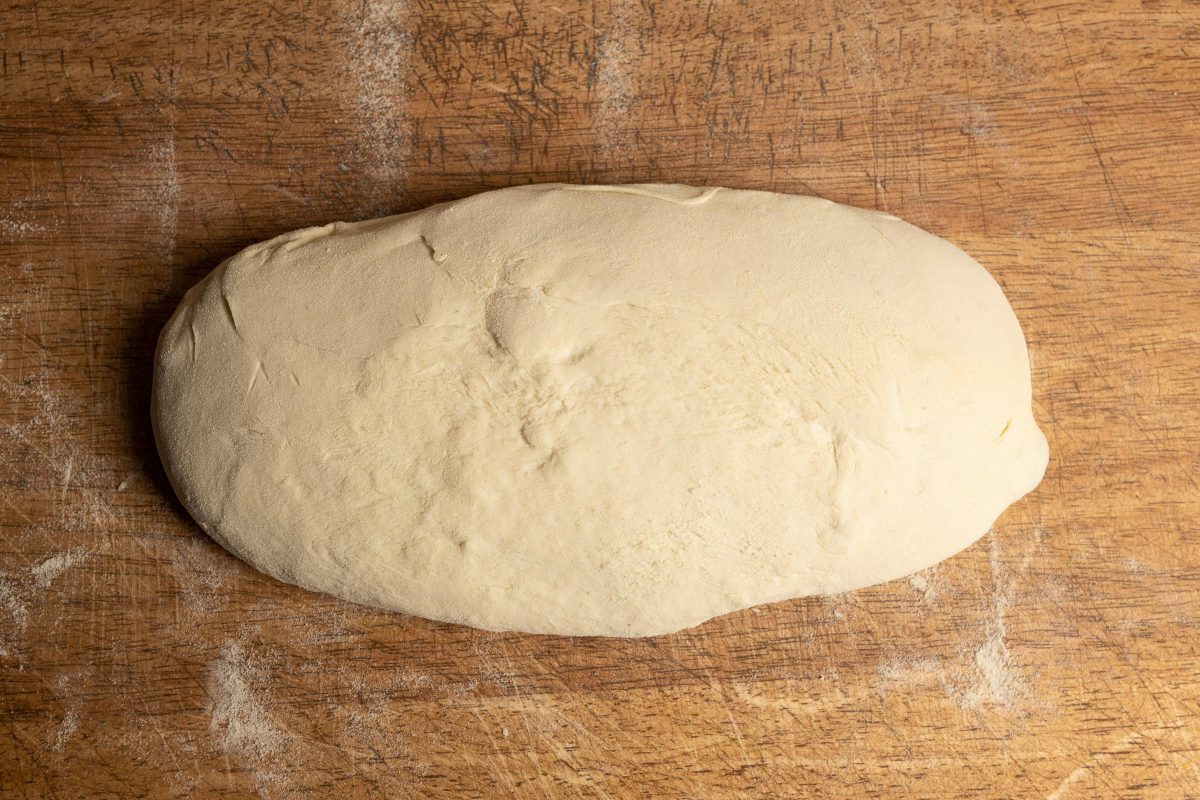
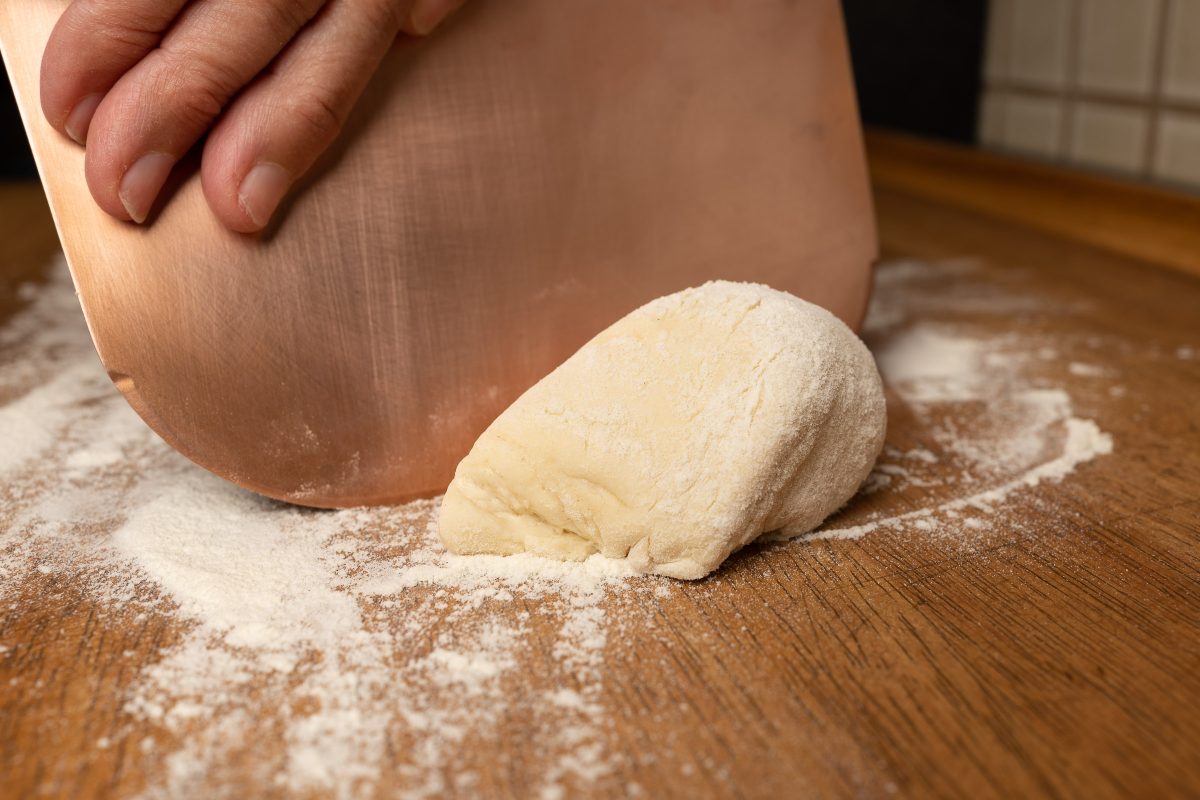
Shape dough
Shape the dough oblong. For this you need additional flour or ground durum wheat semolina.
Portion dough
Divide the dough into three portions. Use a pastry card for this.
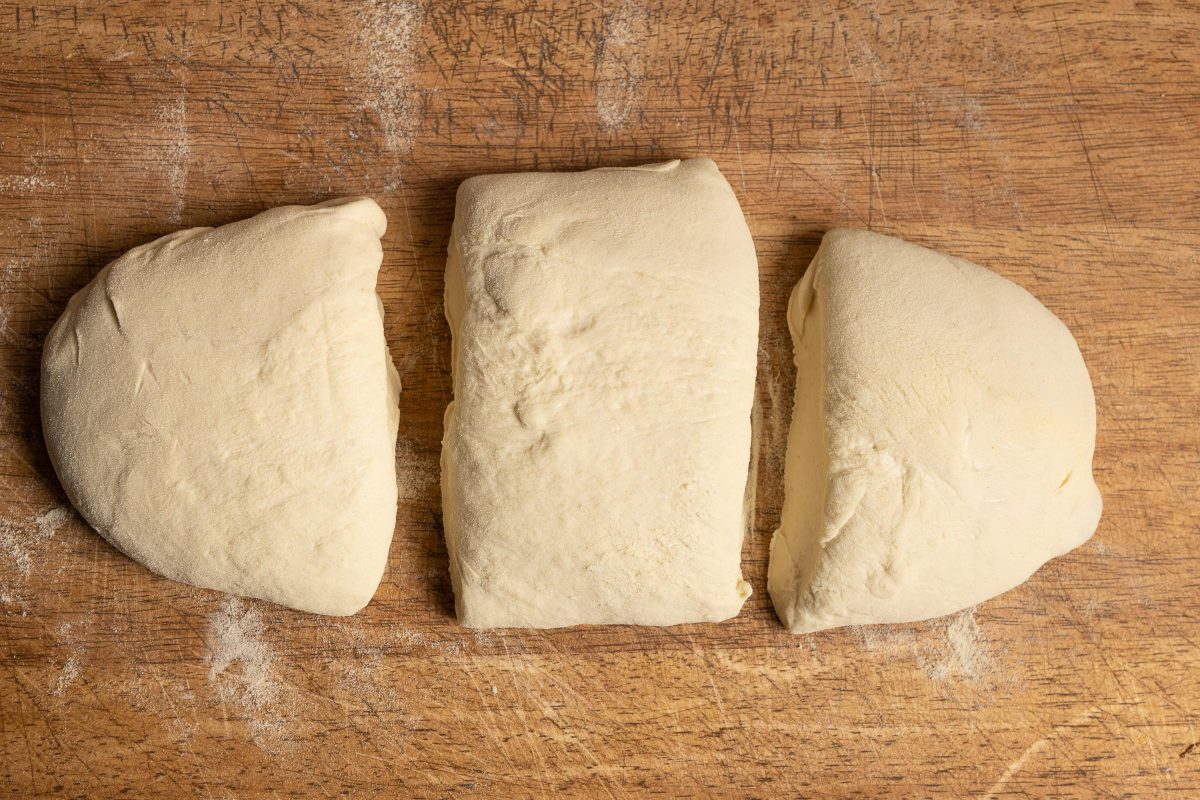
Portioned dough
If everything went right, your result on the kitchen board will look like this.
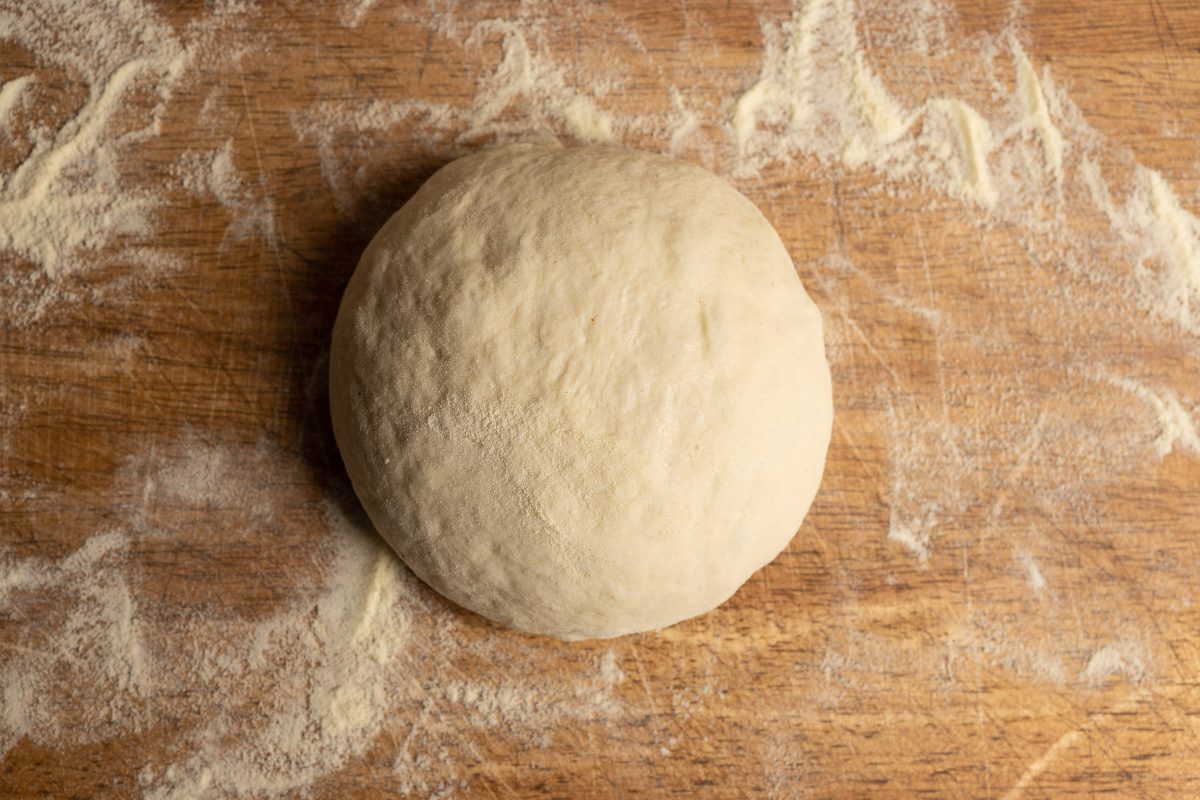
Shape dough
Form the pizza dough portions into balls.
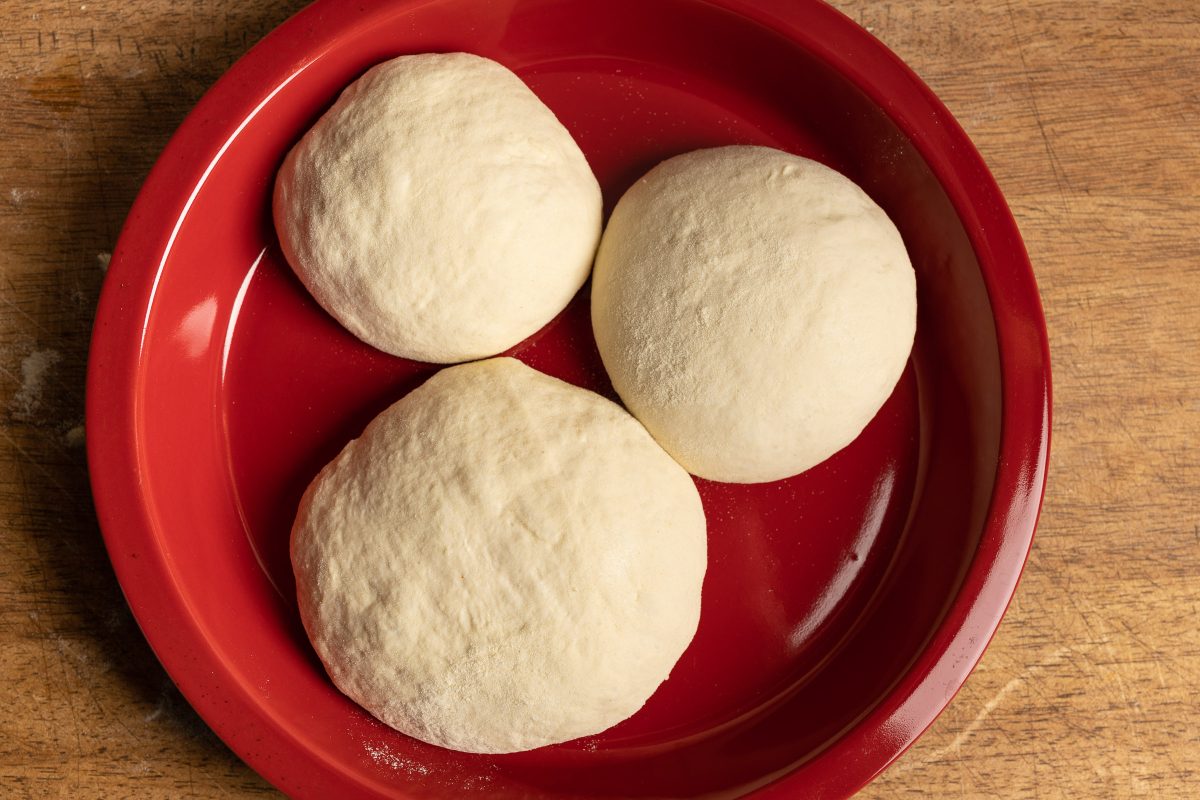
Provide dough
Place the dough balls on a plate or roasting pan.
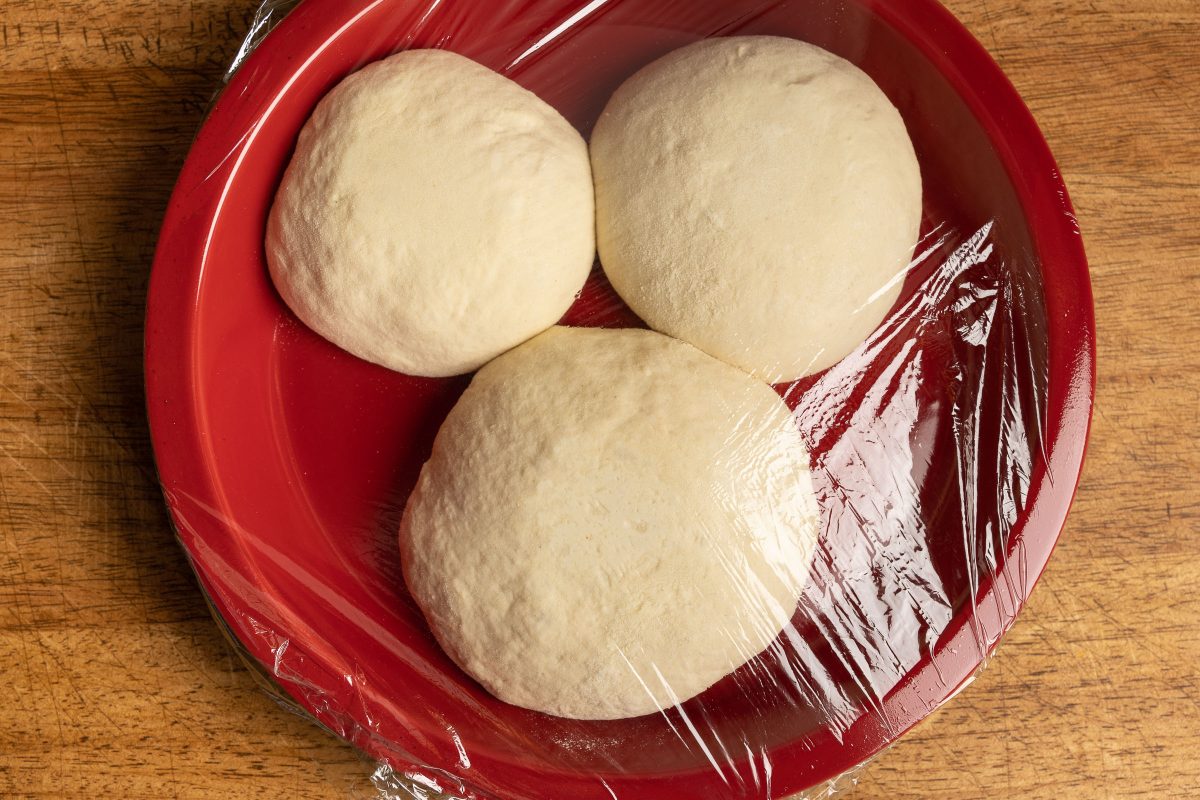
Cover dough
Cover the pizza dough and let it rise again in the fridge for 12 hours.
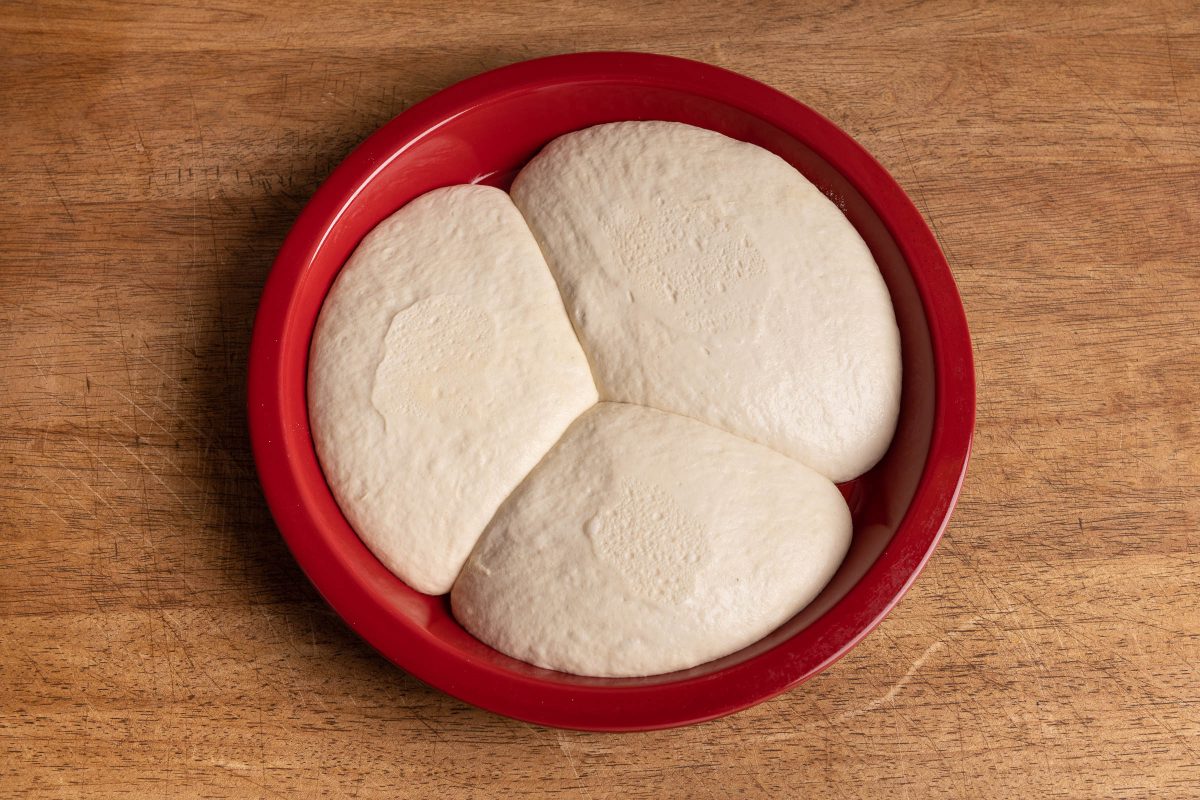
Dough risen
Cover and leave the risen 24 or 48 hour dough ready for 30 minutes at room temperature.
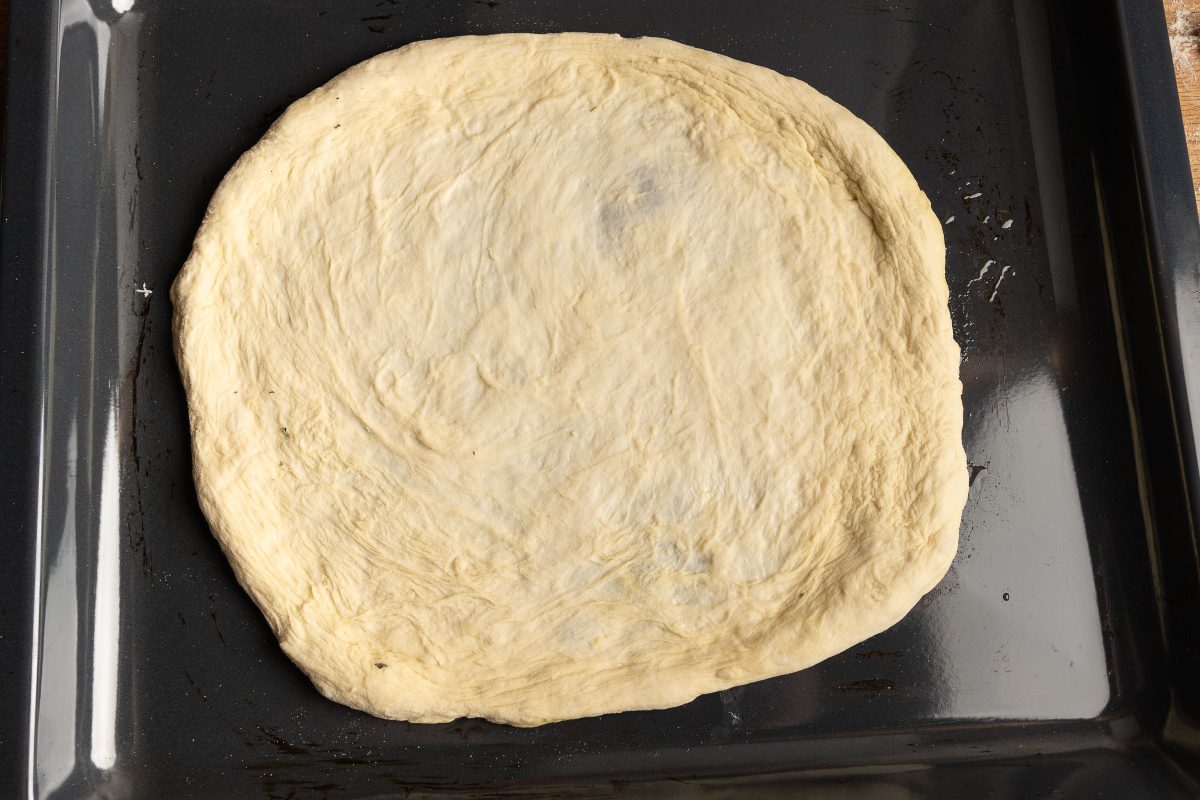
Shape pizza
Shape the pizza dough balls into pizzas with your hands and place them on a baking tray oiled with olive oil.
Preheat the oven top/bottom heat at 280°C.

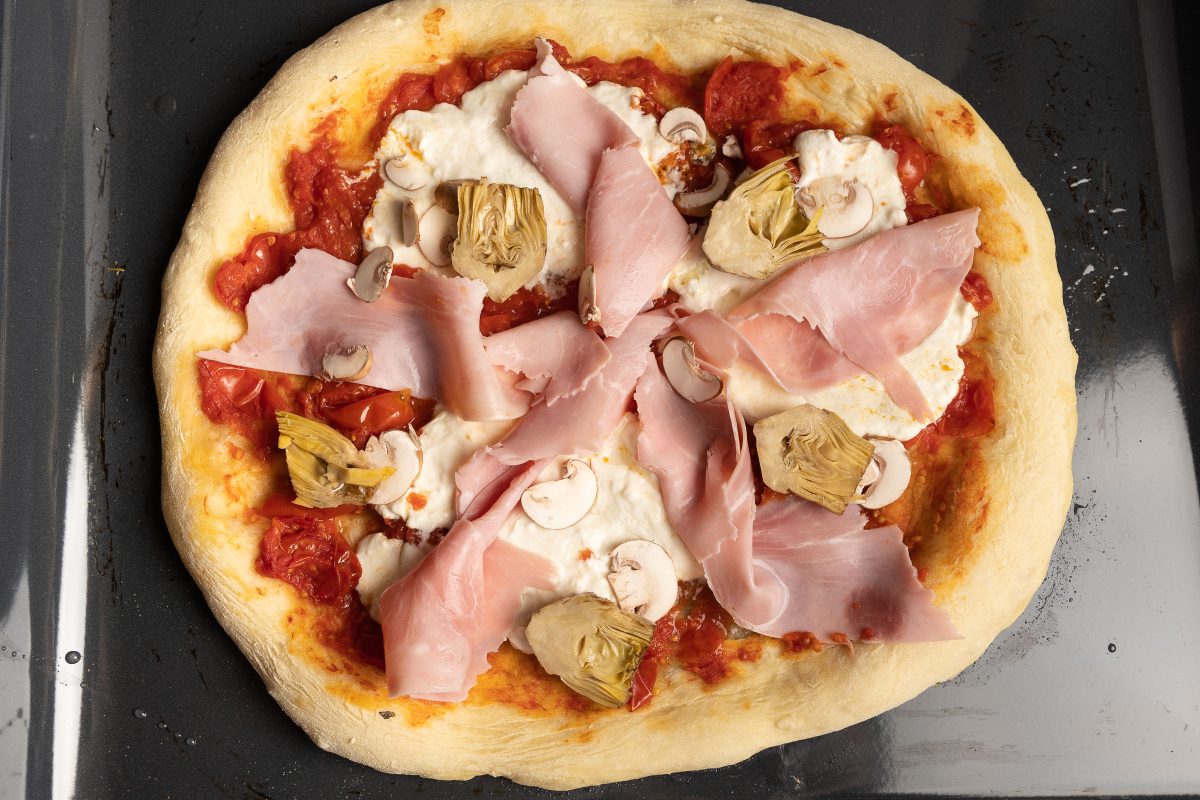
Top pizza
Top the pizza with tomato passata.
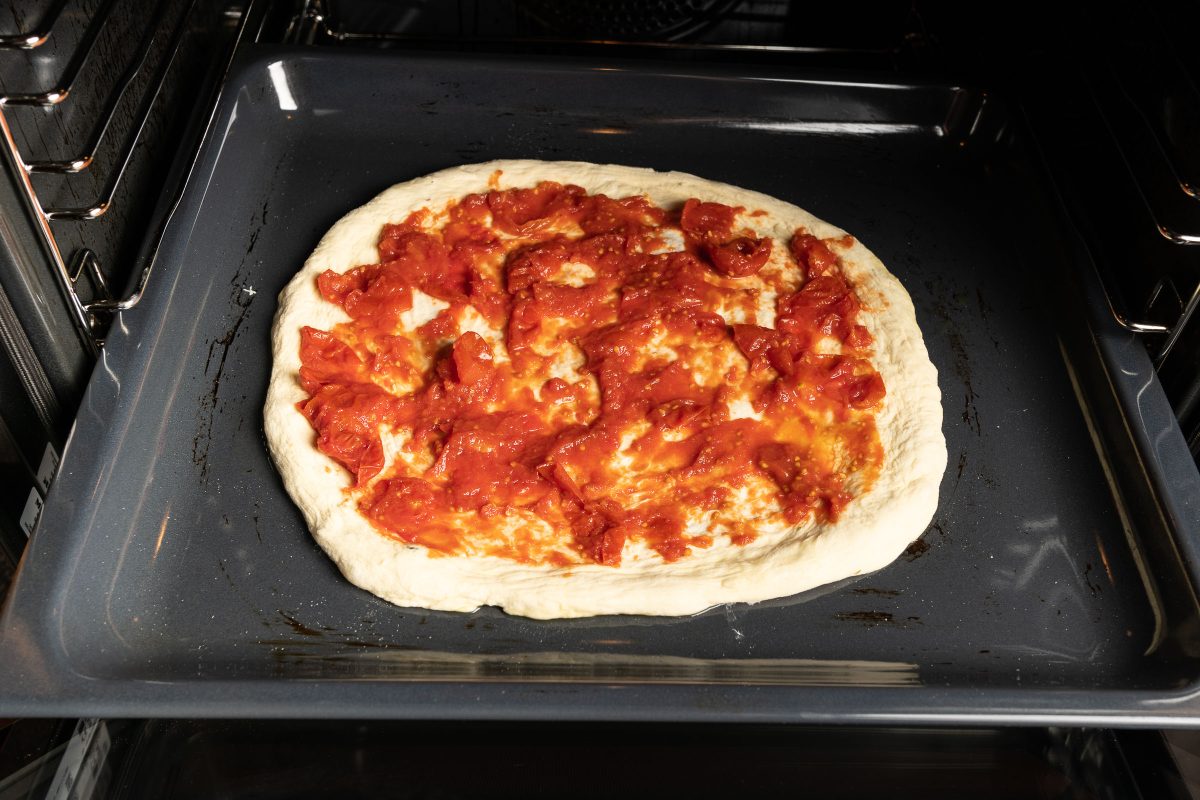
Bake pizza
Pre-bake the pizza for about 8-10 minutes.
Pizza topping
Remove the pizza and top as desired.
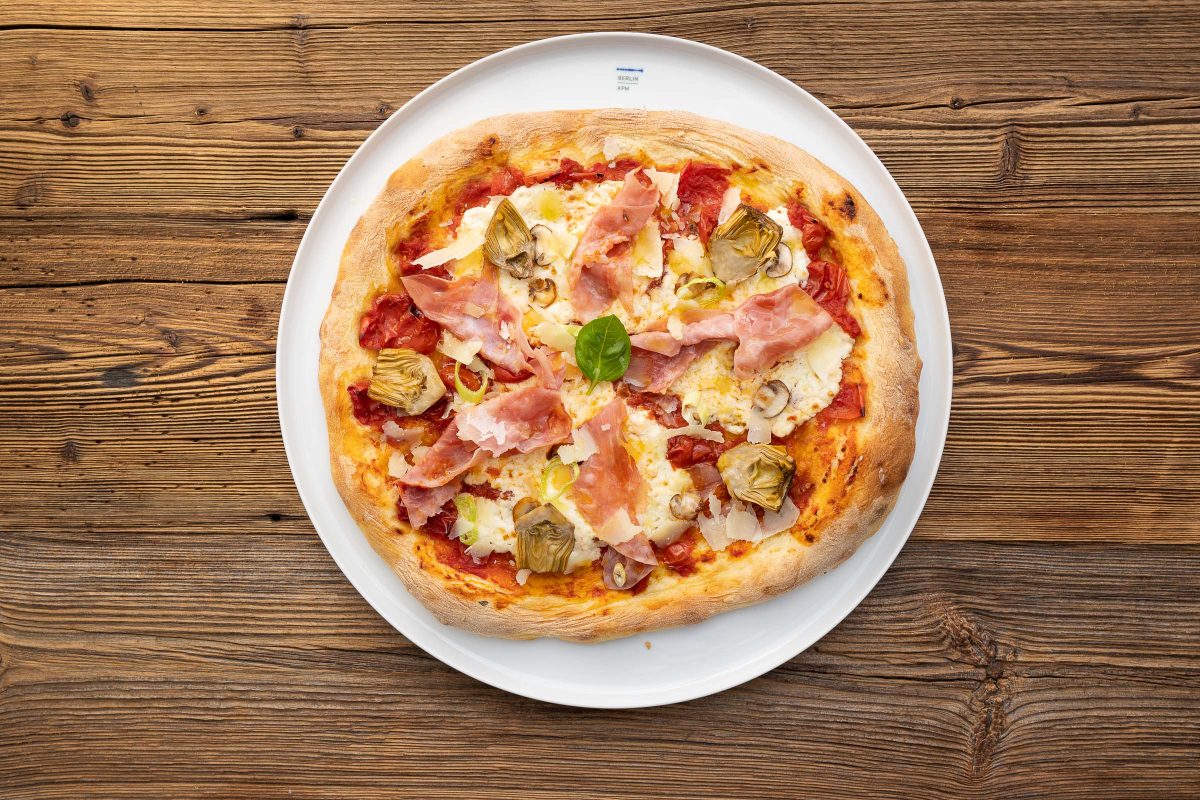
Bake pizza
Finish baking the pizza and serve quickly.
Bon appetit!
Video
Yeast Amount Tips:
-> Use more yeast (15 g per 500 g flour) for a short rising time (up to 1 hour).
-> Use less yeast (1-4 g) for long rising times (24-36 hours) of yeast dough in the refrigerator.
Tip for your pizza topping:
For everyone who has read this far:
Always cut or slice the ingredients for the pizza topping very thinly.
So you can keep the moisture under control.
Don’t put too much toppings, a thinly topped pizza bakes and tastes better!
Do you have further questions? Leave me a comment at the bottom of the page…
Courses
Cousine
Keyword
2. Calories And Nutritional Values
3. Tips For Making Pizza Dough Yourself
I’ve traveled the world as a chef and of course Italy is one of my favorite destinations.
Last year I got to know Luigi and because he speaks German, the culinary exchange, the pizza talk, was wonderful.
Here I summarize the information that we exchanged in front of the pizza oven:
- Prepare the dough with love and good humor.
- Italian music during preparation will put you in the mood 🙂.
- I used wheat flour 00 and hard wheat semolina reground as a base.
- With this flour mixture you will achieve the best result.
- First knead flour with 4/5 of cold water for 15 minutes.
- Let the flour dough rest for at least 30 minutes.
- This resting phase is called autolysis by professionals.
- Autolysis: In this resting phase the starch and the egg white swell.
- The gluten structure of the dough develops.
- In the remaining water, mix the fresh yeast, sugar would be an optional ingredient here.
- Add the yeast water and olive oil to the flour dough.
- Knead the yeast dough for 15 minutes.
- Add the salt.
- Knead the dough again for 5 minutes.
- Cover the dough in the bowl with plastic wrap and refrigerate for at least 12 hours.
- The yeast dough has risen after 12-24 hours, remove and divide into three portions.
- Shape the three portions of dough into balls and again cover with plastic wrap and place in the refrigerator.
- After another 12-24 hours of resting, you can continue to work the dough.
- Set dough aside at room temperature for 30 minutes.
- Shape pizzas and place on pizza stone or baking sheet and bake.
- I bake the pizza recently at 280°C top- bottom heat, 220°C also works and extends the baking time.
- I pre-bake the pizza with tomatoes for about 8 minutes.
- Then I cover with high quality ingredients and bake the pizza to the end.
Insider tip from the pizza maker: use 50% mineral water for the dough, this optimizes the volume formation and the taste!
Says chef Thomas Sixt


4. Prepare Pizza Dough Quickly
Now let’s look at the quick dough preparation…
Prepare Quick Pizza Dough:
My mother always stirred the yeast dough together about an hour before preparing it.
The dough was then allowed to rise in a warm place.
With this quick method, the oven has proven itself as a proofing cabinet.
Set the oven to 30 °C or just turn on the light from the oven.
The heat generated by the lamp is usually sufficient to get the little yeast gnomes going.
The pizzaiolo rejects this quick method.
Luigi thinks only a long “rising time” at a low temperature creates the perfect pizza crust.
I can only support this argument, the long-term dough is by far more digestible and the baking result is better.
Prepare Quick Pizza Dough:
Let’s get to the preferred, fast dough preparation:
- Use 500 g of flour about 8-15 g of fresh yeast or dry yeast to 250 ml of warm water with a little sugar.
- Mix the ingredients with the dough hooks of the food processor for 15 minutes.
- Add 10-12 g of salt and knead for another 5 minutes.
- Then let the dough rise in the oven, covered at 30°C for one hour.
- Shape or roll out the dough and continue working.
- My mother let the dough rise for another 30 minutes after placing it on the tray.
- Then cover and bake in a preheated oven at sub-zero heat in the middle, 220°C.
The Mama and Oma yeast dough is a German invention, it tastes more like yeast, but it goes faster.
Preparation tip from chef Thomas Sixt


Quick Pizza Dough Video:
5. Pizza Dough Baking At Home
In the truest sense of the word, the following applies here:
Many roads lead to Rome!
Next, let’s have a look at the technique of pizza baking…
Interesting facts about the real pizza oven
- The real pizza oven reaches temperatures beyond 300°C.
- In the oven, due to the design, there is always a hot draft, similar to the hot air stage in combination with bottom/top heat.
- The oven floor reaches very high temperatures due to preheating.
- If pizza is your favorite dish, it is worth buying a small pizza oven.
Cooking pizza at home in the oven
- Preheat the oven at the highest level hot air in combination with lower / upper heat for at least 20 minutes.
- Previously, I baked the pizza on hot air, but have changed that.
- We have tried different ovens and doughs in the test kitchen.
- Depending on the oven manufacturer, the hot air setting is too strong and dries out the pizza dough.
- The best level for home oven is sub-upper 220-280°C.
- Use uncoated pizza trays, you will get the best result.
- Coated pizza trays cannot withstand temperatures above 250°C.
- You can use enameled pizza trays without any problems.
- Baking paper can only be used up to 220°C.
- If you have a pizza stone at home, please increase the preheating time to 45 minutes.
- If you only have baking trays available, you can coat them with olive oil.
- I usually pre-form the dough on the board and finish on the cold baking sheet with olive oil.


6. Making Pizza Dough Round Or Square
The “round or square” discussion was the most fun with Luigi.
The pizzaiolo swears by the round pizza and he doesn’t like the baking tray variant at all :-).
What speaks for the round pizza shape?
- The baking result is more authentic and there are fewer “wet spots” in the middle of the pizza base.
- The dough can bake better and the edges become crispier.
- The preparation is faster.
- Note: Pizza stones and the accessories do not necessarily make the round shape easy.
- The shorter the handle of the pizza lifter, the more difficult it is to get the topped pizza “round” on the stone.
- Absolutely sure it succeeds with the baking tray.
What speaks for the square pizza shape?
- From 6 people upwards, the preparation is more practical.
- You can prepare larger quantities with several trays.
- Eating pieces of pizza together is sociable.


7. Optimize Baking Pizza Dough At Home
The topping influences the baking result.
Tomatoes and cheese, other ingredients are mostly too wet.
I always strain tomatoes or thicken them with tomato paste.
I always drain cheese or even squeeze the cheese properly.
Lately I always bake the pizza twice.
This is the absolute game changer for me:
Bake the pizza with tomatoes for the first time, about 2/3 of the baking time is right.
Then remove the pizza and top with the remaining ingredients.
Bake the pizza shortly.
The high-quality topping is shown to its best advantage, the ingredients do not cake.
You can taste every ingredient and it’s not a baked thing 🙂
Which pizza cheese is the right one?
Pizza bakers can only use mozzarella, fior di latte and burrata as pizza cheese.
I just experimented with the core of the burrata.
The cheese is particularly fine, stringy and is sold as stracciatella cheese.
Special forms of pizza allow parmesan.
Choosing the best cuts of cheese starts at the supermarket:
Feel the cheese through the bag and check for firmness. Only firm and whole pieces of cheese are optimal.
Drain the cheese in the kitchen on a sieve for at least 30 minutes.
Careful pressing has proven itself to get the moisture out of the cheese.
Then grate the cheese coarsely or cut it into thin slices and drain again.
Bake pizza twice
- For a better result, pre-bake the topped pizza without cheese for 6-7 minutes in the home oven.
- Then sprinkle the cheese and finish baking.
- This method requires the highest oven setting, hot air with combination bottom/upper heat, because heat escapes from the oven when it is opened.
For preparation at home, Luigi, the pizza maker, exceptionally recommends already grated mozzarella.
Cheese tip from chef Thomas Sixt
The pizza cheese is drier than the wet, whole cheese from the bag!


8. FAQ About Pizza Dough
The most frequently asked questions and answers about the preparation of yeast dough for pizza are listed below.
Can I prepare pizza dough with dry yeast?
You can prepare the yeast dough with dry yeast. Use per packet of dry yeast, the specified amount of flour.
Is olive oil required for pizza dough?
Olive oil as an ingredient of the original Italian preparation. If you do not have olive oil in the house, you can use neutral vegetable oil.
What is a basic pizza dough recipe?
500g flour type 405 or 505, 1 packet of dry yeast, 3 pinches of sugar, 230-250 ml warm water – 50% of which is sparkling mineral water, 10 g salt.
How to make a quick pizza dough without yeast?
Knead 350g wheat flour, 3-4 tablespoons olive oil, 200 ml water, 3 teaspoons baking powder and 1/2 teaspoon salt into a dough and continue processing. Mineral water makes a particularly airy dough.
9. Other Suitable Ideas And Recommendations

Pizza Diavola

Pizza Capricciosa

Cheese Pizza

Anchovy Pizza

Pizza Marinara

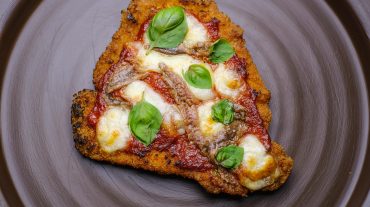
Pizza Margherita
Schnizza Recipe for Pizza Style Schnitzel Au Gratin
Pizza Dough Recipe For Fast and Slow Preparation

Pizza Prosciutto – Ham Pizza
Vegetable Pizza – Pizza Verdure

Tuna Pizza – Pizza al Tonno Recipe
Comments, Cooking Questions and Answers
Below you can write to me directly.
Please don’t forget the star rating on the recipe, 5 stars means you liked it!
Hello Sonja, thank you for your query. I have no experience with gas grills of this type. Mrs. Sixt keeps me from buying and says oven. My pizza stone experience might help: preheat the pizza stone for a long time and at a high temperature. A thick pizza stone is better than a thin one, as it holds the heat better. I hope your pizza succeeds! Kind regards Thomas
I want to try your pizza recipe the day after tomorrow. Now I can't get any further with the types of heating. I have a regular oven and use baking sheets lined with parchment paper. What does it look like now with the "convection in combination with top/bottom heat" I can only set one of them at a time. Does that mean a few minutes in each type of heat or how does that work? LG Claudia
Hello Claudia, you can preheat the top/bottom heat to maximum, then quickly open the oven and slide in the trays. Then set a maximum hot air temperature of 220°C. Should work fine then. Feel free to contact me 🙂 Greetings Thomas
We made this pizza dough for yesterday – that's when we tried our pizza stone on the gas grill for the first time… it works great! Was very tasty, rose perfectly!
Hello Henrik, I enjoy reading this, thank you for the positive feedback! Kind regards Thomas
Hi Thomas, I've made your pizza dough several times and it tastes great. By the way, I manage the dough perfectly on a baking tray and pizza tray. Kind regards and thank you Brad
Hi Brad, I'm happy when the pizza tastes good. I wish you continued success! Kind regards Thomas
Thomas Sixt's pizza dough works perfectly. I made the short and long version and both doughs taste great. I'm still looking for an ingenious pasta that I can cook for my guests on Saturday. Should be an impressive dish. Do you have a tip for me please? Greetings Manfred
Hello Manfred, thank you for your nice feedback. Glad you like the dough and pizza. Regarding your cooking question Recommendation for pasta when guests come: Please check in advance whether there are any intolerances or the need for #animalfood. Otherwise I would recommend you my: –> Spaghetti with shrimp The base is a garlic stock, like… –> Spaghetti Aglio e Olio A nice dish with black noodles, pomegranate and fried shrimp. Best wishes and good luck to you, Thomas
My Italian mother-in-law always says that you shouldn't let any kitchen appliances get to the dough 😀 You can only taste love with real manual work! How do you see it as a professional chef, is there a difference?
Hello Roxy, thanks for your question, I like both methods and don't see it as religious. On some days kneading the dough with my hands is really fun, on other days I prefer to use the kitchen utensil. I don't see any difference, the machine distributes and kneads very evenly, which is helpful for a good result if you have less experience in dough preparation. Kind regards and good luck Thomas
Hello Thomas, I don't even know why it took me so long to really dare to make pizza dough myself. My kids did this in elementary school and really wanted to try it at home. No sooner said than done: I found what I was looking for on your blog (I've been here more often, mainly because of your delicious duck recipes and I also think the Asian ones are great!) and quickly bought everything – it's really not much, what you need for it. I even had most of them at home. 🙂 The only thing you actually really need is patience. Luckily we all had them and were able to enjoy delicious, homemade pizzas afterwards! Just great, thanks from my whole family!
Hello dear Steffi, I always like comments about family meals. Thank you for your honest lines and the nice feedback. I wish you continued success. Feel free to contact us with kitchen gossip 🙂 and cooking questions. Kind regards Thomas
Hello Thomas, Thank you for the great recipe. Everything worked perfectly and tasted great! I have one more question: If you let the dough rise for a long time, it gets a "skin" on the top, despite covering it. This is then crumbly when the dough is pulled out. That bothers me a bit when processing the dough. When the pizza is finished, you don't notice it anymore. Can I prevent this somehow? Thanks for your help! Greetings Alexandra
Hello Alexandra, thank you for your positive feedback and the praise. You can use a damp cloth to cover the dough. The cloth should not smell of detergent or fabric softener. Feel free to contact us again with cooking questions and kitchen gossip! Kind regards and continued success!
I think yeast elves are great. Trying out the dough is a classic that I still look for every time. Instructions worked great :-). The pictures are very appealing and helpful, the tips spice up the text and increase understanding. Thank you!
Hello Klaus, the yeast elves are looking forward to your feedback, me too! I wish you continued success! Kind regards Thomas
Hi Thomas, I prepared your pizza dough yesterday for today's family dinner and my son (5) is asking all the time about the "yeast gnomes". Greetings from Ben and Lio
Hello! Glad to read from you, I hope the pizza turned out well! Kind regards Thomas
Thomas, thank you for the great recipe. That was really my salvation: finally the perfect pizza (yippie 🙂 ). I also recently had a good pizza on the fist "Turkish style" with minced meat – and mint I think. Do you know how to get this topping right? Cheers, Ben
Hello Benjamin, thanks for your nice lines and your cooking question. Turkish pizza variant: –> Fry the minced beef or lamb over high heat —> Let it take on its colour, season with chili, salt, pepper, garlic and thyme —-> Dough -> thin tomato sauce -> Minced meat -> Bake thinly sliced onions briefly or serve fresh before serving. Good luck and best regards Thomas
I need help, I've been trying to bake gluten-free pizza on a pizza stone for a long time, but it doesn't work, it doesn't cook or is clanky, what am I doing wrong? My son has celiac disease and cannot eat anything else?
Hello Marcel, thank you for your cooking question, which I will answer right here: Baking gluten-free pizza dough: I always use baking paper or pizza trays for gluten-free pizza dough. Feel free to get back to me, wish you the best of luck! Greetings Thomas
Hello Thomas, due to lack of time I implemented your quick dough preparation yesterday. It all worked out really well. I found the tips on the level and temperature of the oven helpful. In the end, the realization remains: Homemade tastes best 🙂
Servus Ole, thank you for your positive feedback. I'm glad it worked out for you. Stay tuned, wish you continued success! Kind regards Thomas
Hello Thomas, write you a few lines today because it worked great with the homemade pizza. My mom recommended your site to me and I followed the instructions exactly. Great pictures, great results and real fun in the kitchen. Thank you very much Greetings Miranda
Hello Miranda, thank you very much for your message, I am very happy about a recommendation like that. I hope you find more recipe ideas that you like. Feel free to send me cooking questions, I'll answer them for you too. Kind regards Thomas
Hello Thomas, Gerd is writing to you here, I have tried your dough and am really impressed. Due to irritable bowel syndrome, I can no longer tolerate a normal pizza crust. It used to be a bit easier, because I could still eat a ready-made pizza every now and then. I came up with it through a conversation with an Italian chef: the dough is more digestible and much more digestible with a preparation time of 24 hours. The recipe is great, worked perfectly on the first try. I also liked the pizza. I look forward to more tips on your site and by contacting me here using the comment function.
Hello Gerd, thank you for your detailed feedback and the positive lines. I am very happy when you can eat pizza again. If you are looking for a gluten-free version, please let me know, I have an extra tip for you. All the best! Kind regards Thomas
Hello Thomas, I've tried quite a few pizza dough recipes. I look forward to your recipe. So you take half of the total amount of water mineral water? Greetings Bille
Hello Bille, thank you for your message and feedback. I'm pleased! You can use more or less mineral water and approach your desired recipe. I think the mineral water makes the dough even better. Kind regards and good luck sends Thomas PS Sorry for the late message, was busy redesigning the website.
Hello Thomas, I really enjoyed the pizza dough you made using your recipe. I made the short "let rise" version in the oven. Had the dough stirred at 5 p.m. Then 40 minutes in the oven, exactly as described with the light on, the dough has risen nicely. Then I spread the dough on the round pizza trays and put it in the oven again for 20 minutes. Topped according to taste, individually for each person. Perfect result and very very fine. Thanks for the instructions and the many tips. Hello Bella
Hello Bella, thank you very much for your feedback! Actually, the dough is prepared quickly with very little effort. You did it perfectly :-). I wish you continued success and lots of fun! Kind regards Thomas
Hello Thomas, yesterday I mostly stuck to your "long" version, but I only had the dough in the fridge for about 18 hours. The dough didn't rise as much while baking. Is that normal? I took half the amount and balanced out the 3.5g of dry yeast – so I didn't take too "much". Otherwise, the dough was wonderfully delicious, very thin to roll out and therefore very crispy. I'll start the next attempt with fresh yeast. PS: I bake on a 1cm thick baking steel. It offers the advantages of a brick with the possibility of heating up the whole thing relatively quickly.
Hello Andrew, thank you for your feedback. I would have my problems when weighing 3.5 g of yeast. The "normal" kitchen scale is too imprecise for this. The good rising of the yeast dough also depends on the weather and it is important to work slowly. It would be good to take the dough out of the fridge and give it time. Place on the trays and leave in a warm place. For a particularly high and fluffy dough, you can also try the short version. Prepare the dough as described in the instructions. Place immediately on the trays and leave to rise in the oven on setting "Light on" – corresponds to around 30-35°C for at least 30 minutes. The dough will then look like it does in the pictures, if you tap it with your finger you can feel the volume. Then cover and bake at high heat. The pizza dough will then also be higher and will certainly have more volume. I wish you every success. Regards, Thomas Sixt
Thanks for the great recipe!!! It worked so well with dry yeast and was super tasty. The dough was sooooo relaxed and so was I!
Hello Kerstin, that makes me happy, thanks for your nice lines. I wish you continued success!
Hello Thomas, Fred is writing to you here. I took my time reading your dough recipe this afternoon. Now I'll put a thank you next to the bowl of dough for the ingenious preparation and expertise. As a complete novice cook, the sources of error in my previous attempts have become clear to me. In the evening I tried again and the pizzas turned out delicious. Greetings from Fred
Hello Fred, thank you for your comment, I really appreciate that. Then you've become a real pizza maker! Continued success… Greetings Thomas
Hello Thomas, I cooked your pizza dough yesterday 🙂 baked… Great. Pizza has become very fine Greetings Franziska
Hello Franziska, I am very happy about that, thank you very much for your positive message! Kind regards Thomas
Super detailed recipe, thank you very much!
Hello Lara, I am very happy! Kind regards, Thomas Sixt
Moin Moin Thomas! Great guide, thanks for that! I put the pizza in the oven yesterday and the result was delicious! I'll give up pizza service in the future. Next I'll try your quick dough, I'm excited to see the result. I still have one cooking question… Cooking question: What do you think of a pizza stone for the home oven? Is it worth buying? Thanks and greetings from Hamburg Johannes
Hello, thanks for your great message! Here is the cooking question, what I, as a professional chef, think of the pizza stone in the home stove: A heatable, thick pizza stone without glaze would be ideal. A thin pizza stone loses too much heat, you have to preheat a non-heatable pizza stone for a good hour. Personally, I use round pizza pans and baking trays at a very high temperature at home. Thank you for your cooking question! Feel free to contact me again Greetings Thomas Sixt
Great recipe, thanks!
Hello Peter, thank you! Continued good luck! Greetings Thomas Sixt
Hi Thomas, the dough recipe and the photos are great, tried your dough the day before yesterday with 24 hours "rising time" and the pizza crust turned out excellent. Greetings Robert
Hello Robert, that makes me very happy, continued success! Greetings Thomas Sixt
Hi Thomas, I would like to try the pizza on a rear burner gas grill. Because I own a pizza stone. Should I switch on the rear burner? How high do I have to set the temperature in the gas grill. Greetings Sonya