
Marble Cake with Glaze Recipe

Author:
Thomas Sixt is a chef, food photographer, cookbook author and blogger.
Here he shares recipes, answers cooking questions and helps with cooking.
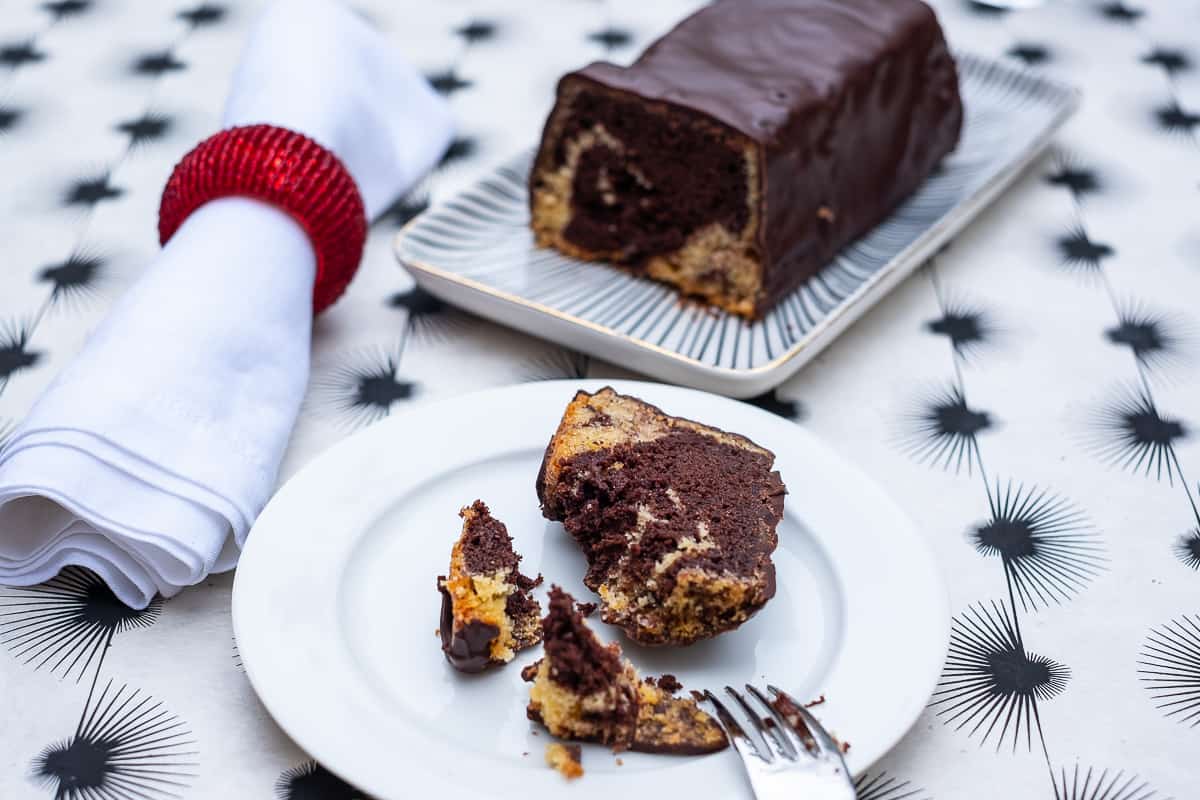
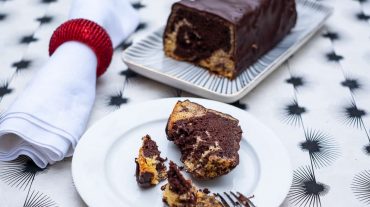
Here you will find my simple marble cake with glaze recipe. We love this cake because of its pattern and the delicious topping.
This article is about how you successfully conjure up this wonderful cake as a Sunday cake on the coffee table.
Chocolate icing is always a popular topic for cooking questions and in online forums. So that the “choco question” is a perfect one, I have put together the best tips for you.
I hope you enjoy reading and enjoying it. If you still have questions, you can send me your message at the end of the page using the comment function. For the bakery I wish you good luck!
Table of Contents
- 1. Bake a Juicy Marble Cake in the Tin
- 2. Ingredients for Marble Cake at a glance
- 3. Recipe Marble Cake with Glaze
- 4. Calories and Nutritional Values
- 5. Oven Stage and Baking Time for Marble Cake
- 6. When is the Marble Cake ready baked?
- 7. Tips for Cake Icing and Chocolate Tempering
- 8. Baking impressions and Baking Tips
- 9. More Ideas for Baking Cakes
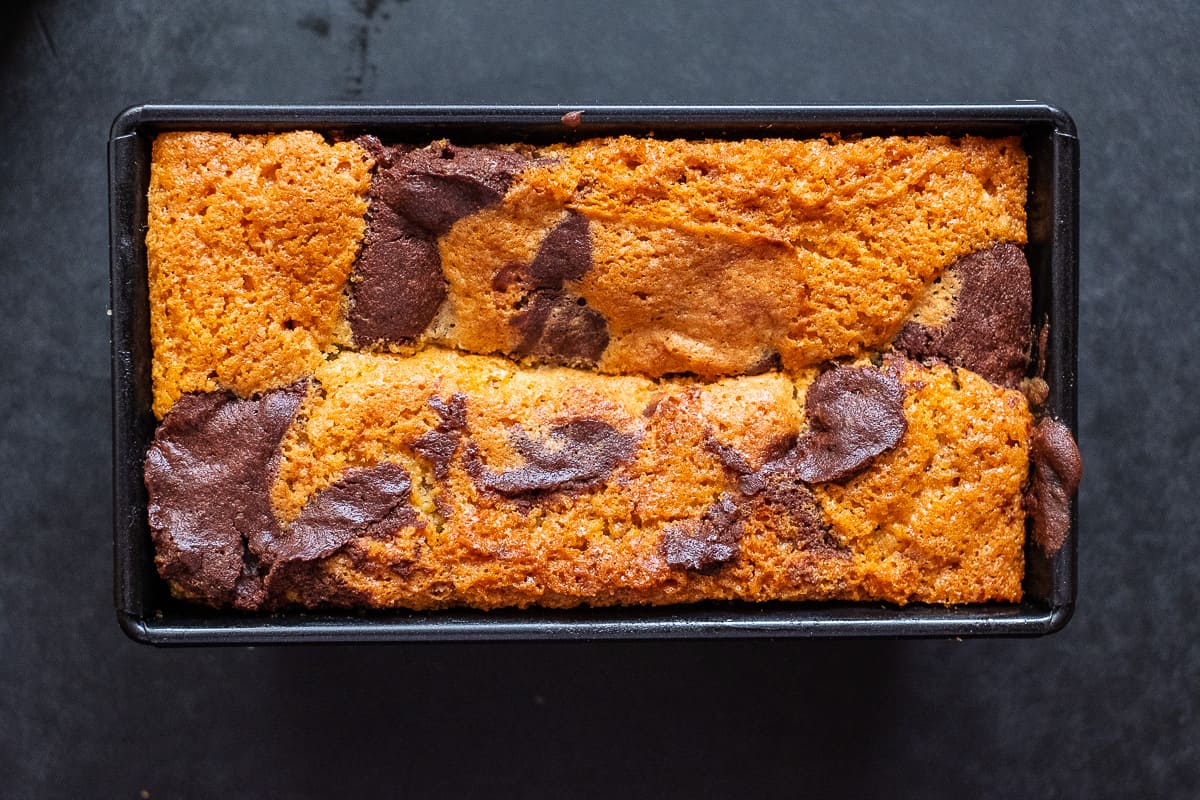
1. Bake a Juicy Marble Cake in the Tin
Due to the size of the baking tin you can bake a particularly fine and juicy cake. This is why the rectangular cake tin is so popular.
I have the first tip for you:
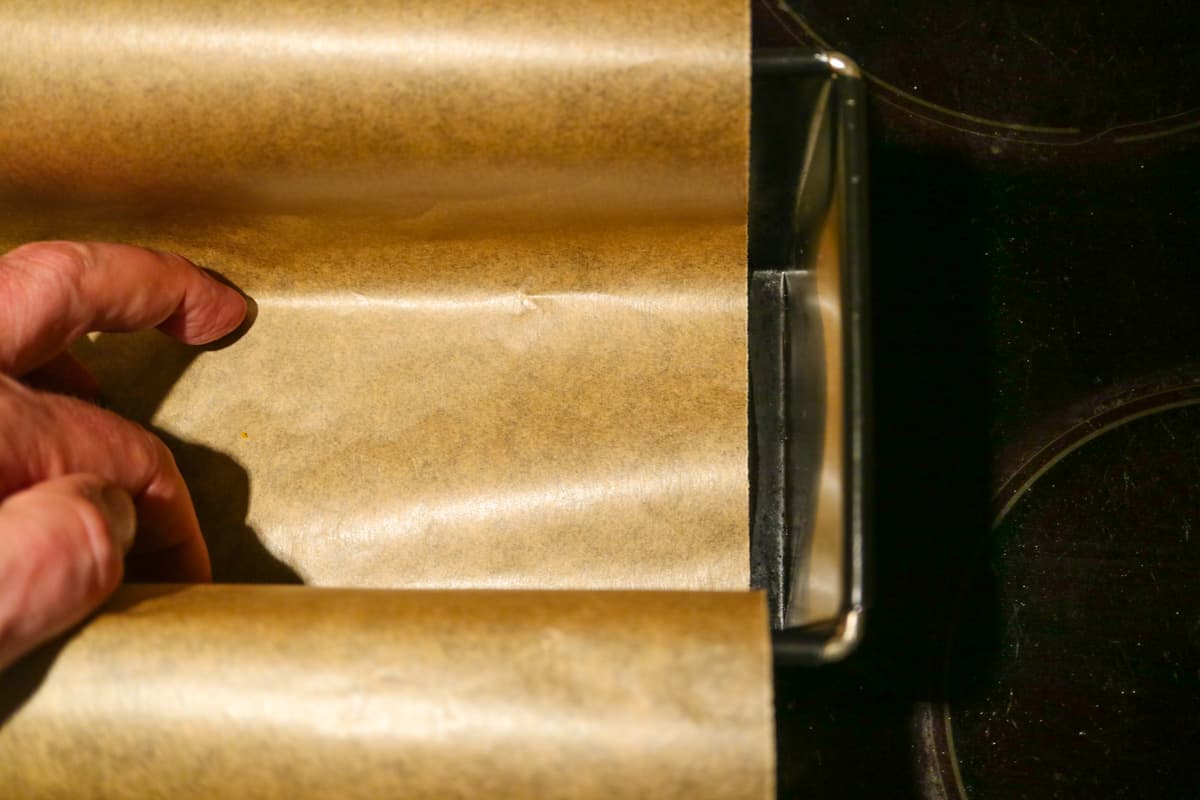
Put a strip of baking paper in the mould, the bottom should be covered and the strips of baking paper hang like wings above the mould. This makes sense, especially with a large crate mould!
The paper is your safety net for falling off the cake later. Most of the time the cake can be dropped warm and hot. Depending on the weather, however, this can become a task. Therefore, please remember to use baking paper, especially for large moulds!
If you want to make small cakes to surprise your loved ones you will find marble cake muffins elsewhere. For the classic marble cake with powdered sugar and without frosting you will find an extra tutorial 🙂
With the paper the cake jumps out of the mould… 🙂
Baking tip from chef Thomas Sixt
A short info about the cake tin itself: I have been using a classic tin mould for many years. These moulds are stable and you can even inherit them!
I have nothing against silicone baking moulds, but I do not use them myself so far. I avoid the plastic stuff and I don’t like to attack the parts at all. I always have the feeling that I reach into a lot of softeners.
But that is my personal opinion. If you prefer to use the plastic moulds, just do it without a guilty conscience!
I love my tin cake tins, some of which are still from my grandmother. Silicone does not go into my oven!
Says chef Thomas Sixt about the cake tin
2. Ingredients for Marble Cake at a glance
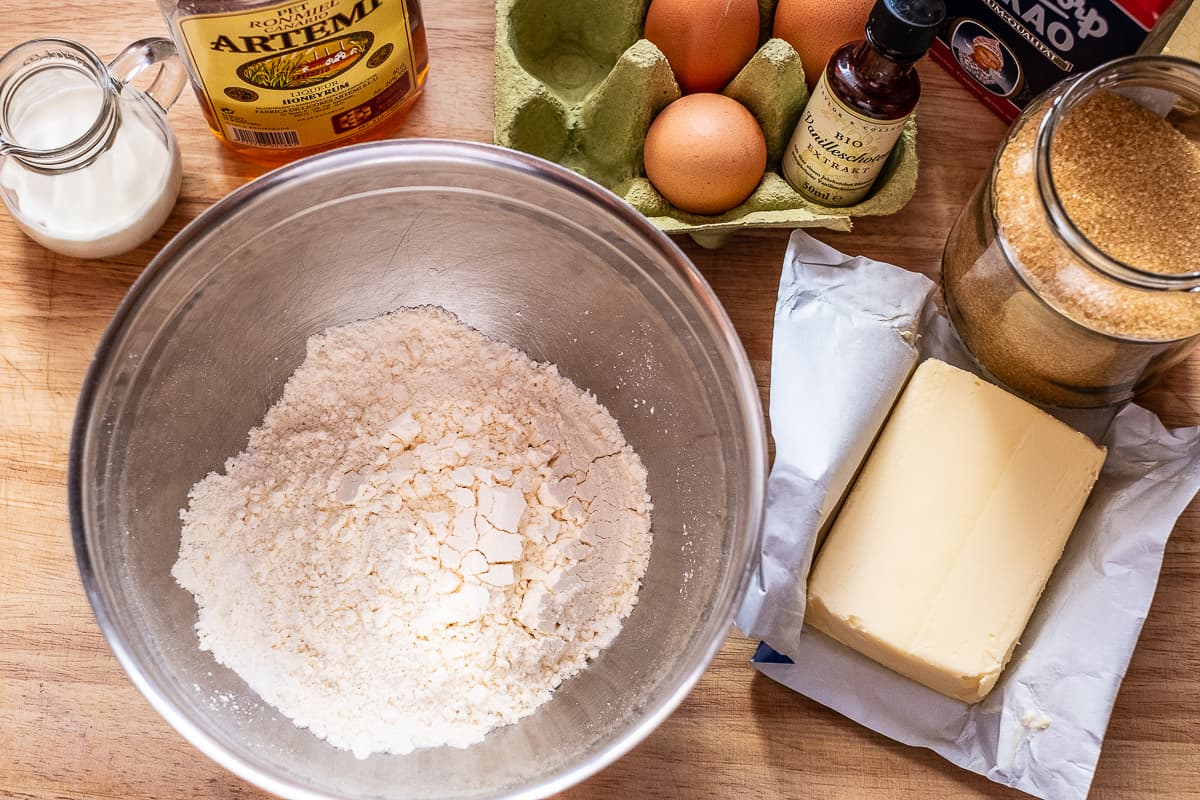
For your shopping in the supermarket I have put together the following quicklist. With it you will quickly find everything at a glance. Please add the following ingredients to your shopping cart:
- Wheat flour type 405 or gluten-free flour
- 6 pieces of organic eggs
- 500 g brown whole cane sugar
- 2 packets of butter 250 g each
- Vanilla flavour
- Cocoa
- Genuine rum
- Cream
- Dark chocolate glaze
Gluten-free marble cake works best with the universal flour for fine baked goods!
Gluten-free baking tip from chef Thomas Sixt
3. Recipe Marble Cake with Glaze
You’ve read this far? That’s great! Now you are perfectly equipped for the bakery.
I wish you a lot of fun nibbling dough 🙂 and good luck! Please write me about the comment function at the bottom of the page…
Marble Cake with Glaze
Baked, photographed and written down by chef Thomas Sixt.
Simple baking tutorial for marble cake with chocolate glaze.
Ingredients
| Kuchen | ||
| 300 | g | butter (I use room warm butter) |
| 280 | g | brown sugar (I use whole cane sugar) |
| 1 | tsp | vanilla flavour |
| 2 | pinches | Salt (I use ursalt) |
| 4 | cl | rum |
| 5 | pc | eggs |
| 400 | g | flour (Wheat flour or gluten-free flour) |
| 4 | tbs | Baking Powder (Attention: level teaspoons) |
| 2 | tbs | Cream |
| 4 | tbs | Cocoa |
| 2 | tbs | icing sugar |
| Glaze | ||
| 150-200 | g | Dark chocolate coating |
| 10 | g | coconut oil (Optional for the shine!) |
Instruction
Prepare ingredients
Prepare the ingredients in the kitchen.
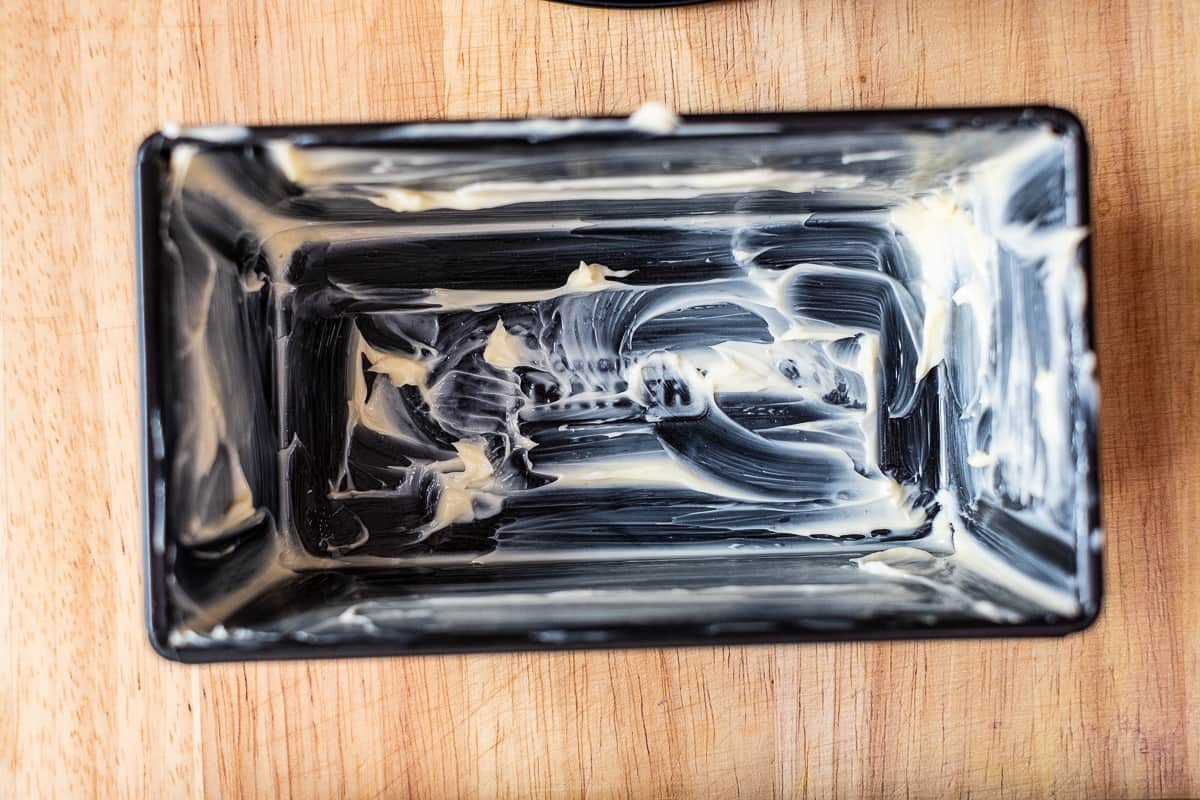
Prepare cake tin
Preheat the oven at 175°C top and bottom heat for at least 15 minutes.
Grease the cake tin with enough butter.
baking paper
It is recommended to use baking paper for larger crates.
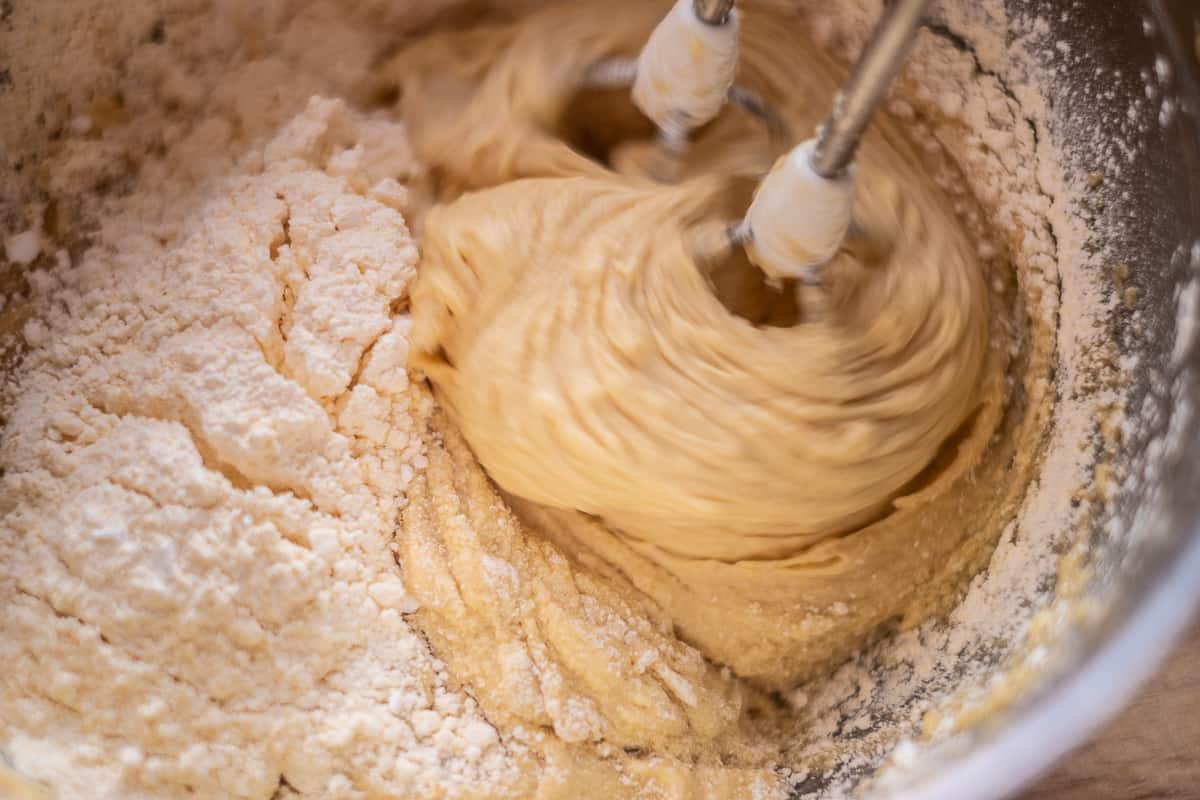
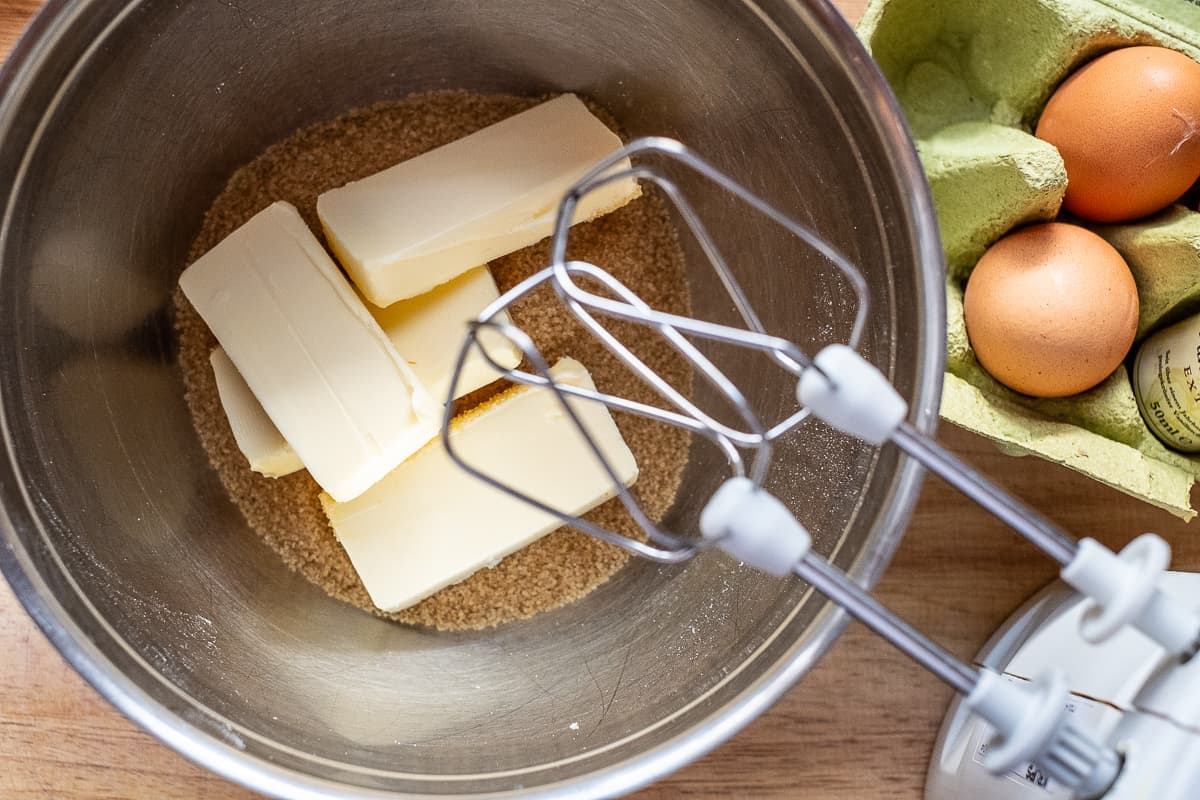
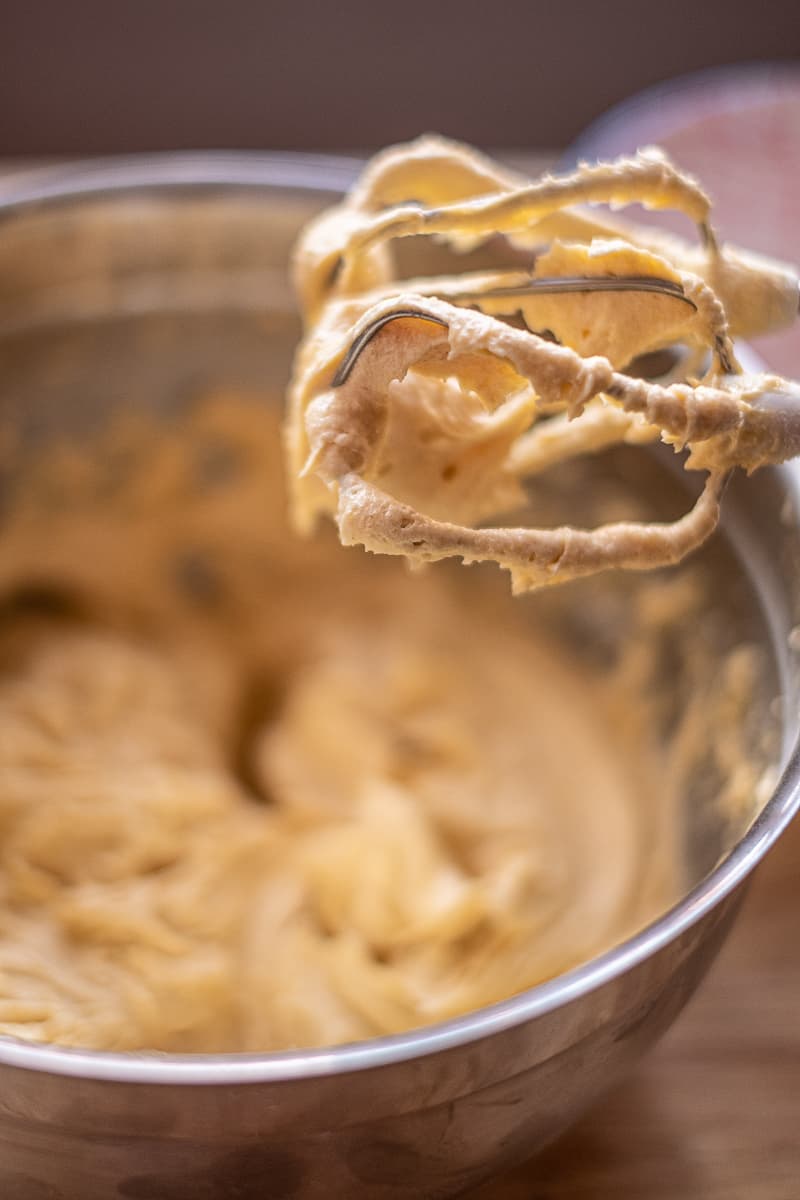
Prepare dough
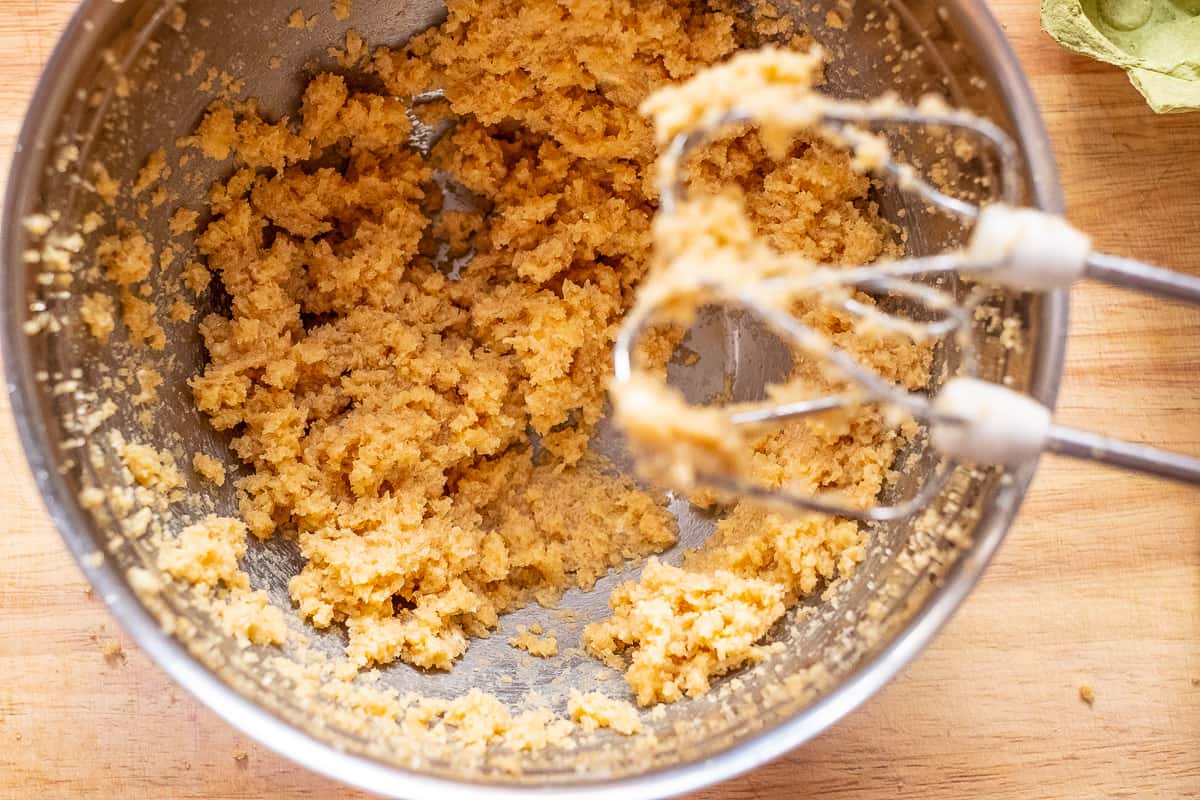
Stir the butter until smooth for about a minute, then gradually add the sugar.
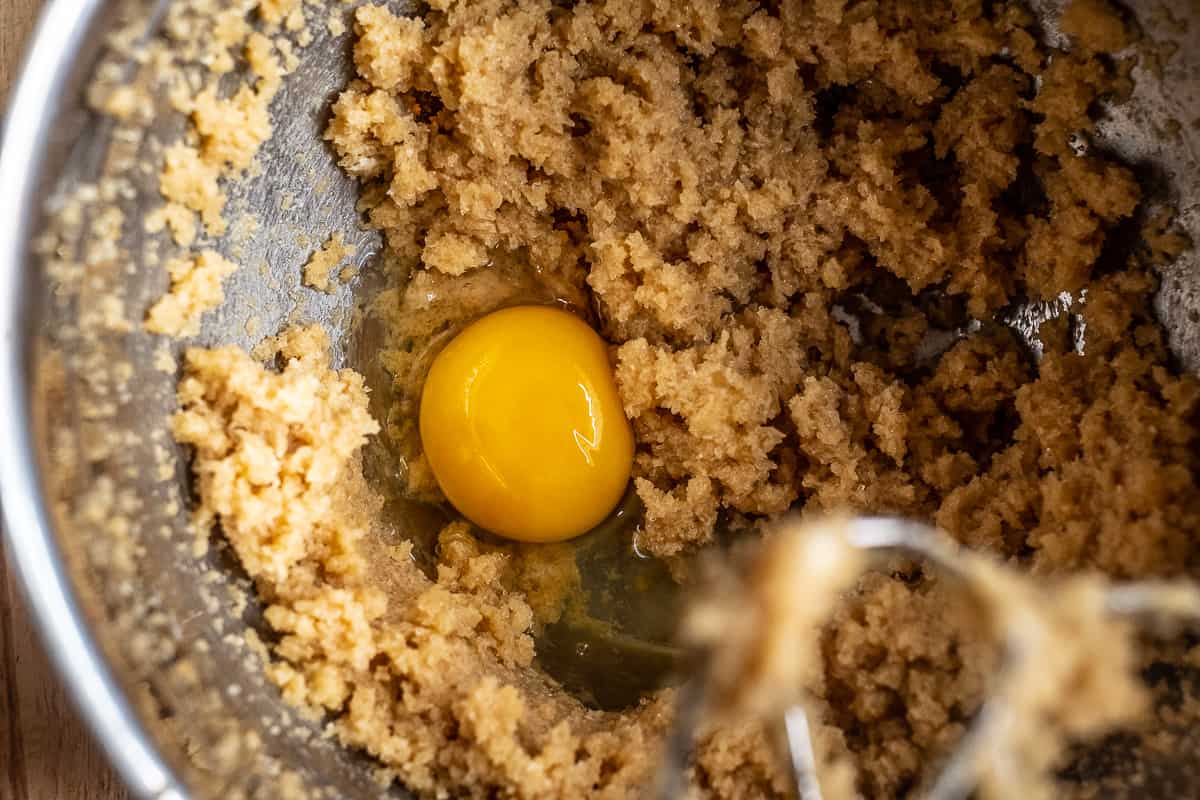
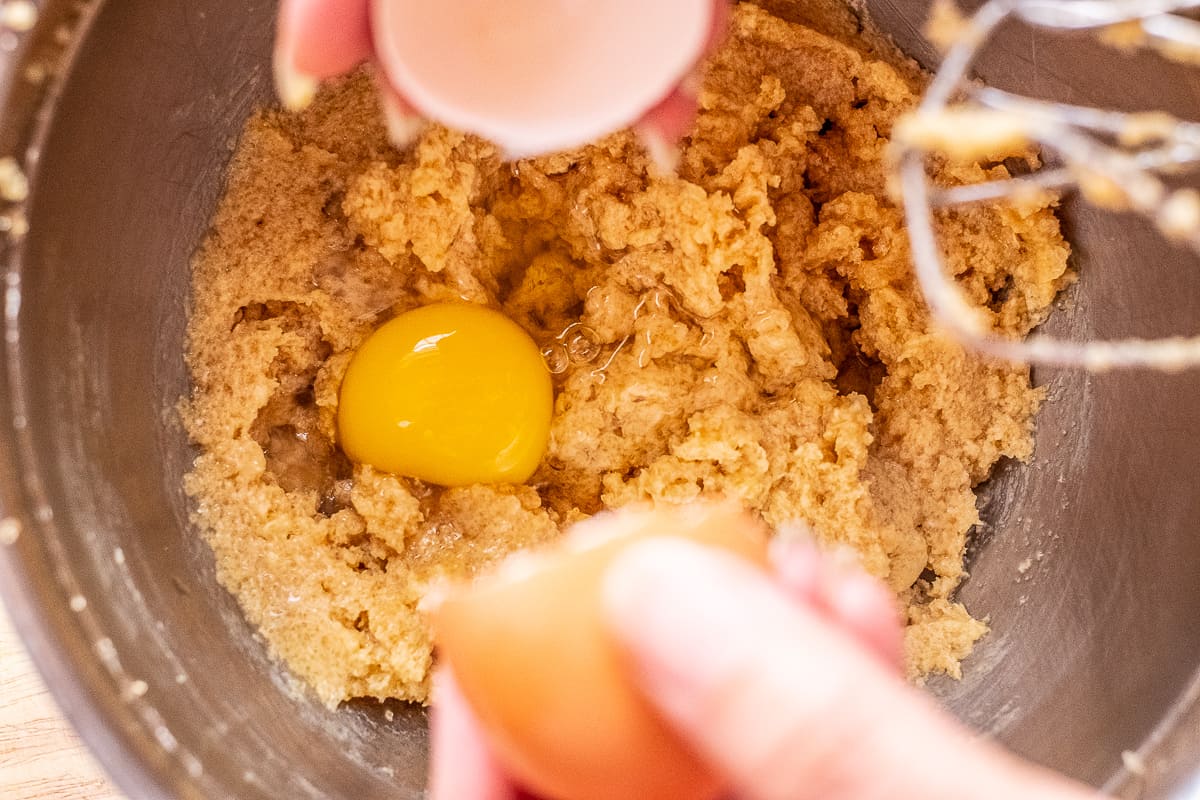
Add eggs
Add the beaten eggs one by one to the dough and stir in.
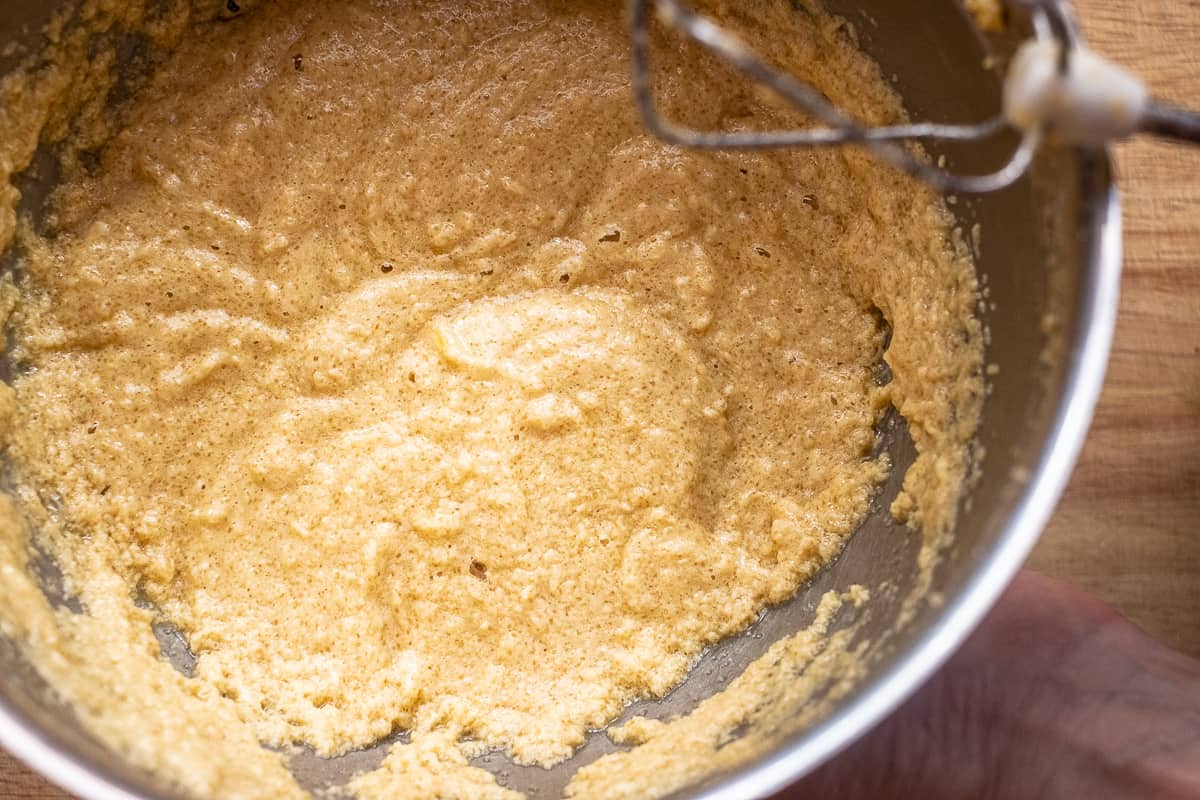
Stir dough
Stir the dough for another minute.
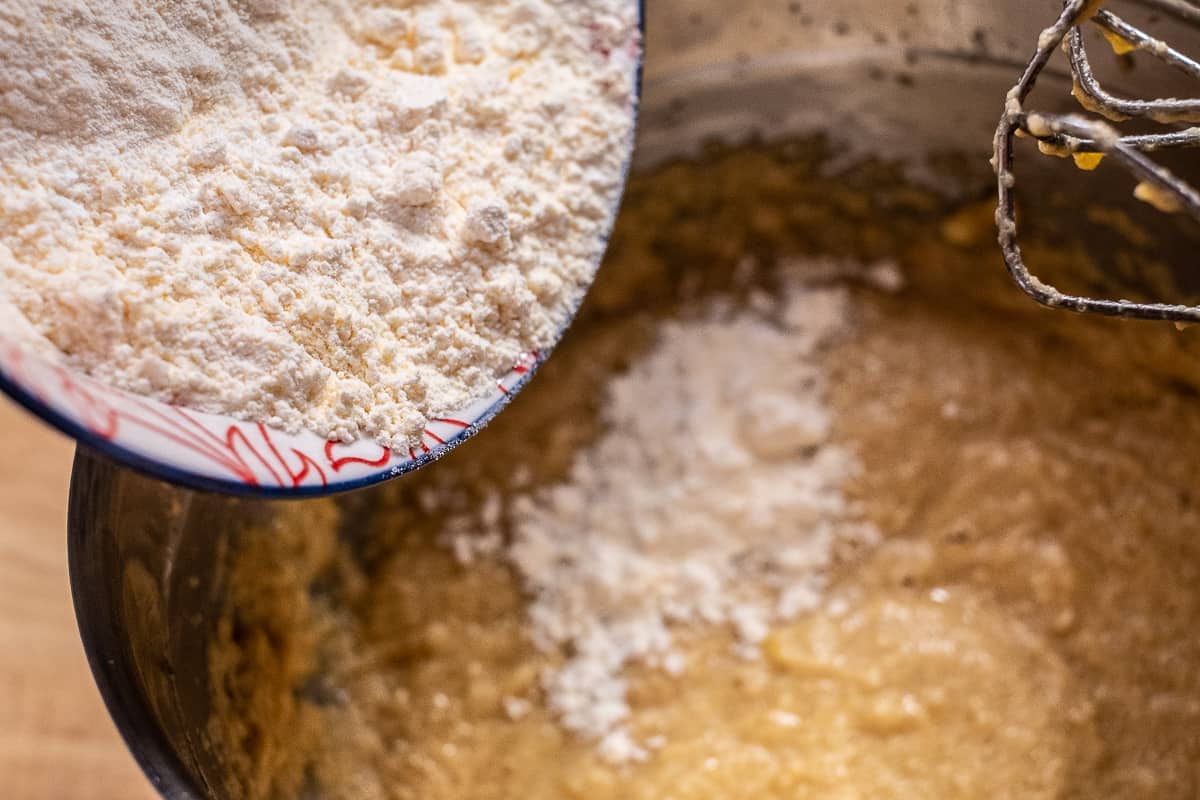
Add flour
Add the freshly sifted flour and baking powder to the dough.
Stir in flour
Incorporate the flour evenly.
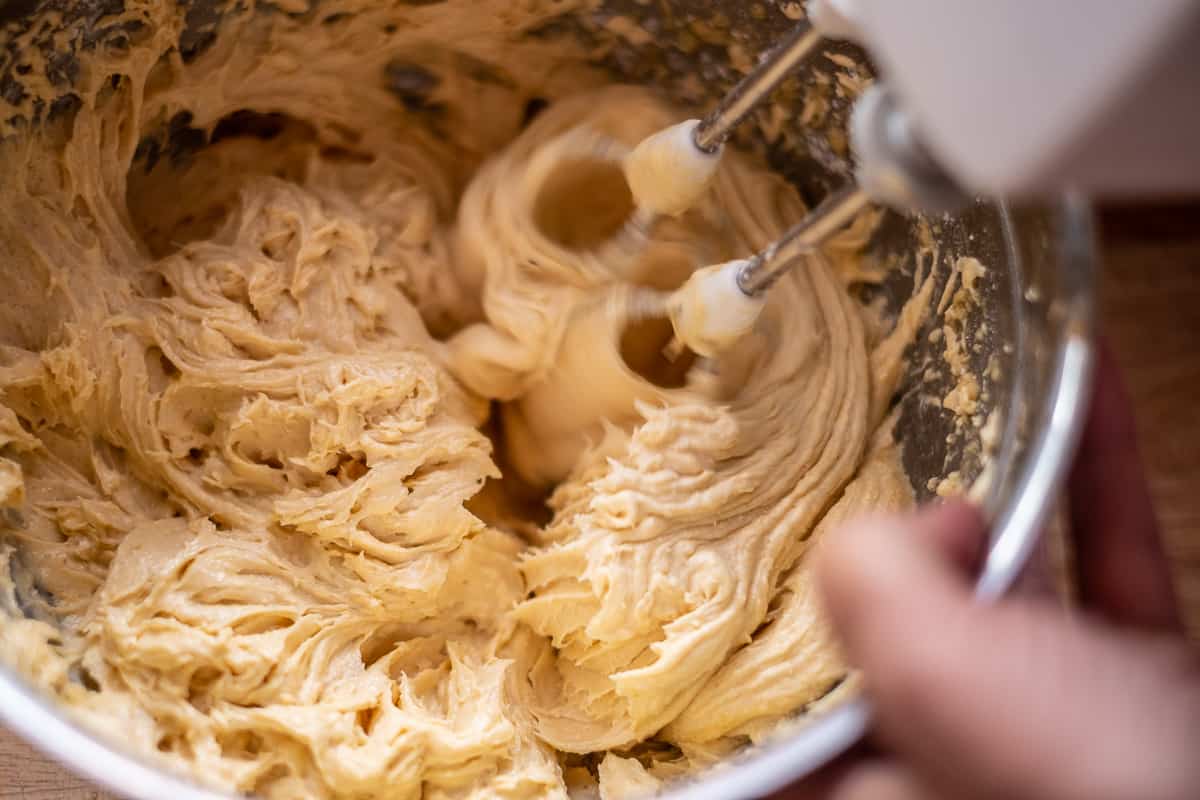
Finalize dough 2
Continue stirring the dough, it should fall “tearing” back into the bowl when you lift it out.
If the dough is too soft, add some flour – if the dough is too firm, add some cream.
If the dough falls from the whisks that have been turned off, the consistency will fit.
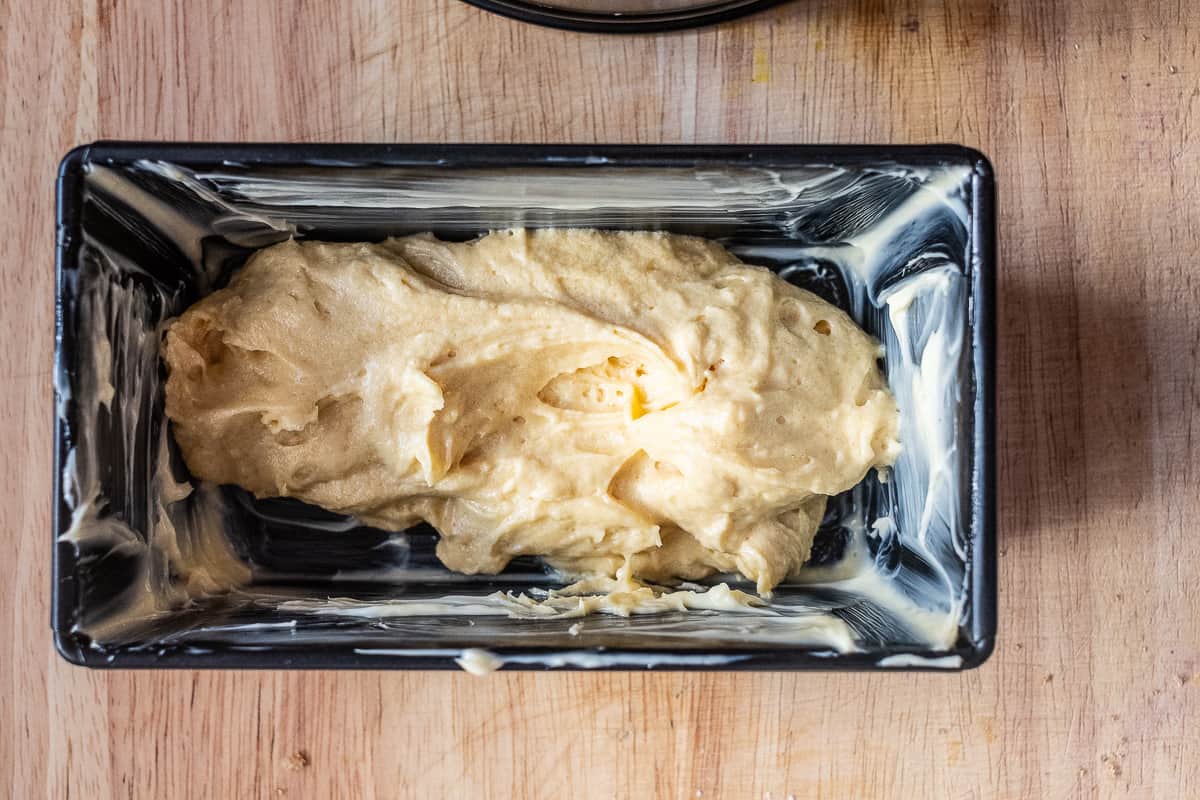
Fill dough 1
Pour half of the dough into the buttered box form.
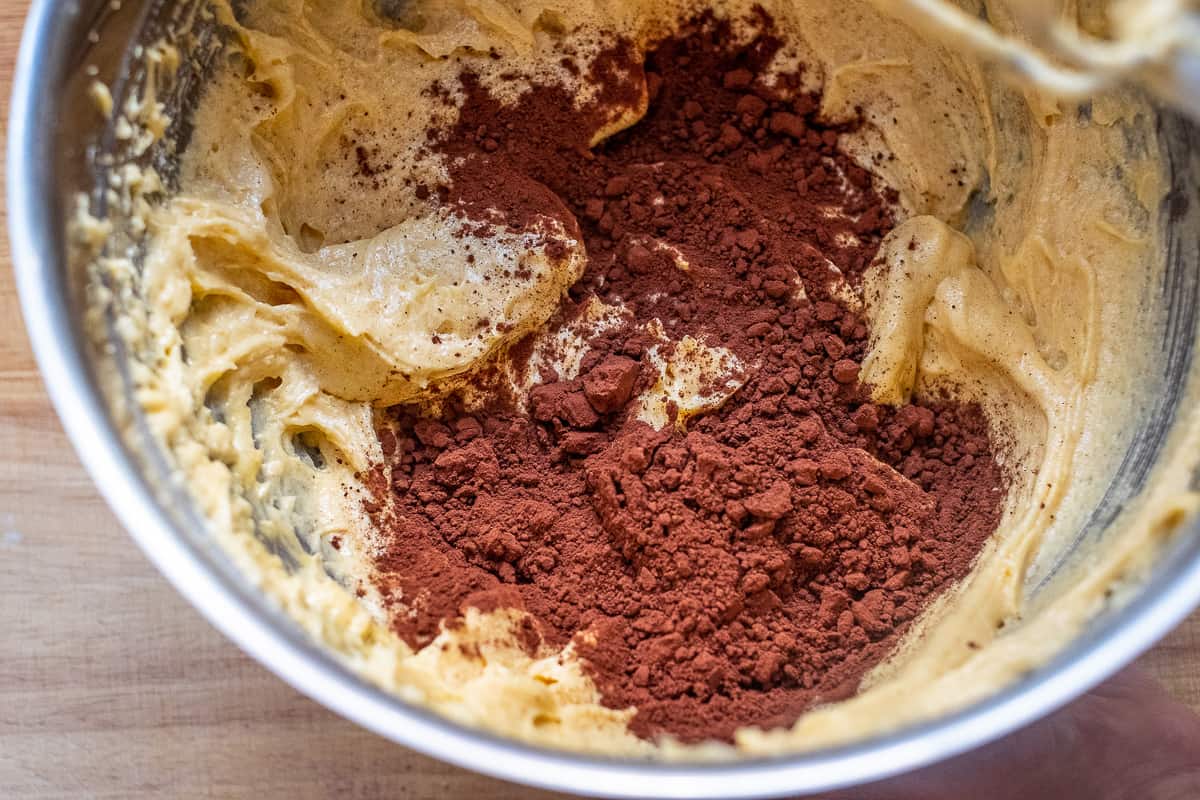
Prepare dough 2
Add the cocoa, cream and rum to the remaining light-coloured dough in the bowl.
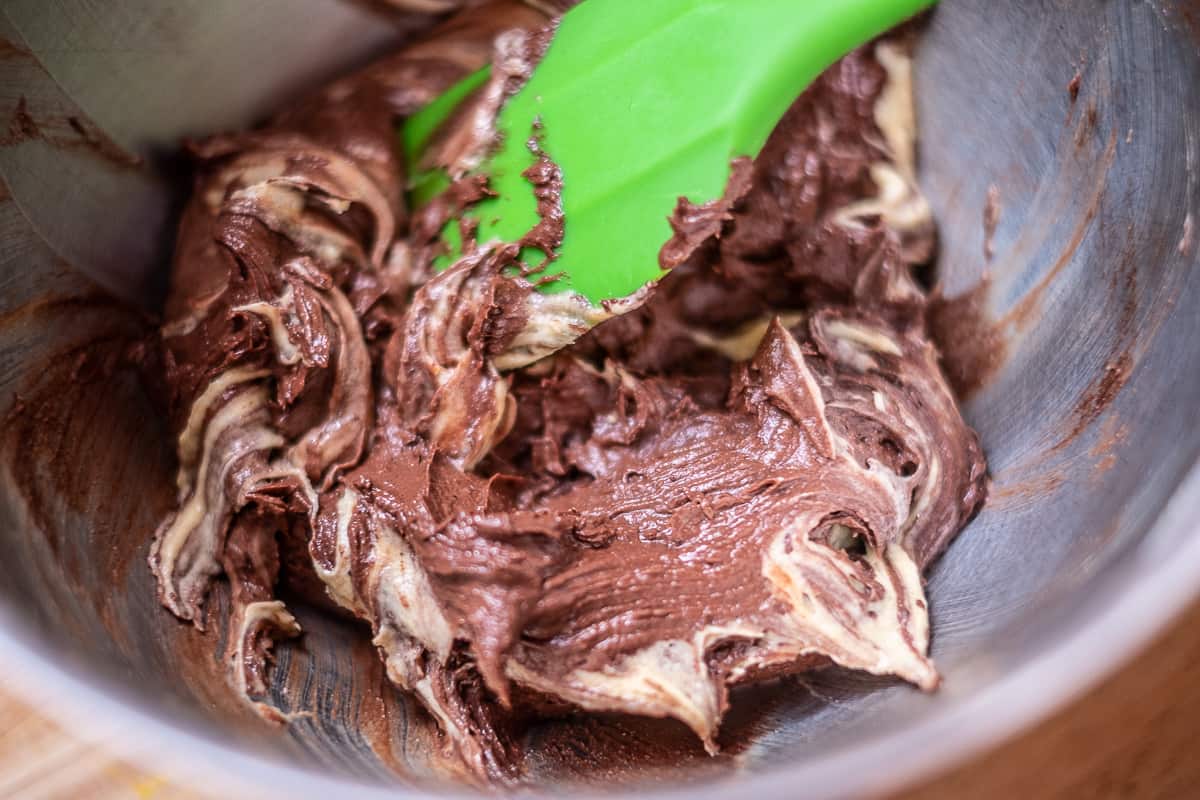
Cocoa supplement
Mix the dough evenly with the mixer, scraping the sides of the bowl with a dough spatula.

Fill in dough 2
Pour the dark cake batter into the cake tin to make the light-coloured batter.
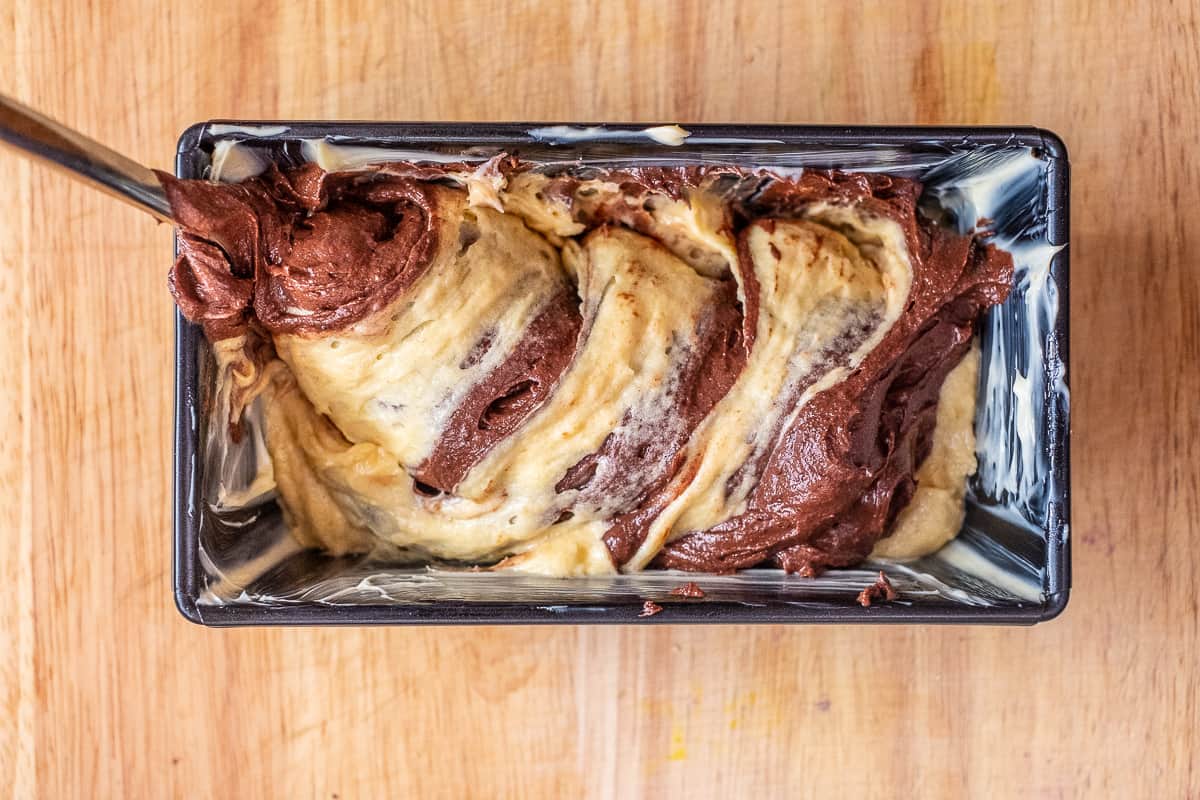
Spiralize dough
Mix the light and dark cake mixture with a fork in a spiral.
This creates the typical pattern in the marble cake.
Then bake the cake on the middle shelf on the oven rack for 40-50 minutes.
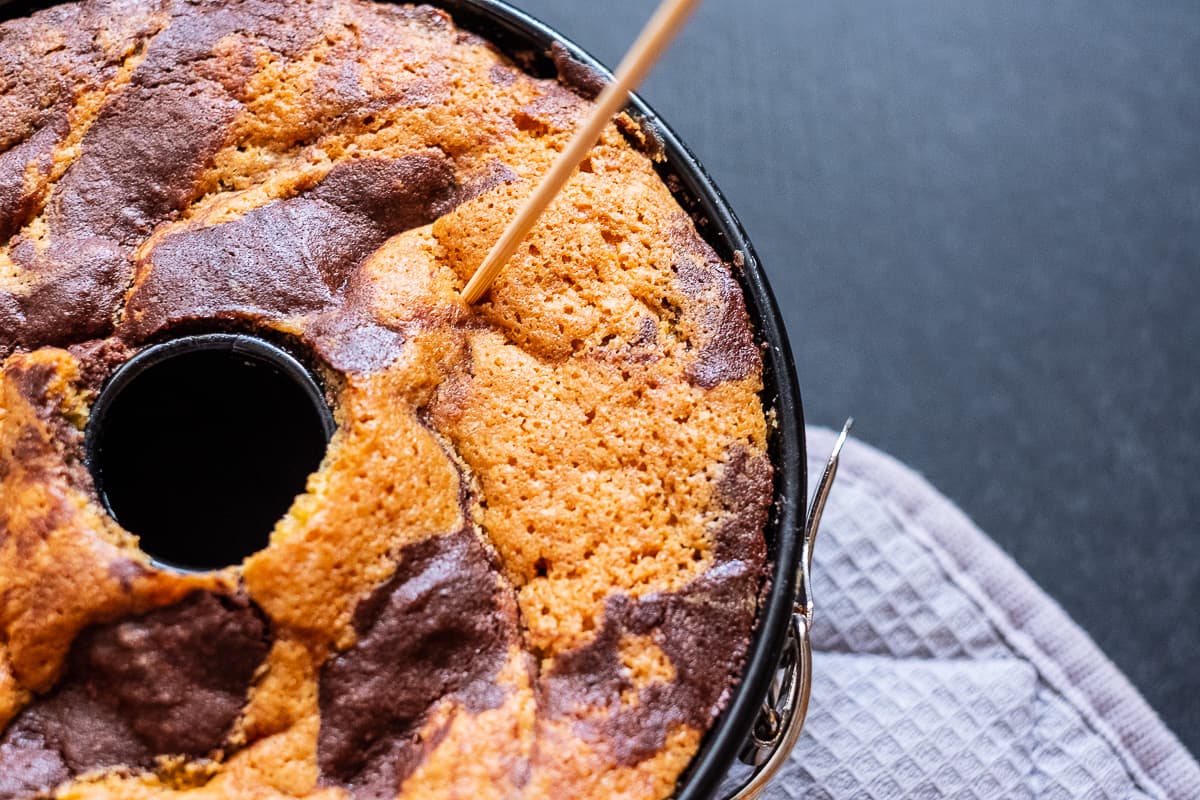
Check cake
Prick the cake with a wooden skewer and check if the cake is ready baked.
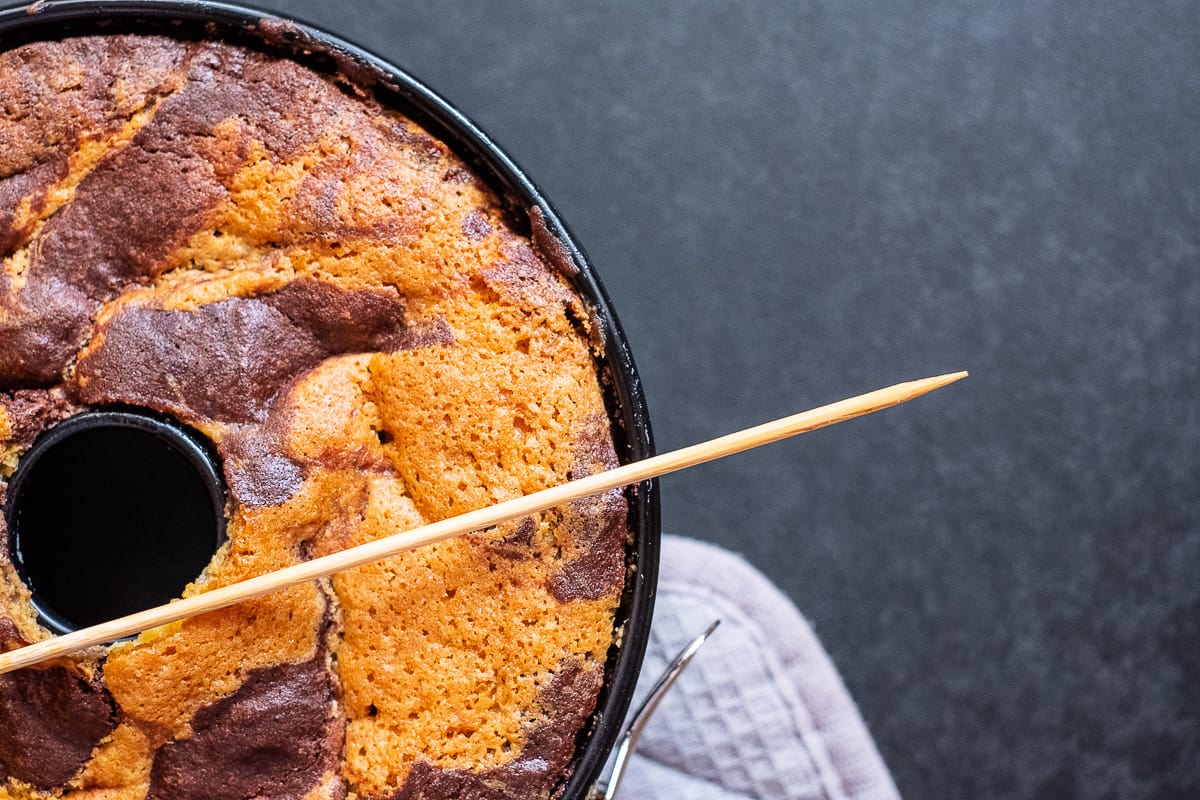
Cake ready
If no more dough sticks to the spit, the cake is ready baked.
Cool cake
Take the cake out of the oven in the mould and let it rest for 10 minutes.
Remove the sides from the mould with a knife, then knock the cake onto the mould while still warm.
Preparing chocolate icing
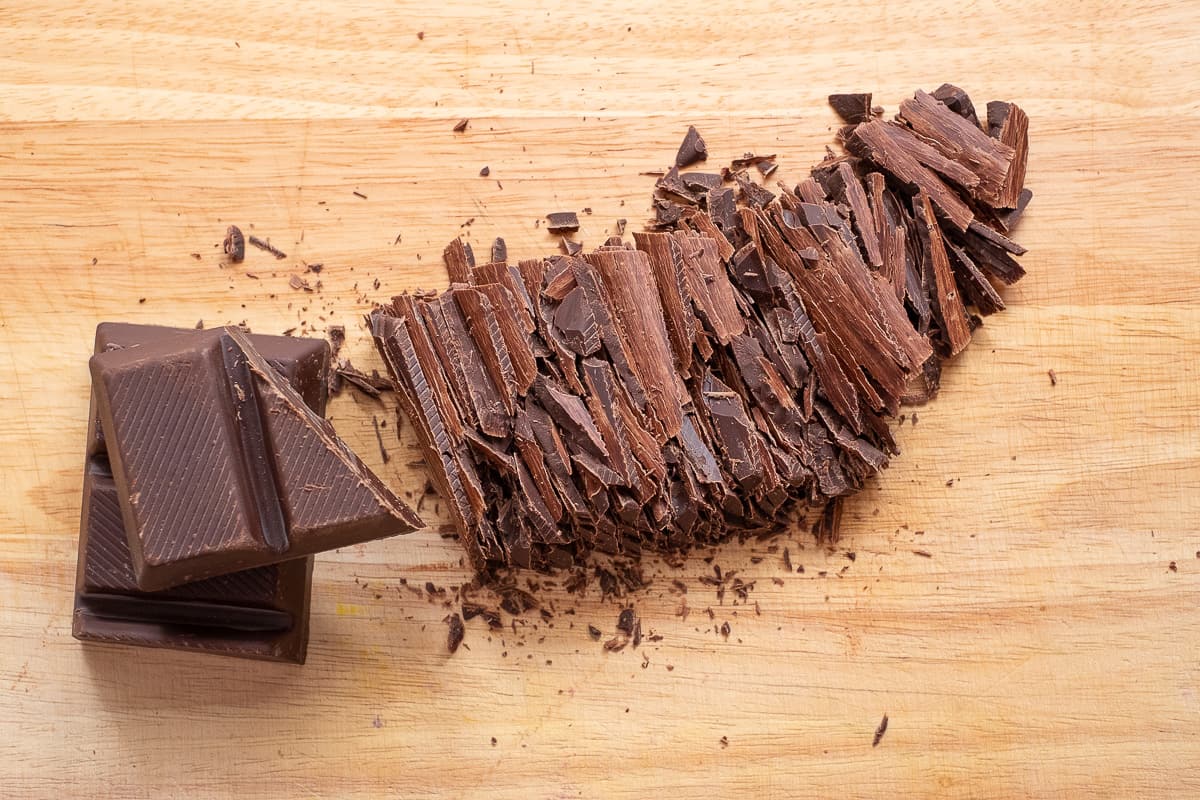
Cut chocolate
Finely cut the dark chocolate coating with a knife.
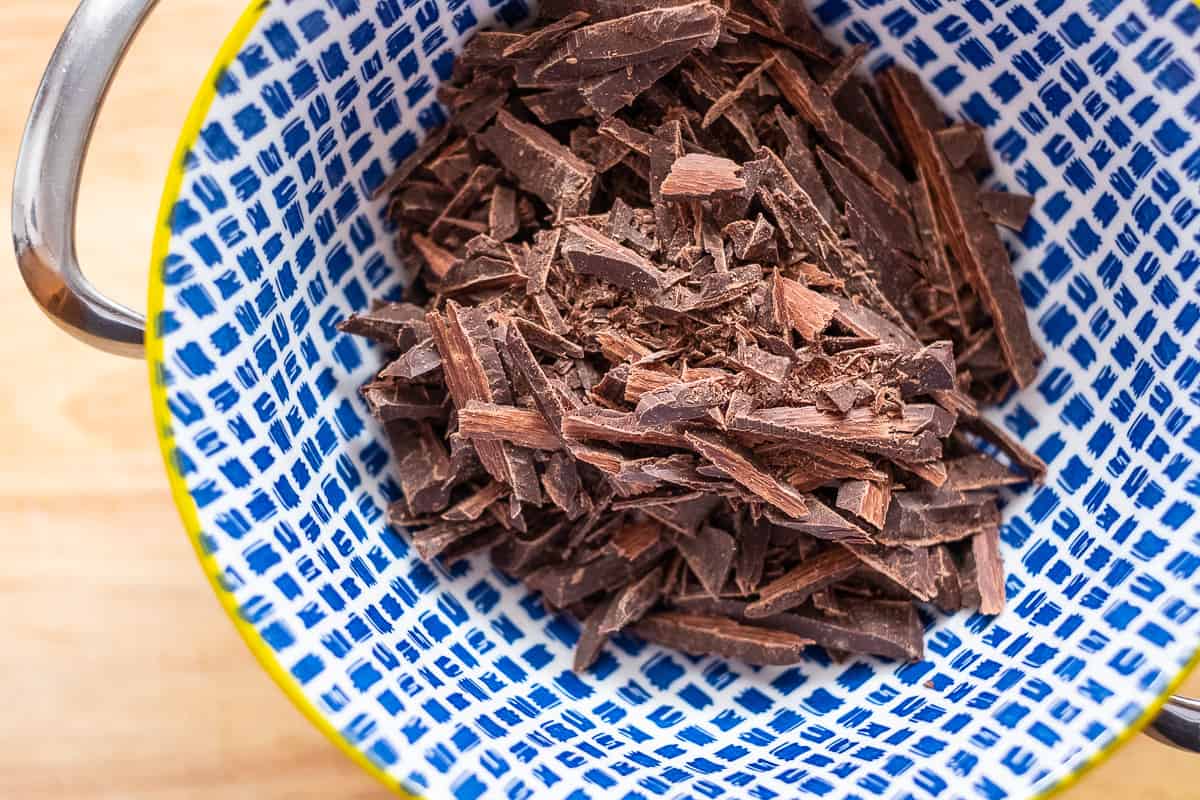
Melt chocolate
Melt 2/3 of the cut couverture at 45°C in a porcelain bowl in a hot water bath.
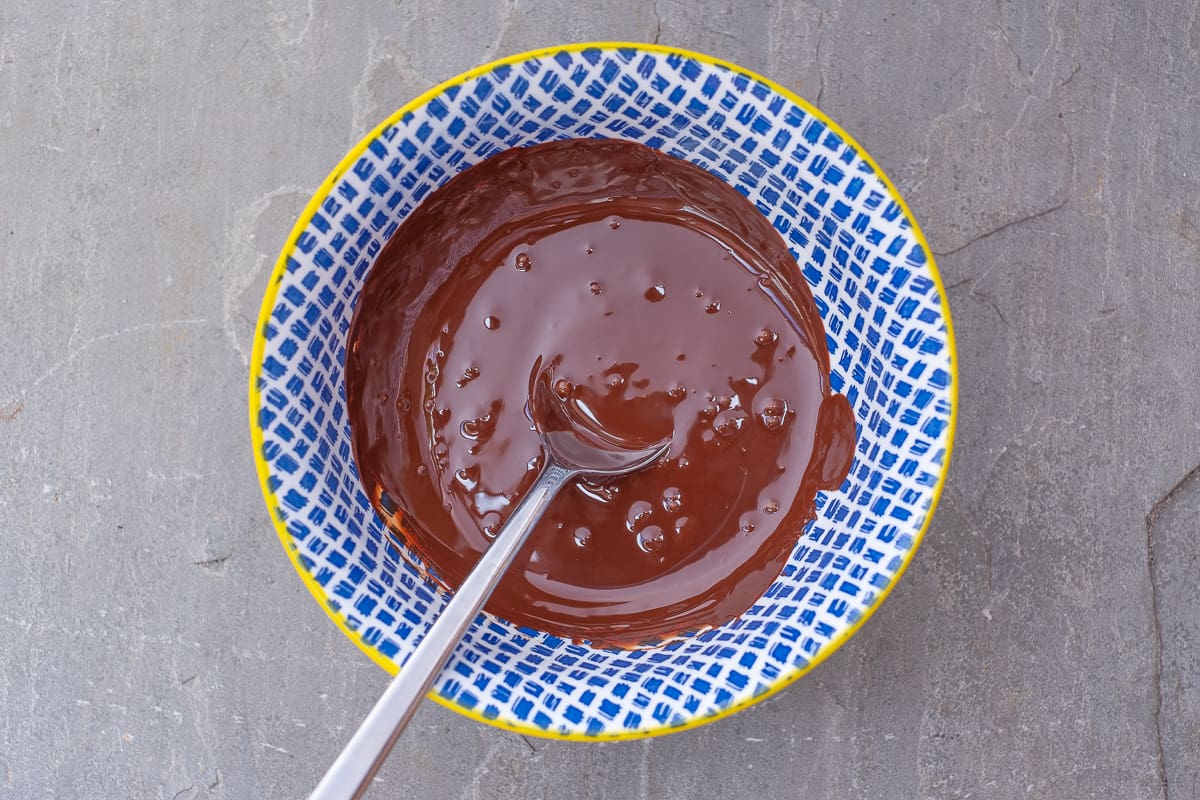
Stir chocolate
Take the bain-marie out of the pot and stir in the remaining chocolate.
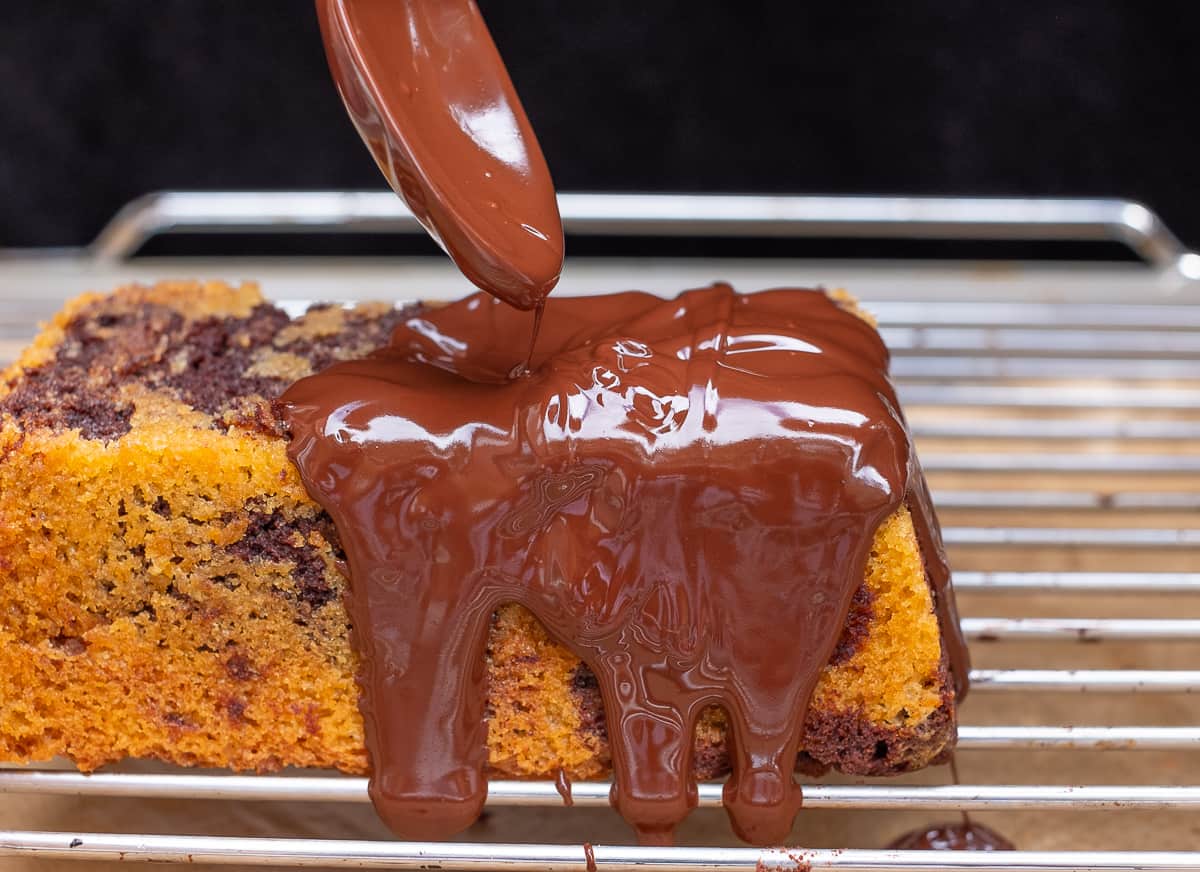
Glaze the cake
Place the cake on a grid and place baking paper underneath.
Pour the chocolate icing over the cooled cake and glaze it.
Then place in the fridge for a short time.
Serve
Serve the cake, cut it fresh and enjoy together!
Video
Breadcrumbs in the cake tin tip:
You do not want to use baking paper? Grease the cake tin with butter, sprinkle some breadcrumbs into the tin and spread them by swivelling. Pour out the remaining breadcrumbs. Then fill in the dough. The breadcrumbs form a crust when baking and this makes it easier to fall off the cake!
Courses
Cousine
Keyword
4. Calories and Nutritional Values
5. Oven Stage and Baking Time for Marble Cake
The right baking time somehow keeps us all busy. So let’s take a brief look at the bakery setting: oven and baking stage, correct temperature and baking time.
I have made countless attempts and even prepared the cake in the microwave and steam oven at times. Nothing comes close to the classic method!
The marble cake is traditionally best baked with bottom and top heat at 170°C. Bake the cake in the middle of the oven on a grid. The result is a juicy, fine marble cake. Please preheat the oven for 15 minutes – the baking time is 40-50 minutes!
Marble cake baking tip from chef Thomas Sixt
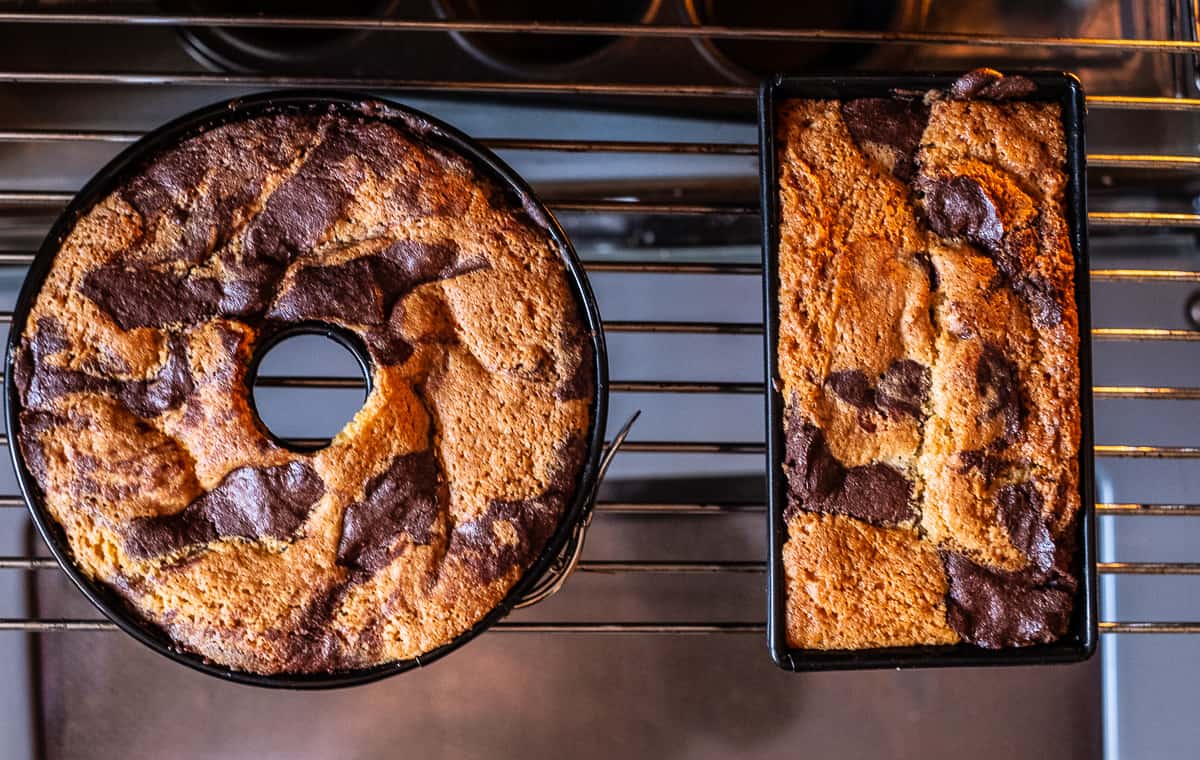
6. When is the Marble Cake ready baked?
Stick to the lowest indication of the baking time and please leave the oven door closed after setting the cake.
When the kitchen alarm clock rings after 40 minutes, take a thin, dry wooden skewer and stick it into the cake.
Sometimes there are still some crumbs on the wooden skewer, then bake the cake again for 5-10 minutes and test again by pricking.
Only when the wooden skewer comes out of the cake without any adhesions, your cake is ready! See the following pictures!
Brush the cake tin well with butter, breadcrumbs also help to prevent it from falling over. My cake always comes out of the mould warm, so I have had the best results so far.
Recommendation from chef Thomas Sixt
7. Tips for Cake Icing and Chocolate Tempering
The chocolate icing is one of those things. After all, the icing is supposed to become firm in the end. The correct and technically correct method is to temper the chocolate.
Tempewhat? When tempering, melt 2/3 of the finely chopped chocolate in a water bath at approx. 45 °C. Then stir in the remaining chocolate and let it cool down (25°C). Then heat it up again briefly to a maximum of 33°C and then use it again.
As an alternative to chocolate tempering, I have another tip to simplify things for you. Heat 2/3 of the chocolate and then stir in the remaining chocolate next to the cooker. Then put the icing on the cake and put the cake in the fridge. The icing is sure to set!
Chocolate glaze tip from chef Thomas Sixt
8. Baking impressions and Baking Tips
A picture is worth a thousand words, so I will show you some pictures before baking…
Note the temperature during baking, higher than 170°C can make the cake dry!
Baking tip from chef Thomas Sixt
9. More Ideas for Baking Cakes
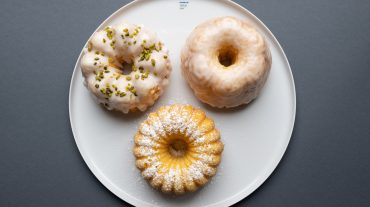
Lemon Cake
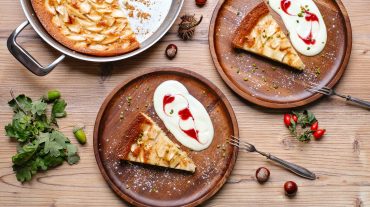
Easy Apple Pie Recipe
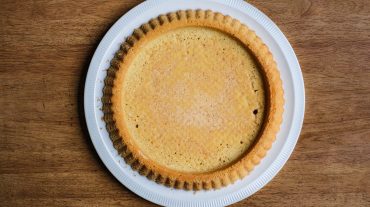
Fruit Cake Base Recipe for Your Easy German Sunday Cake
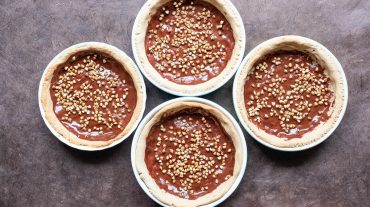
Chocolate Tart Recipe with Buckwheat
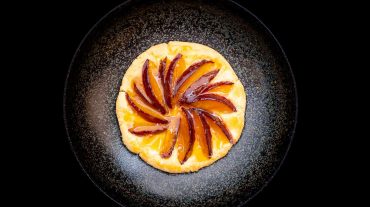
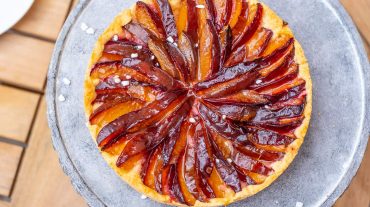
Plum Tarte Recipe for 3 Variations

Plum Crumble Recipe

Zwetschgendatschi Recipe for German Plum Cake
Plum Cake Recipe with Yeast Dough
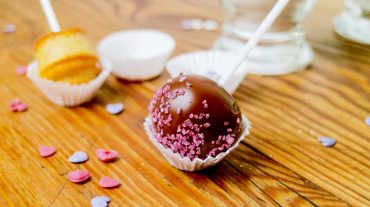
Cake Pops Recipe
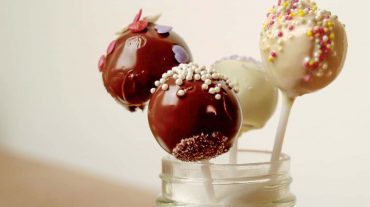
Preparing Cake Pops with Cake Leftovers
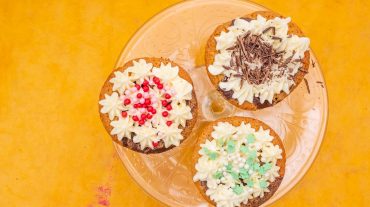
Marble Cake Muffins, on Request with Topping
Marble Cake with Glaze Recipe
Comments, Cooking Questions and Answers
Below you can write to me directly.
Please don’t forget the star rating on the recipe, 5 stars means you liked it!